What we did
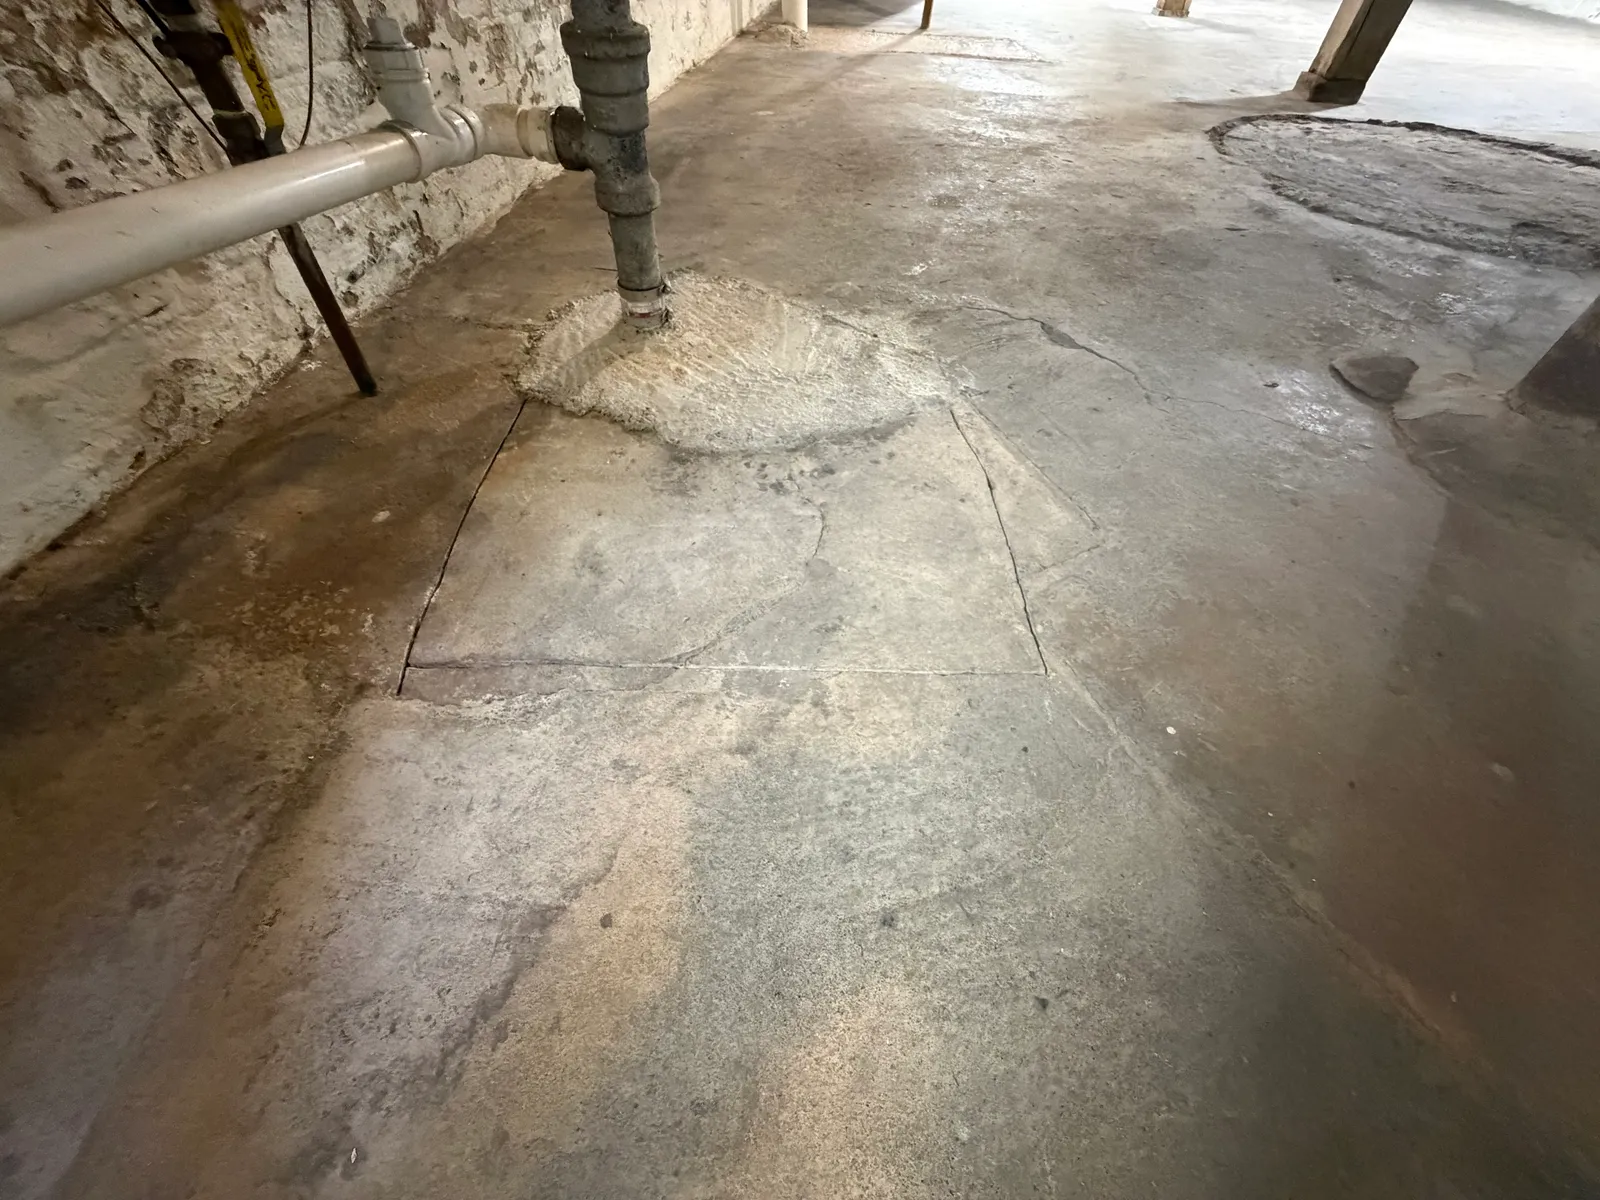
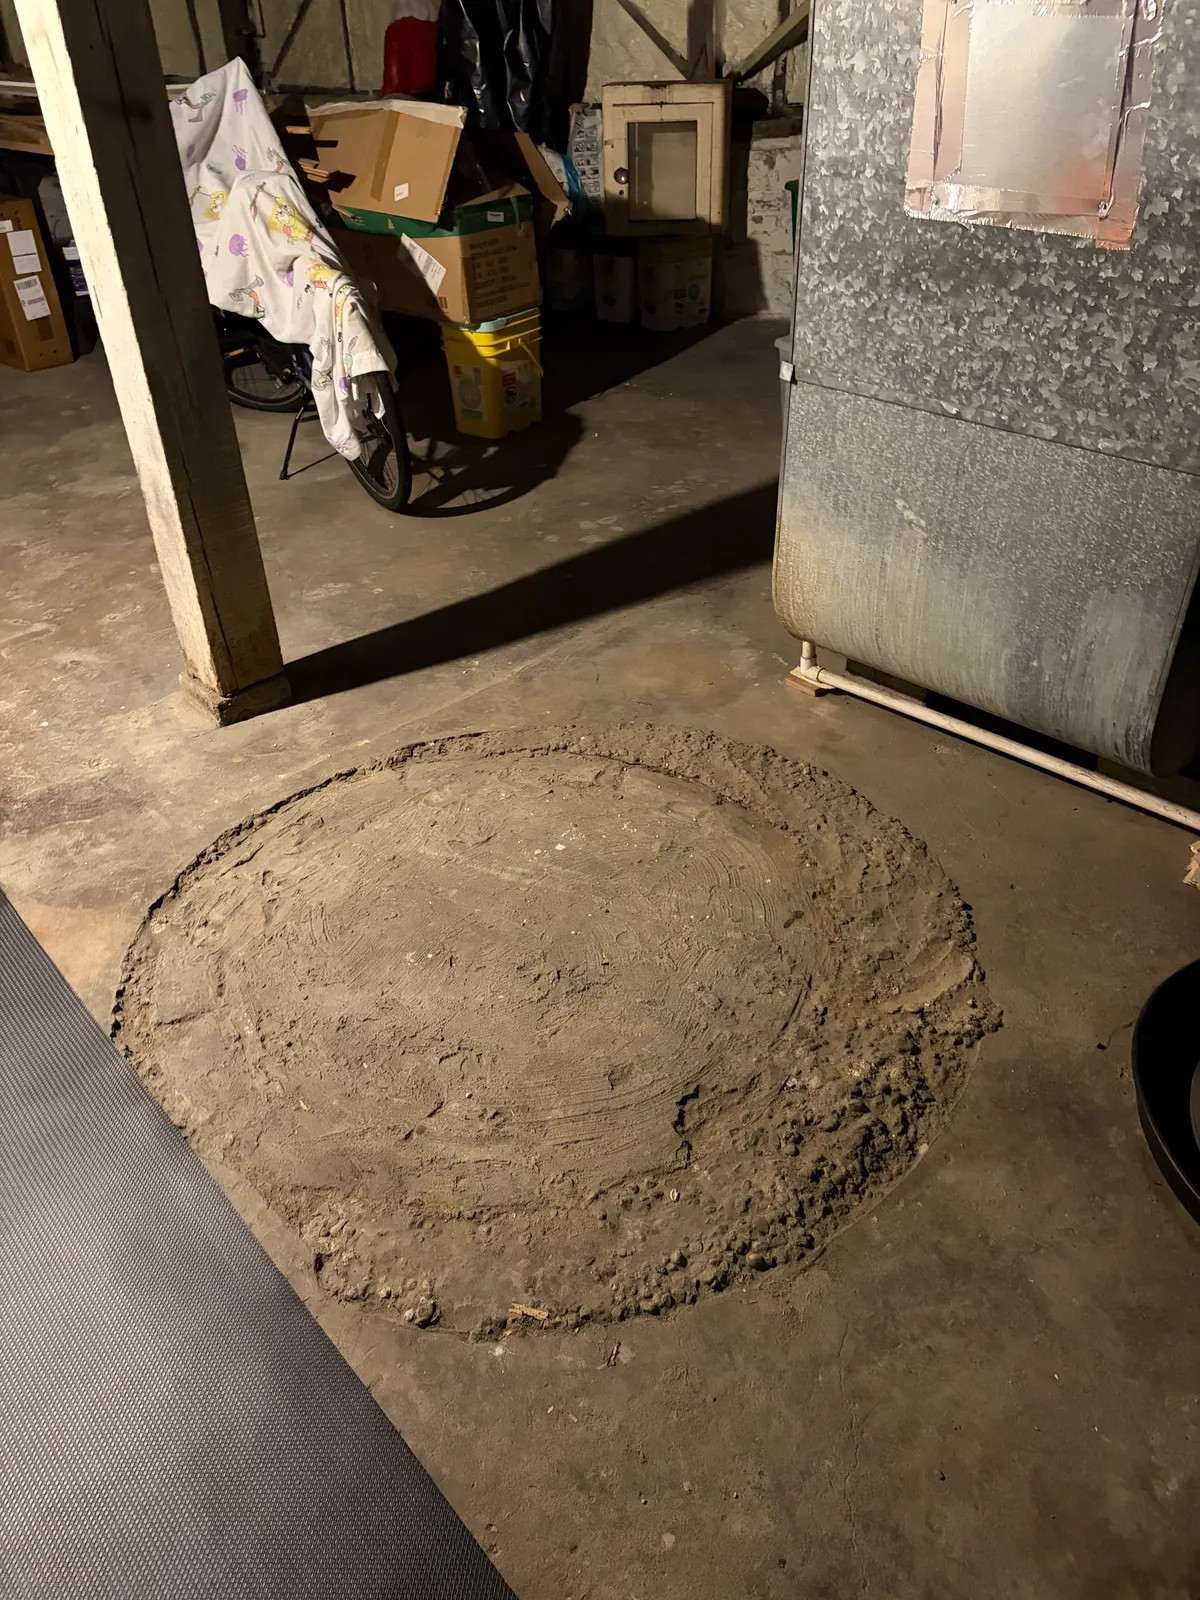
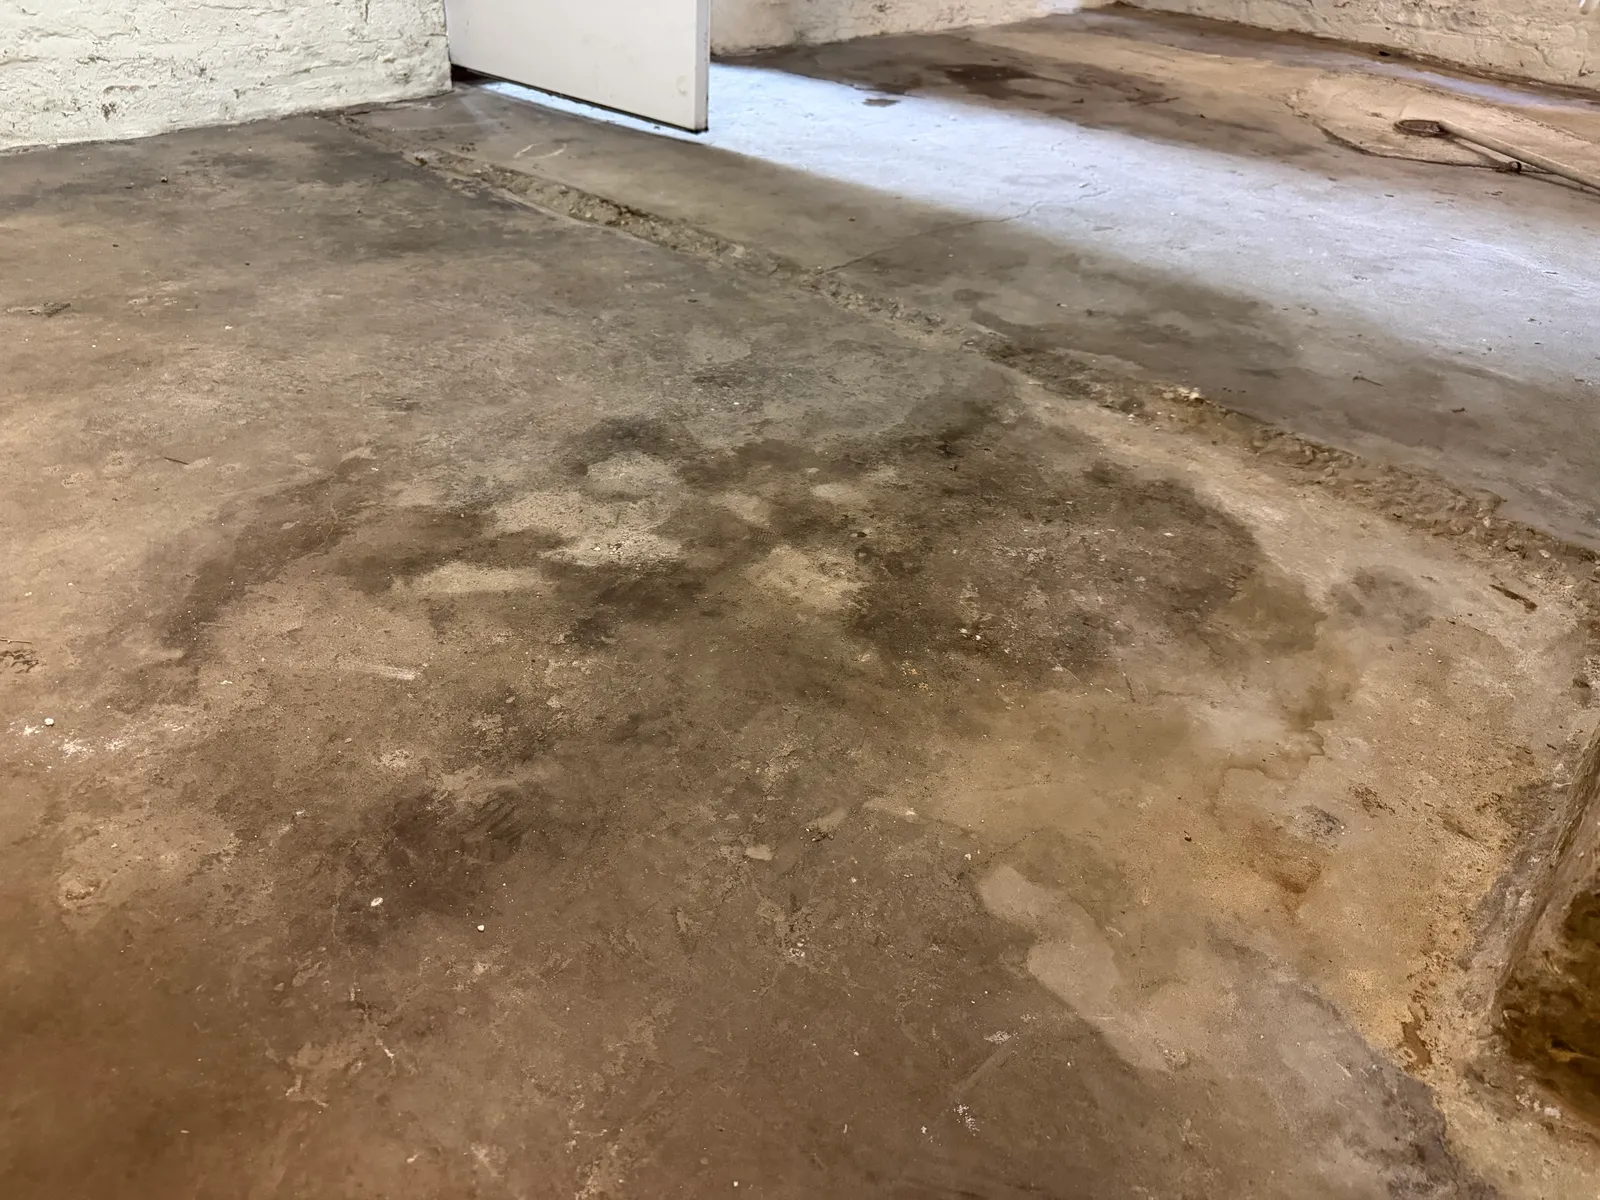
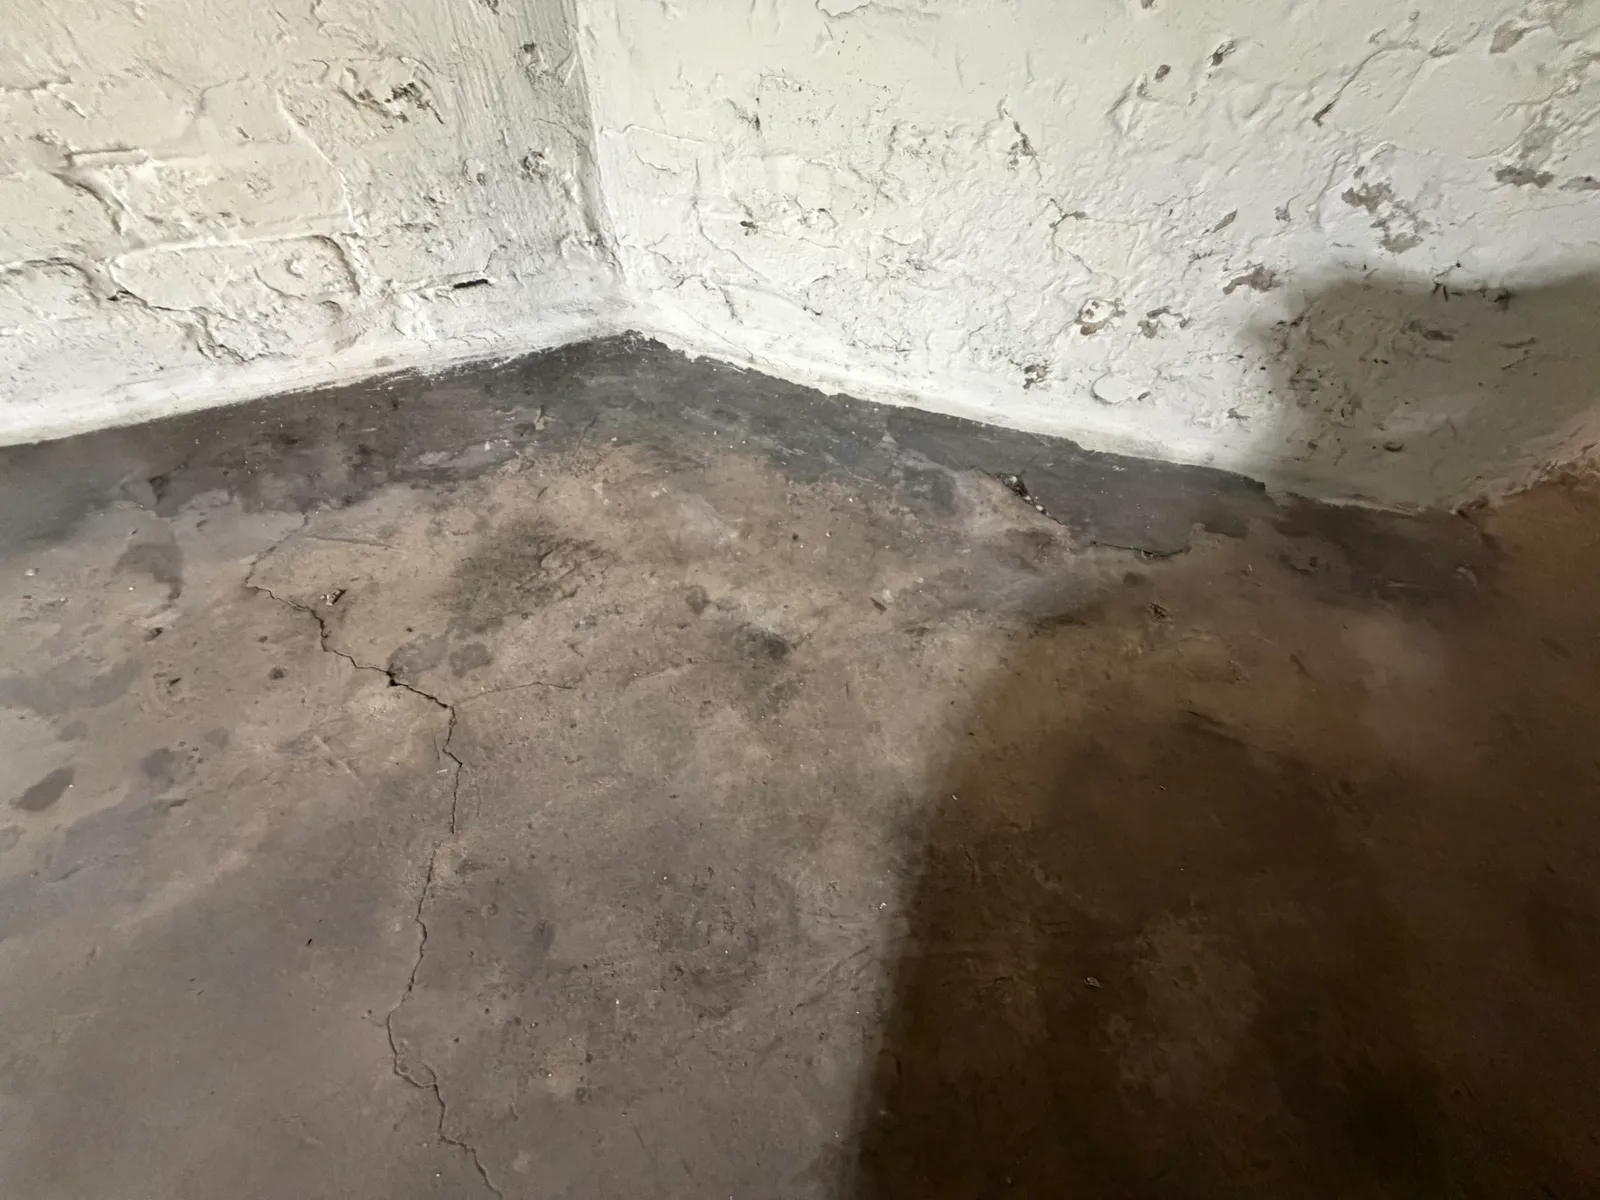
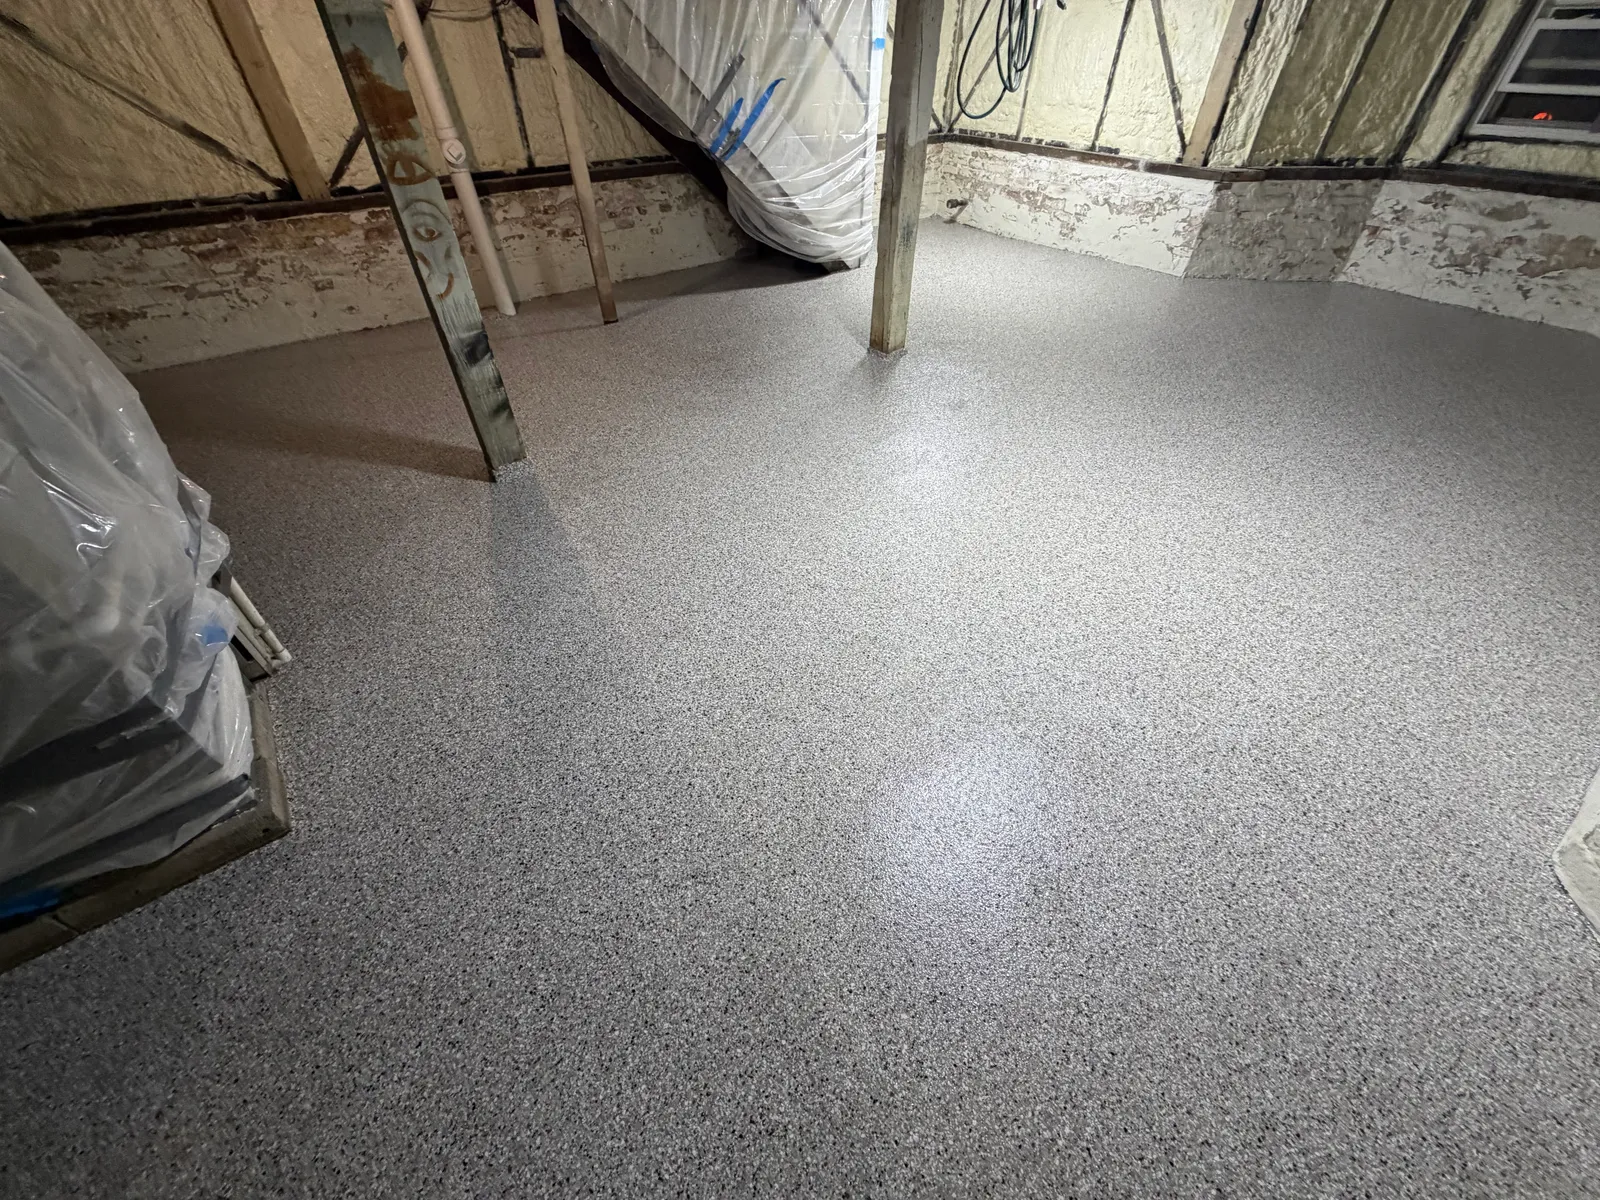
The homeowner first reached out thinking about either polishing and sealing the basement or putting down epoxy, and guessed the floor was about 800 square feet. Once we measured it on site, it came in closer to 695 sq ft. We recommended a polyurea flake system instead, and the homeowner went with it. The estimate also called out repairs to the main existing cracks, so we knew crack work would be part of the prep before any coating went down.
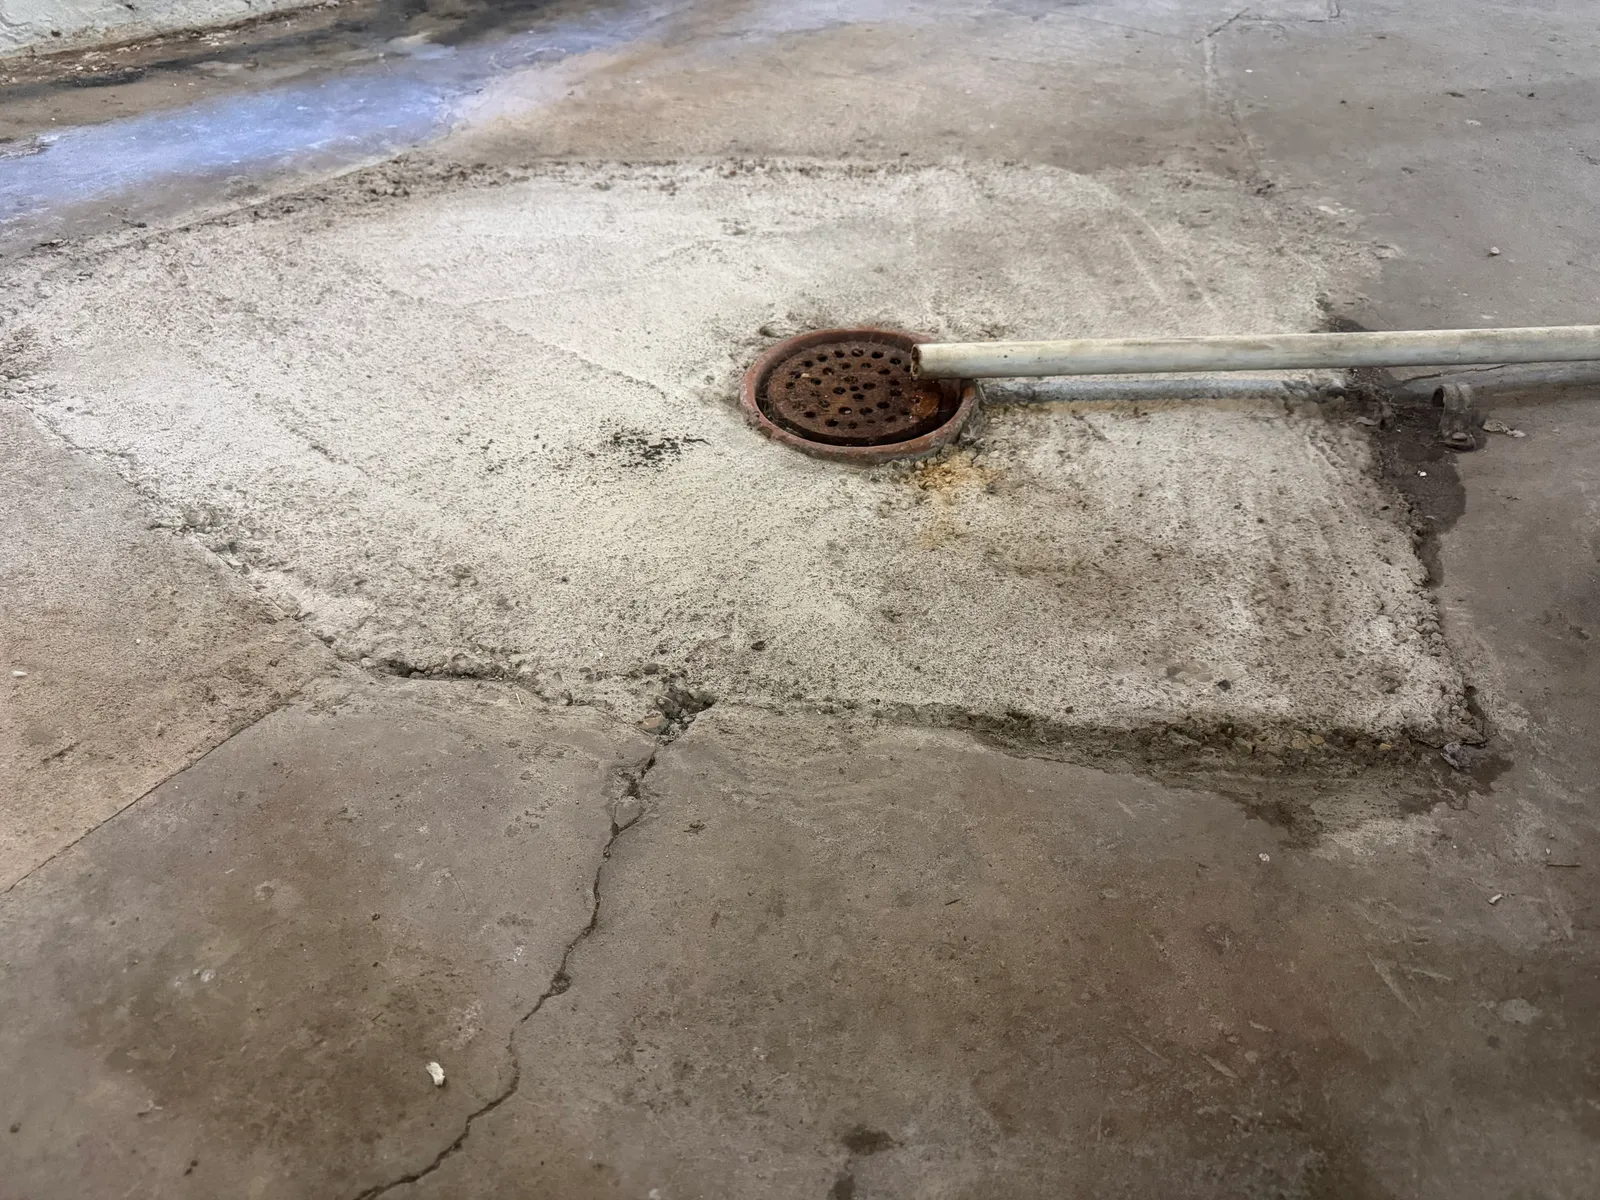
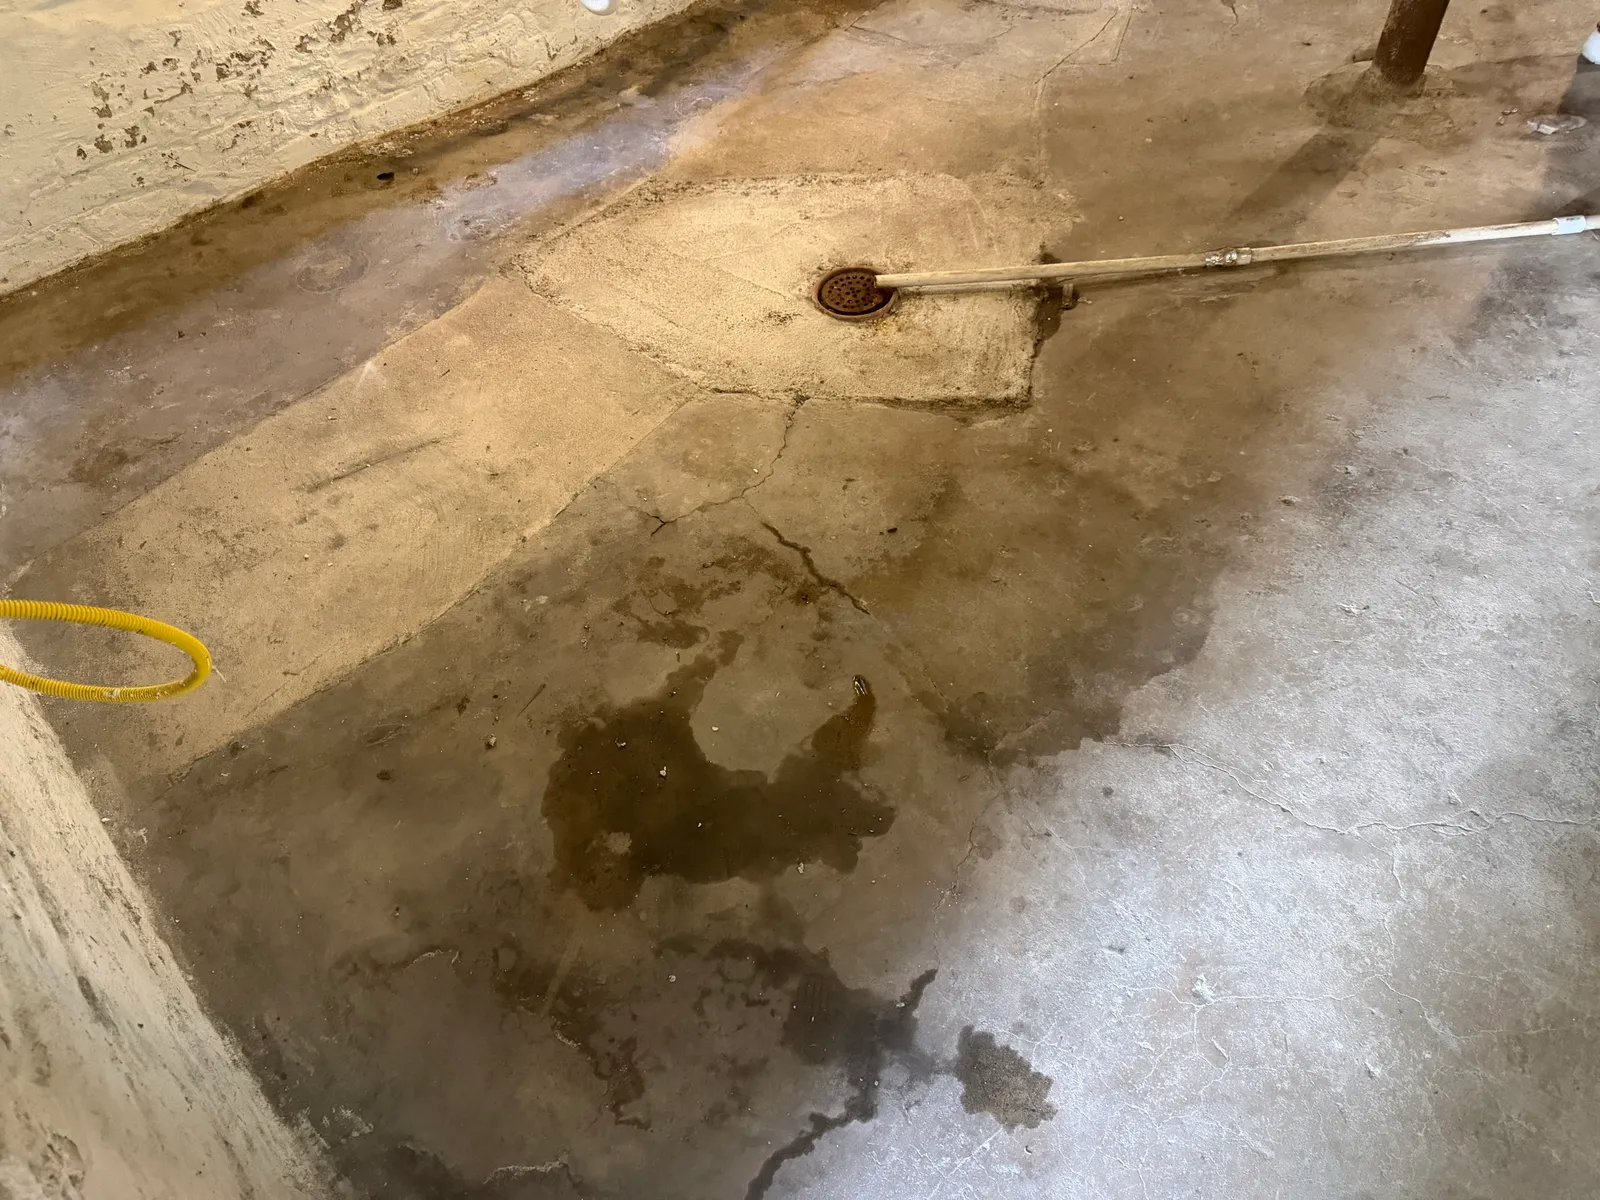
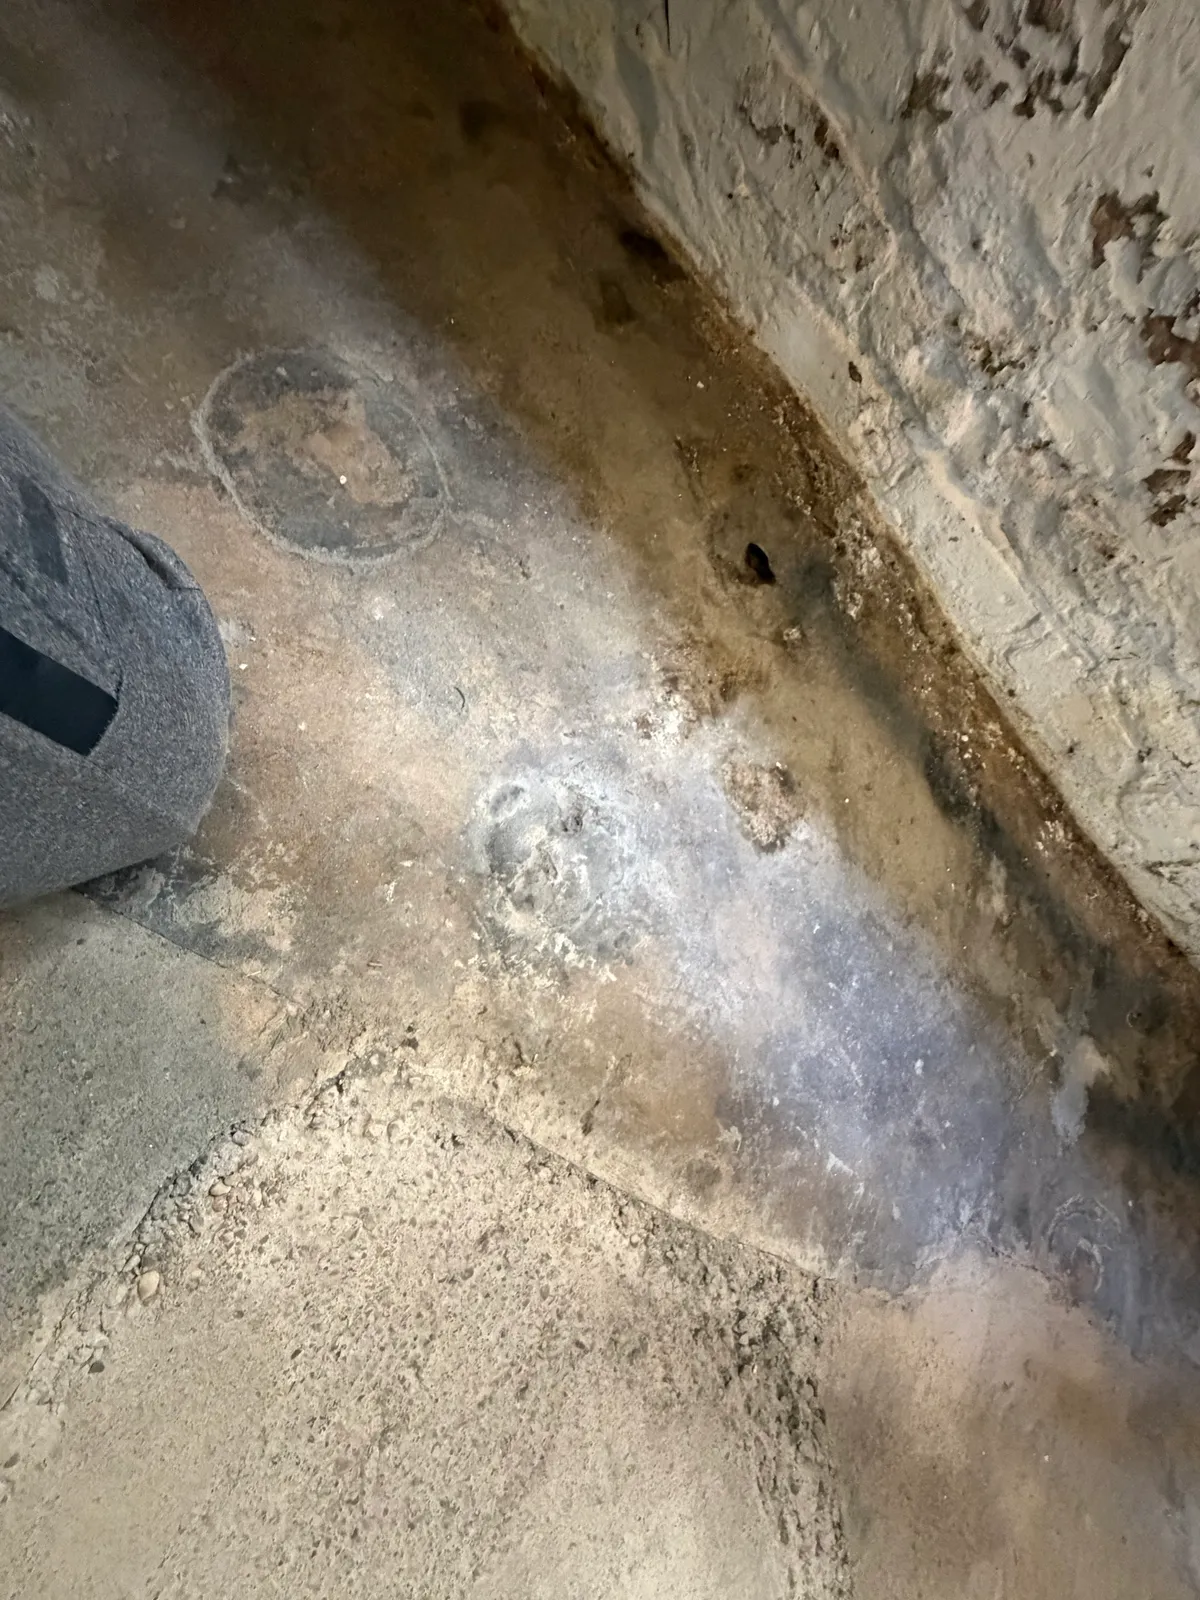
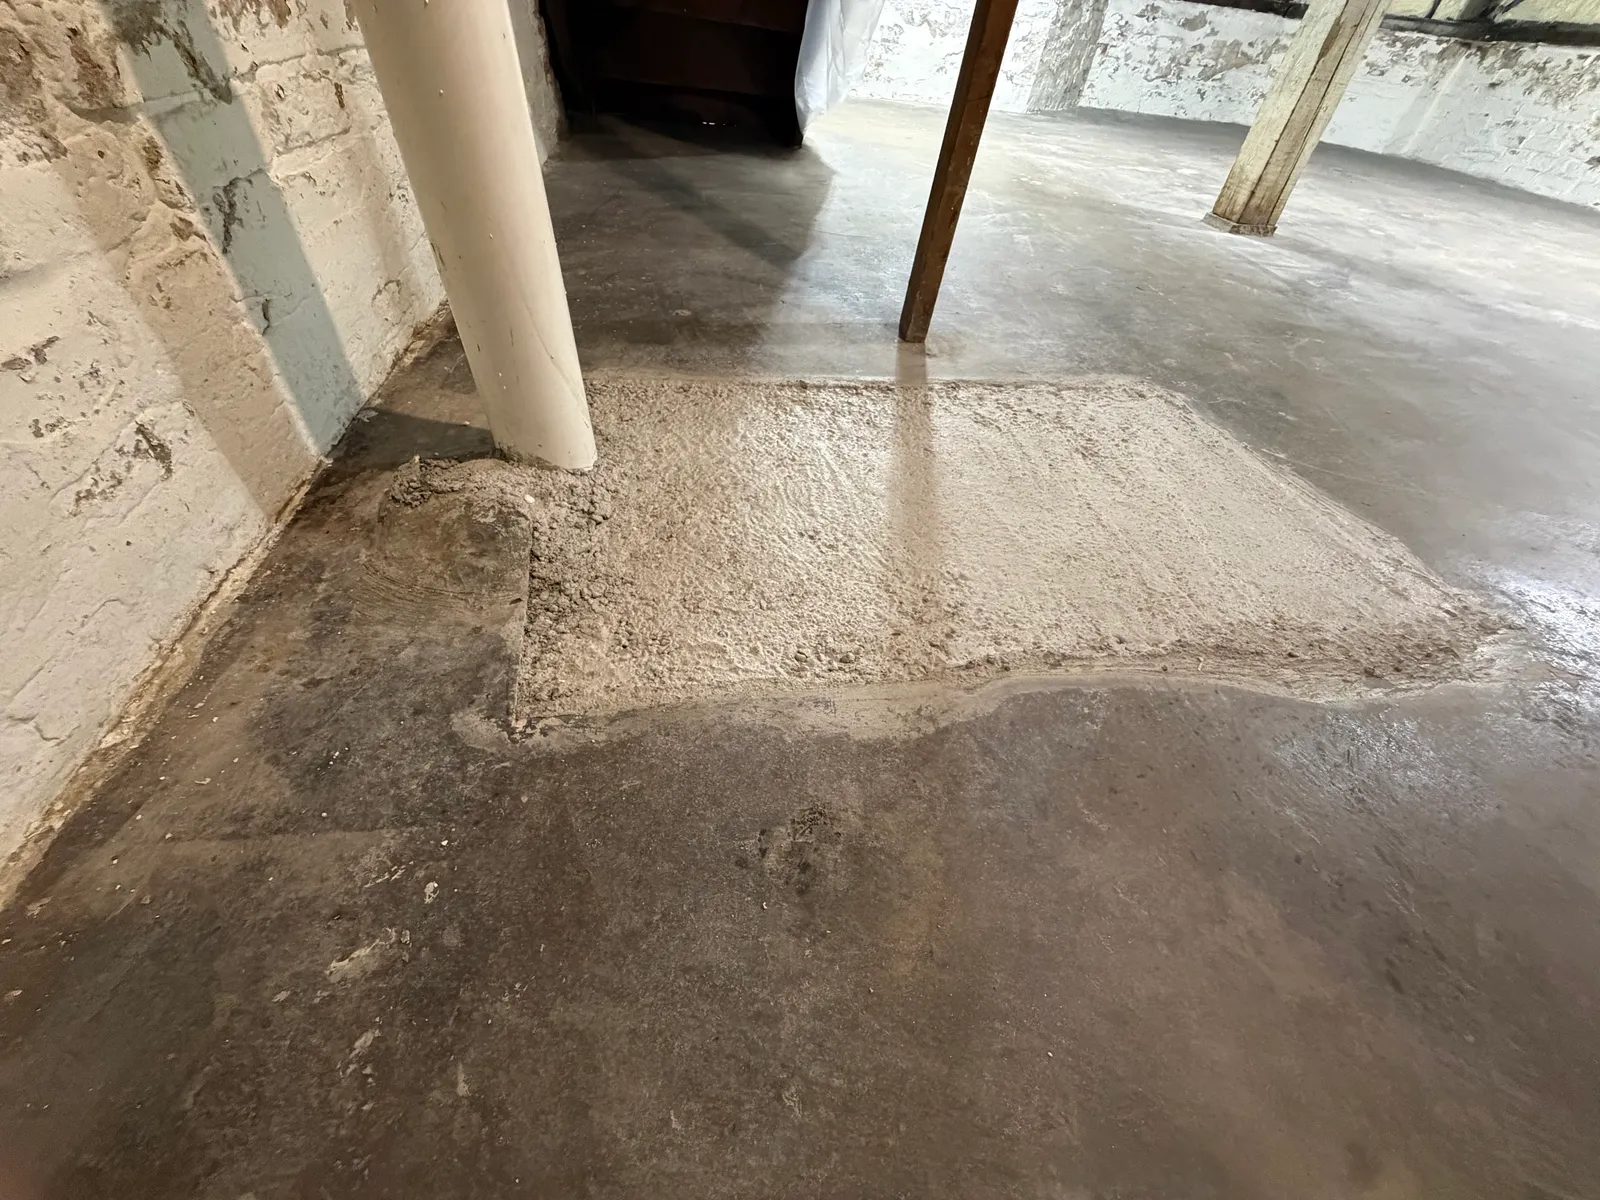
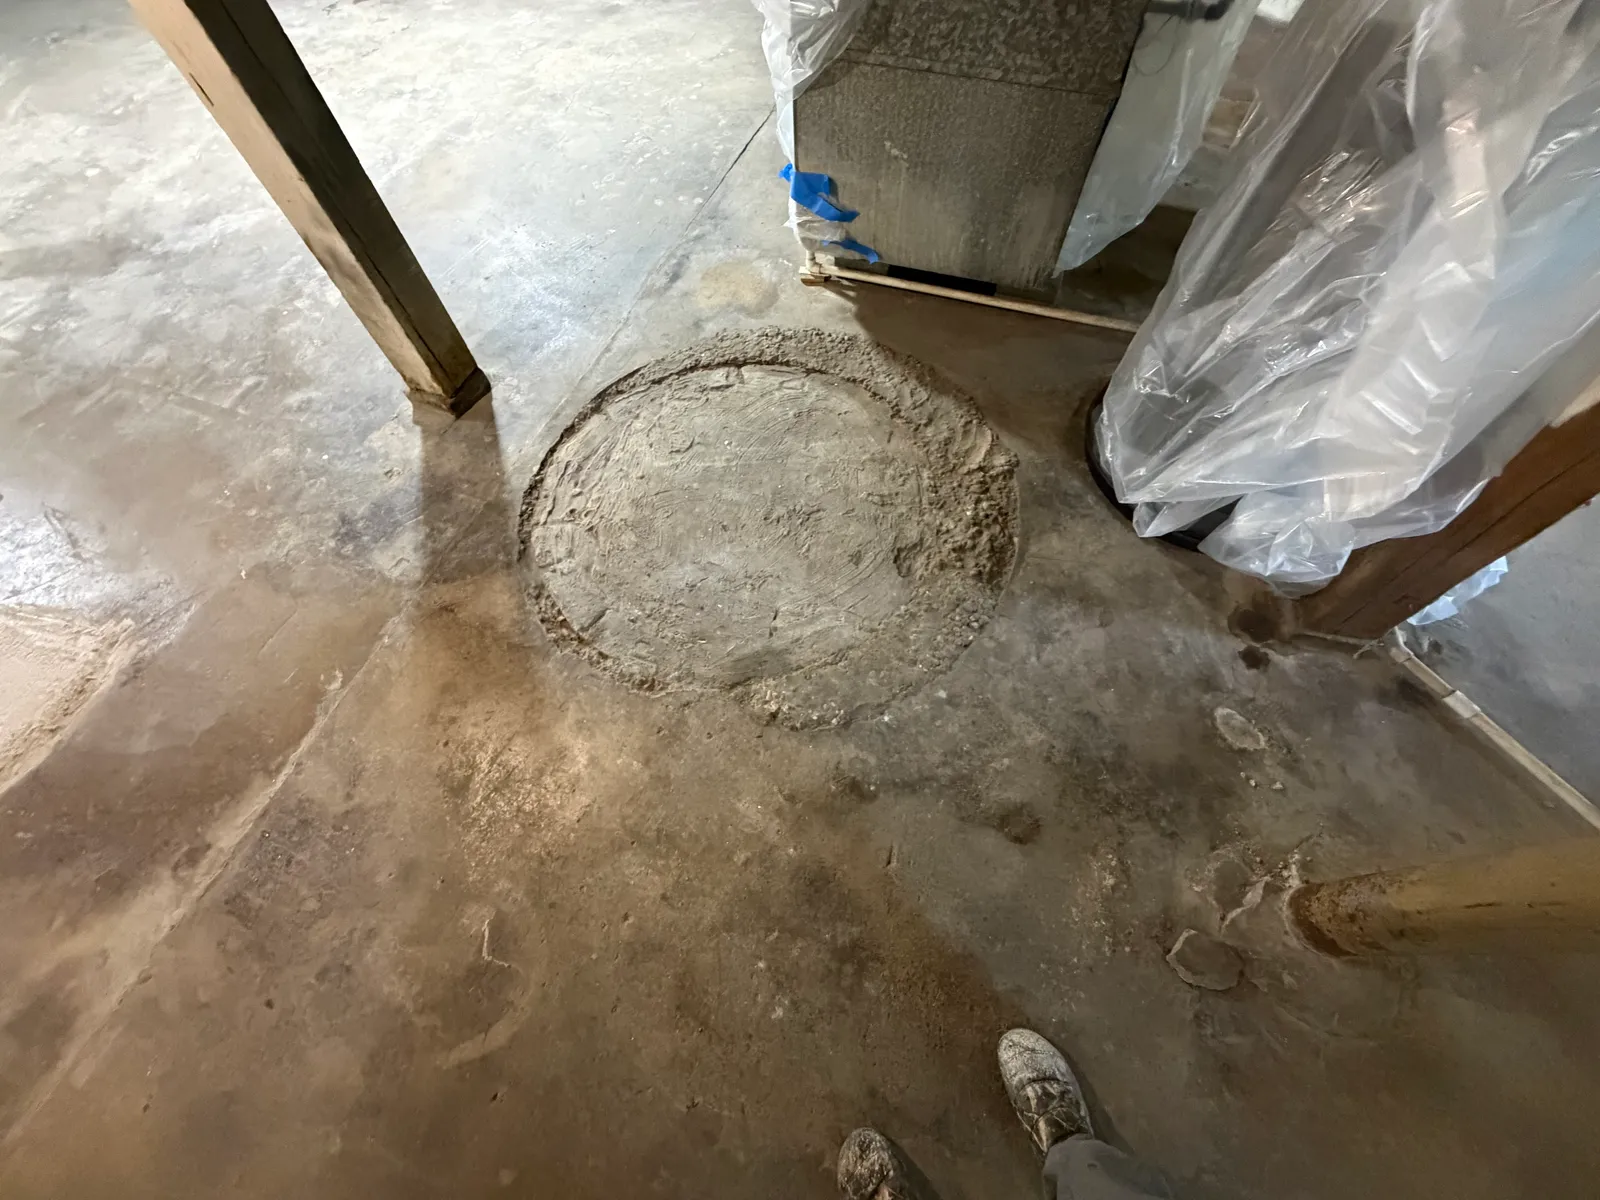
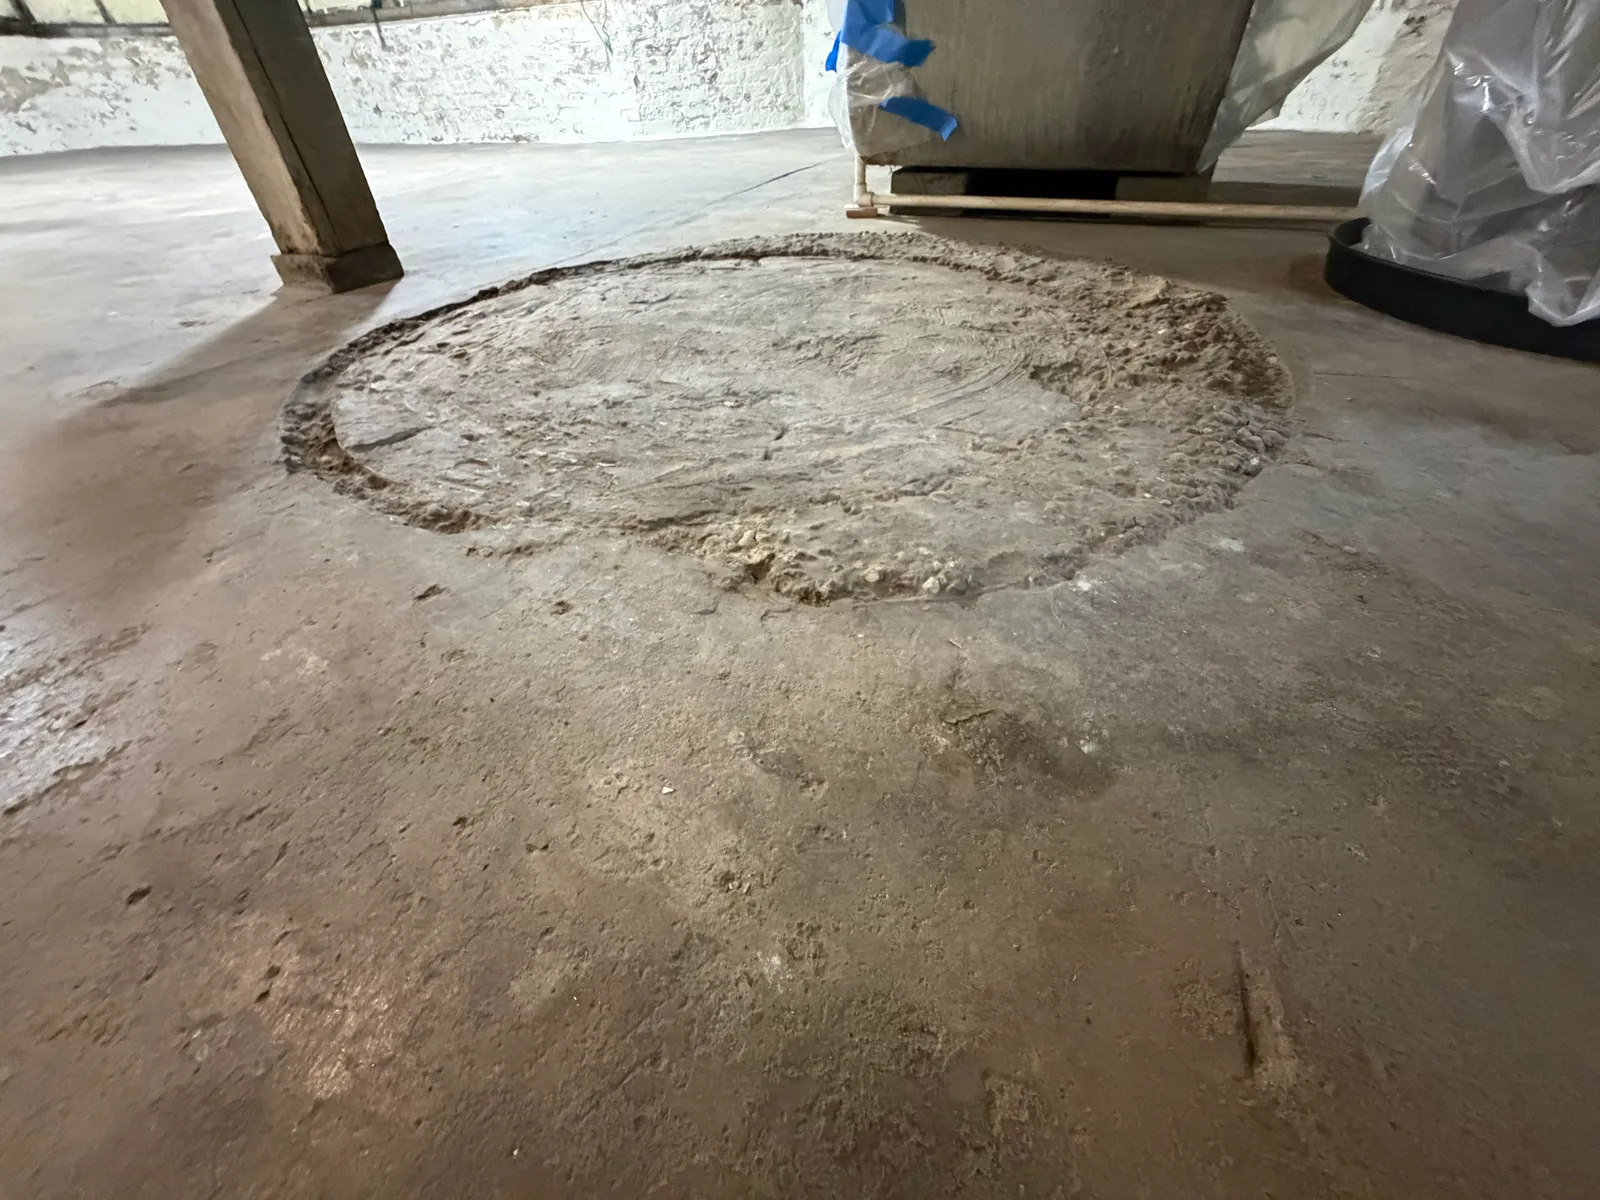
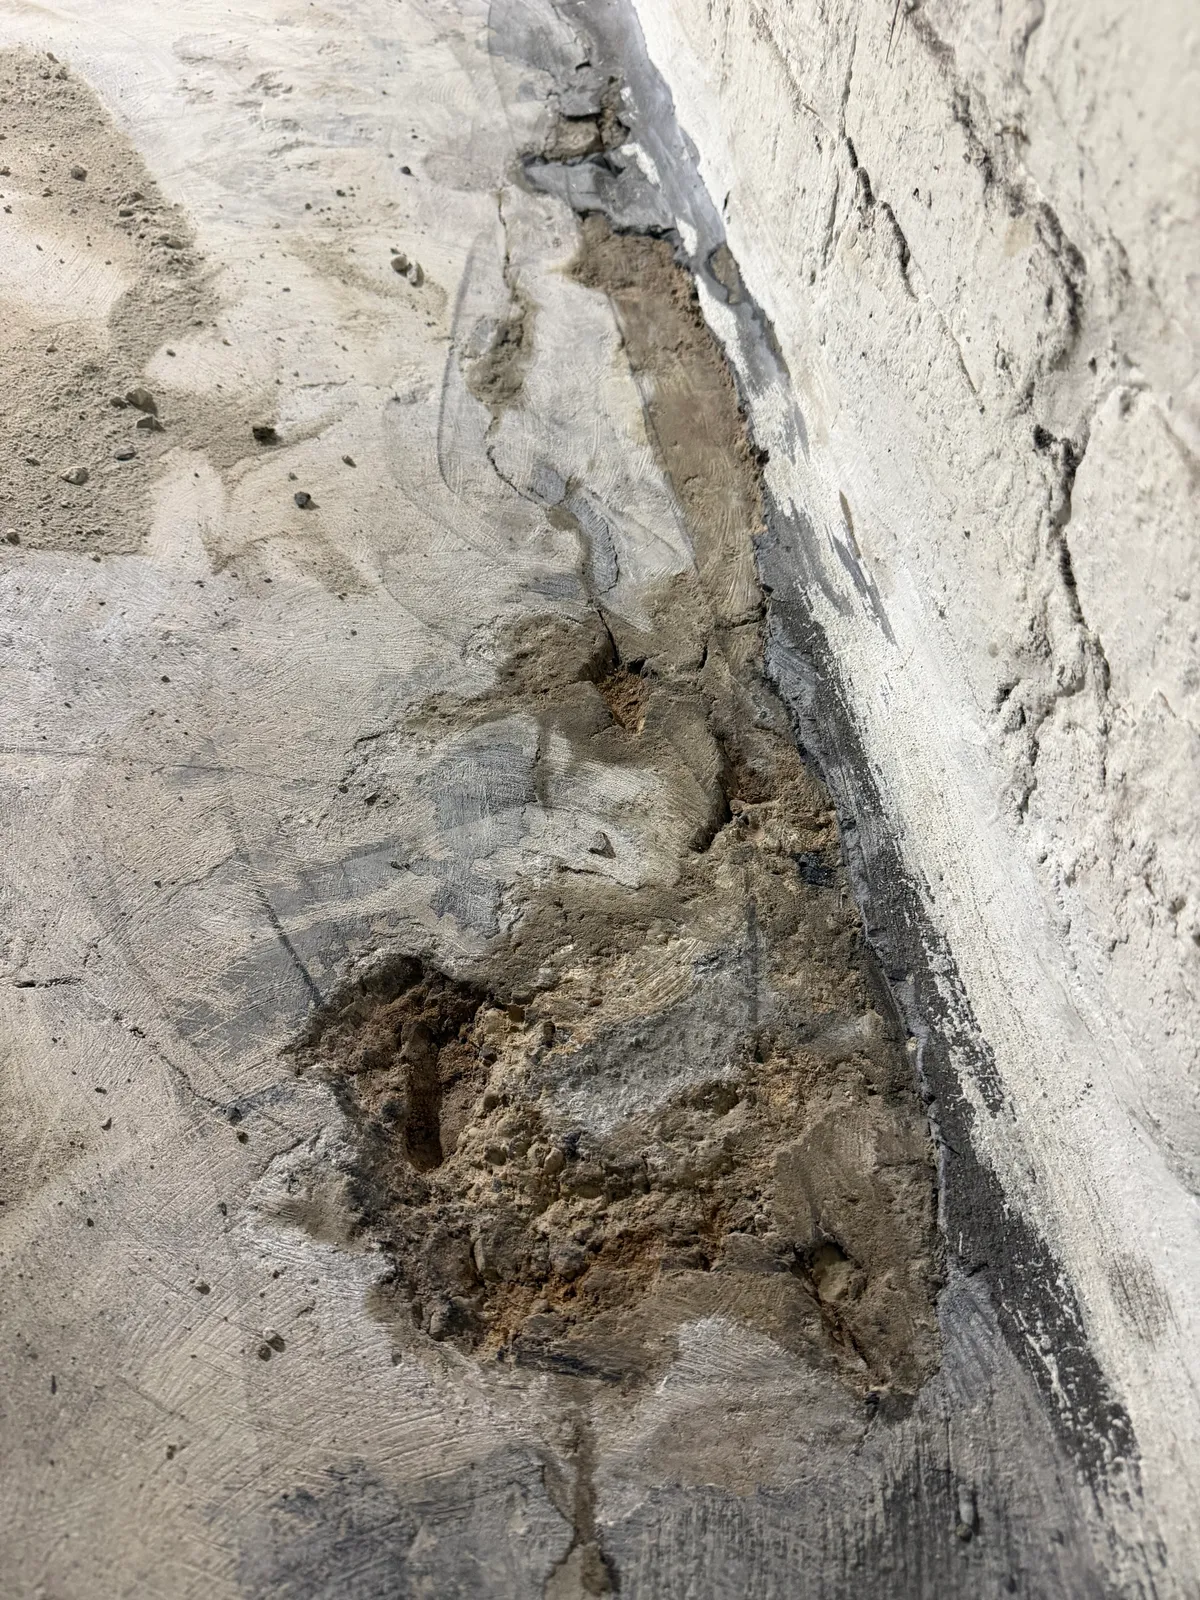
Prep started with clearing surface contaminants and then diamond grinding the whole floor. Grinding opens up the top of the concrete and gives it a rough profile, a bit like fine sandpaper, so the base coat can bite in and hold on instead of sitting on a smooth, sealed surface. After grinding, we cleaned the cracks of loose concrete and filled them with professional-grade repair material, along with smaller pits and imperfections. Filling cracks before the base coat matters because coating over an open crack just leaves a weak spot in the new floor.
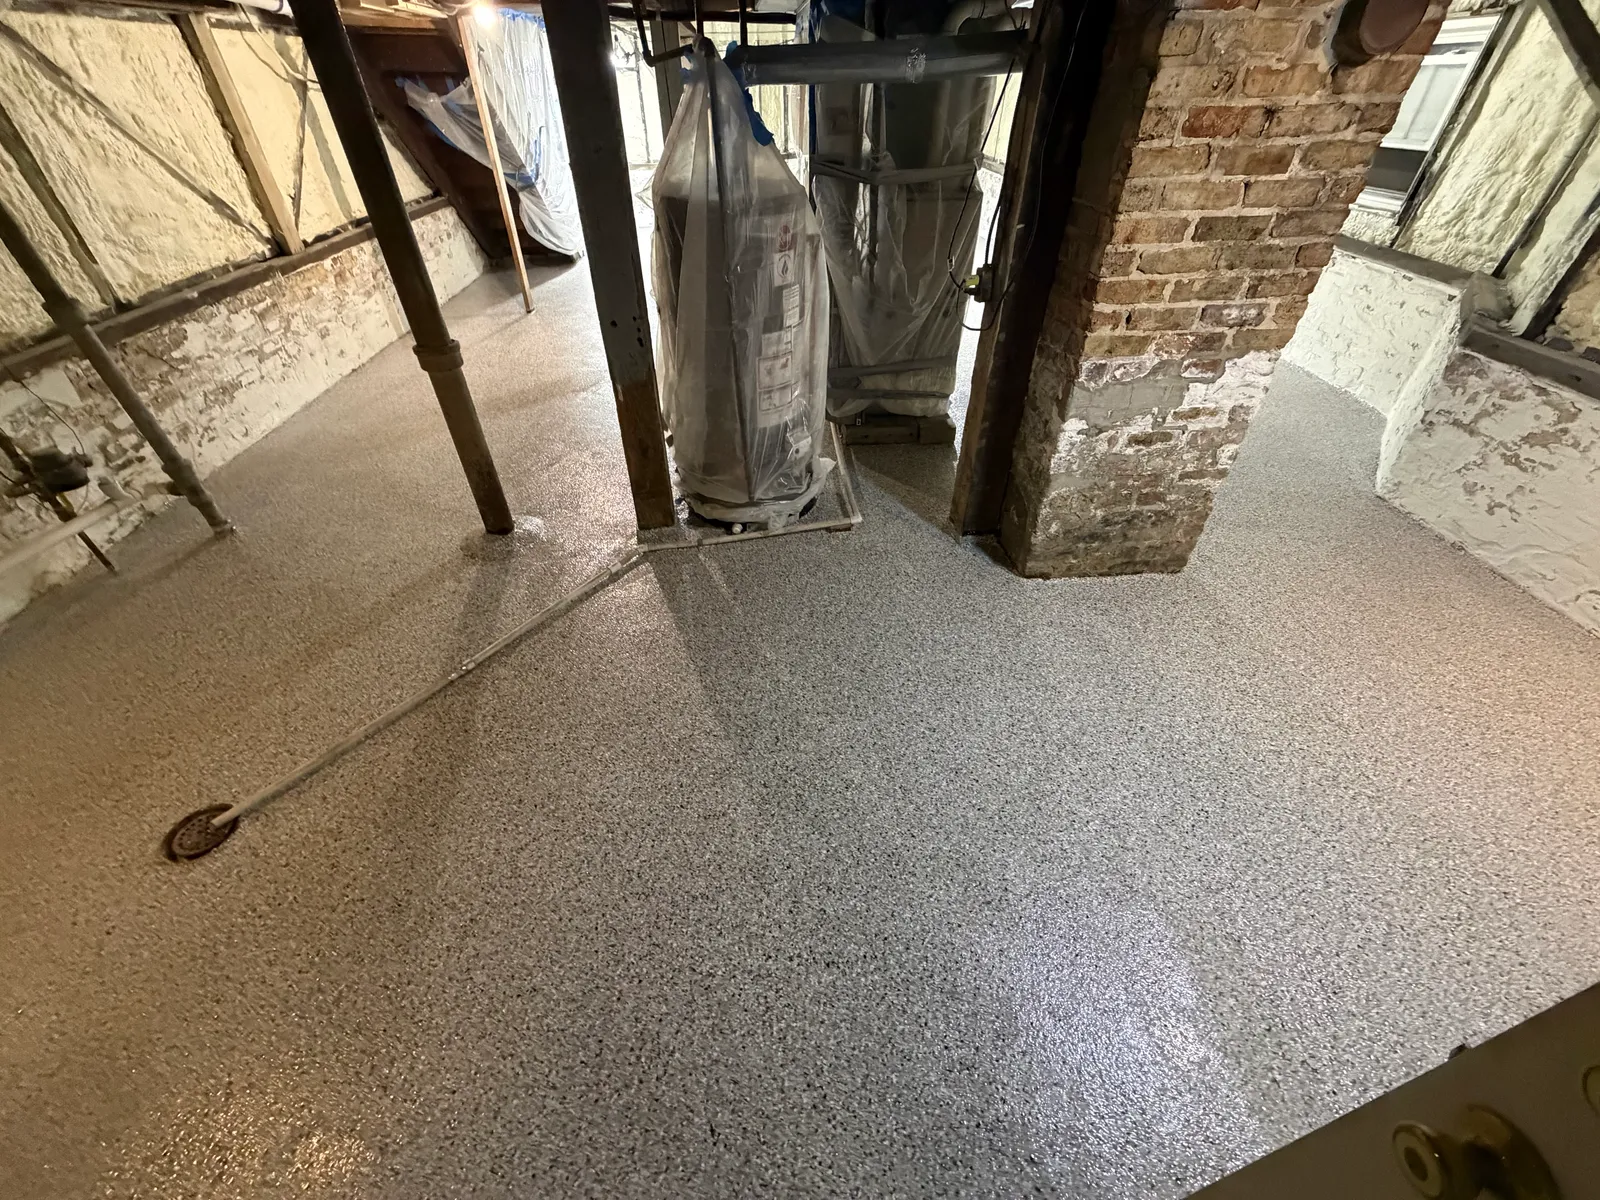
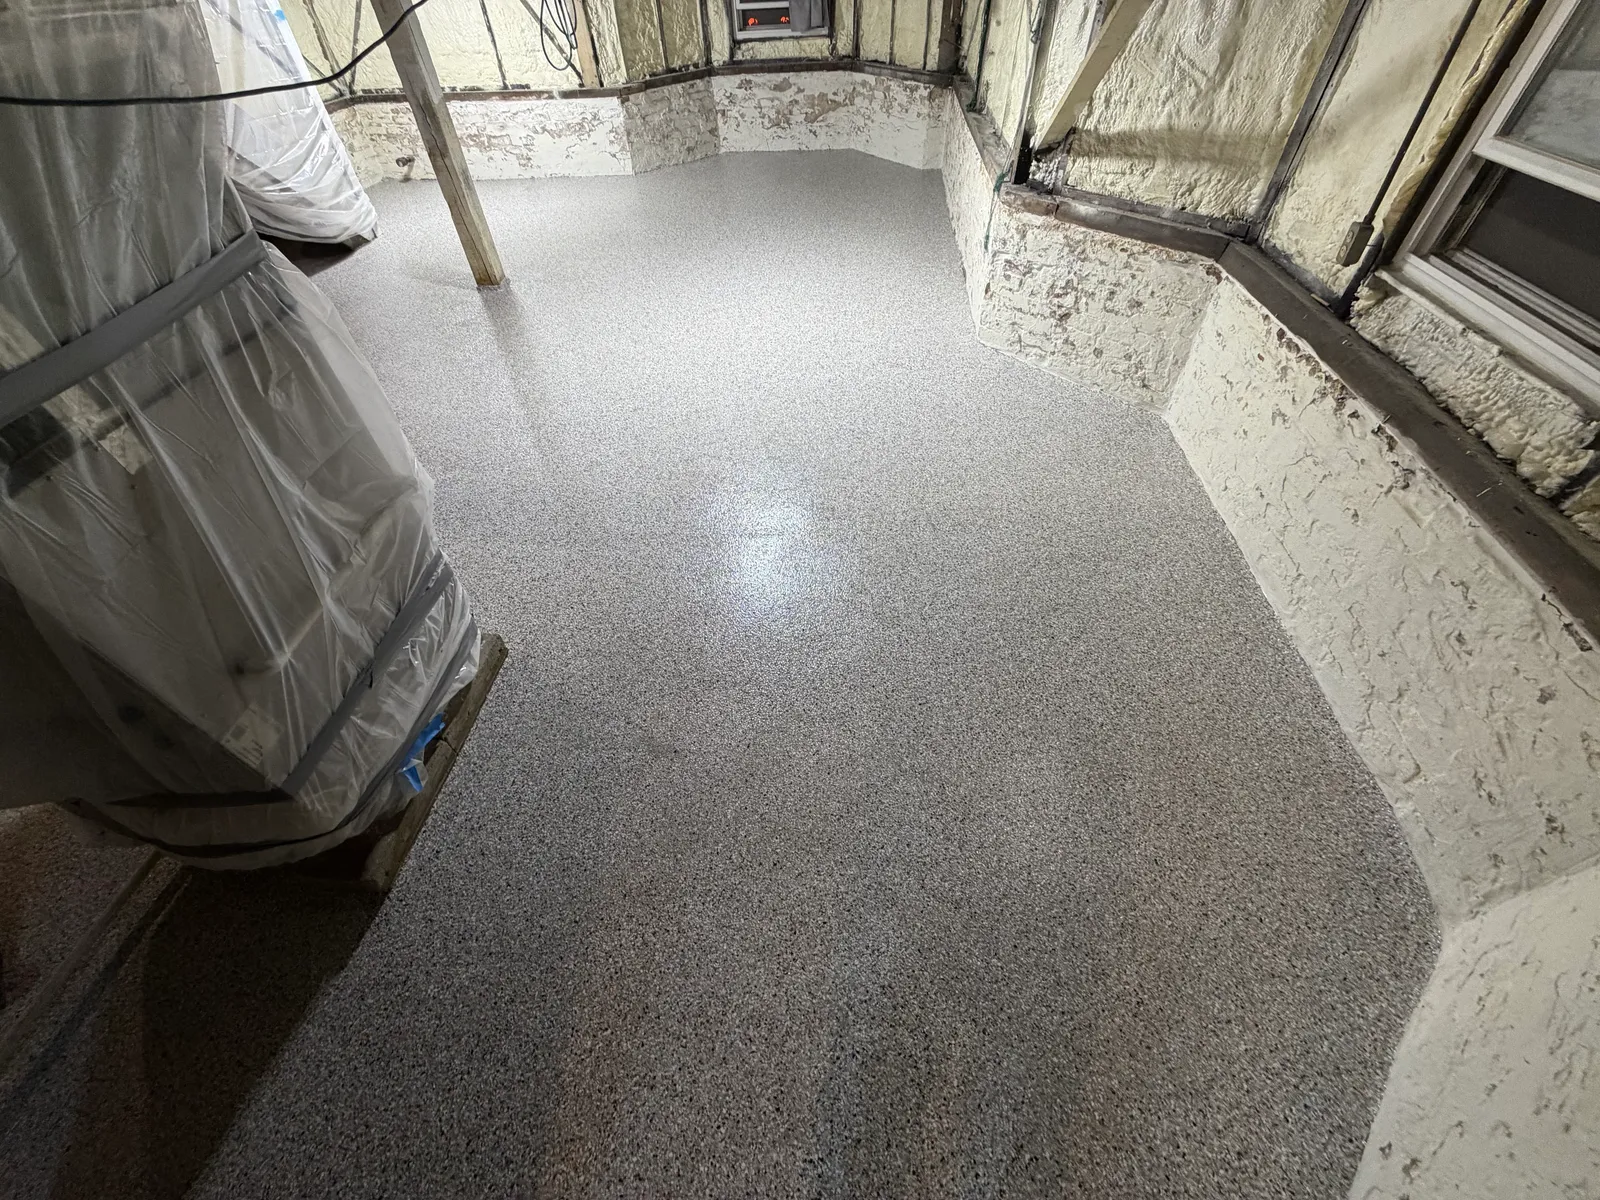
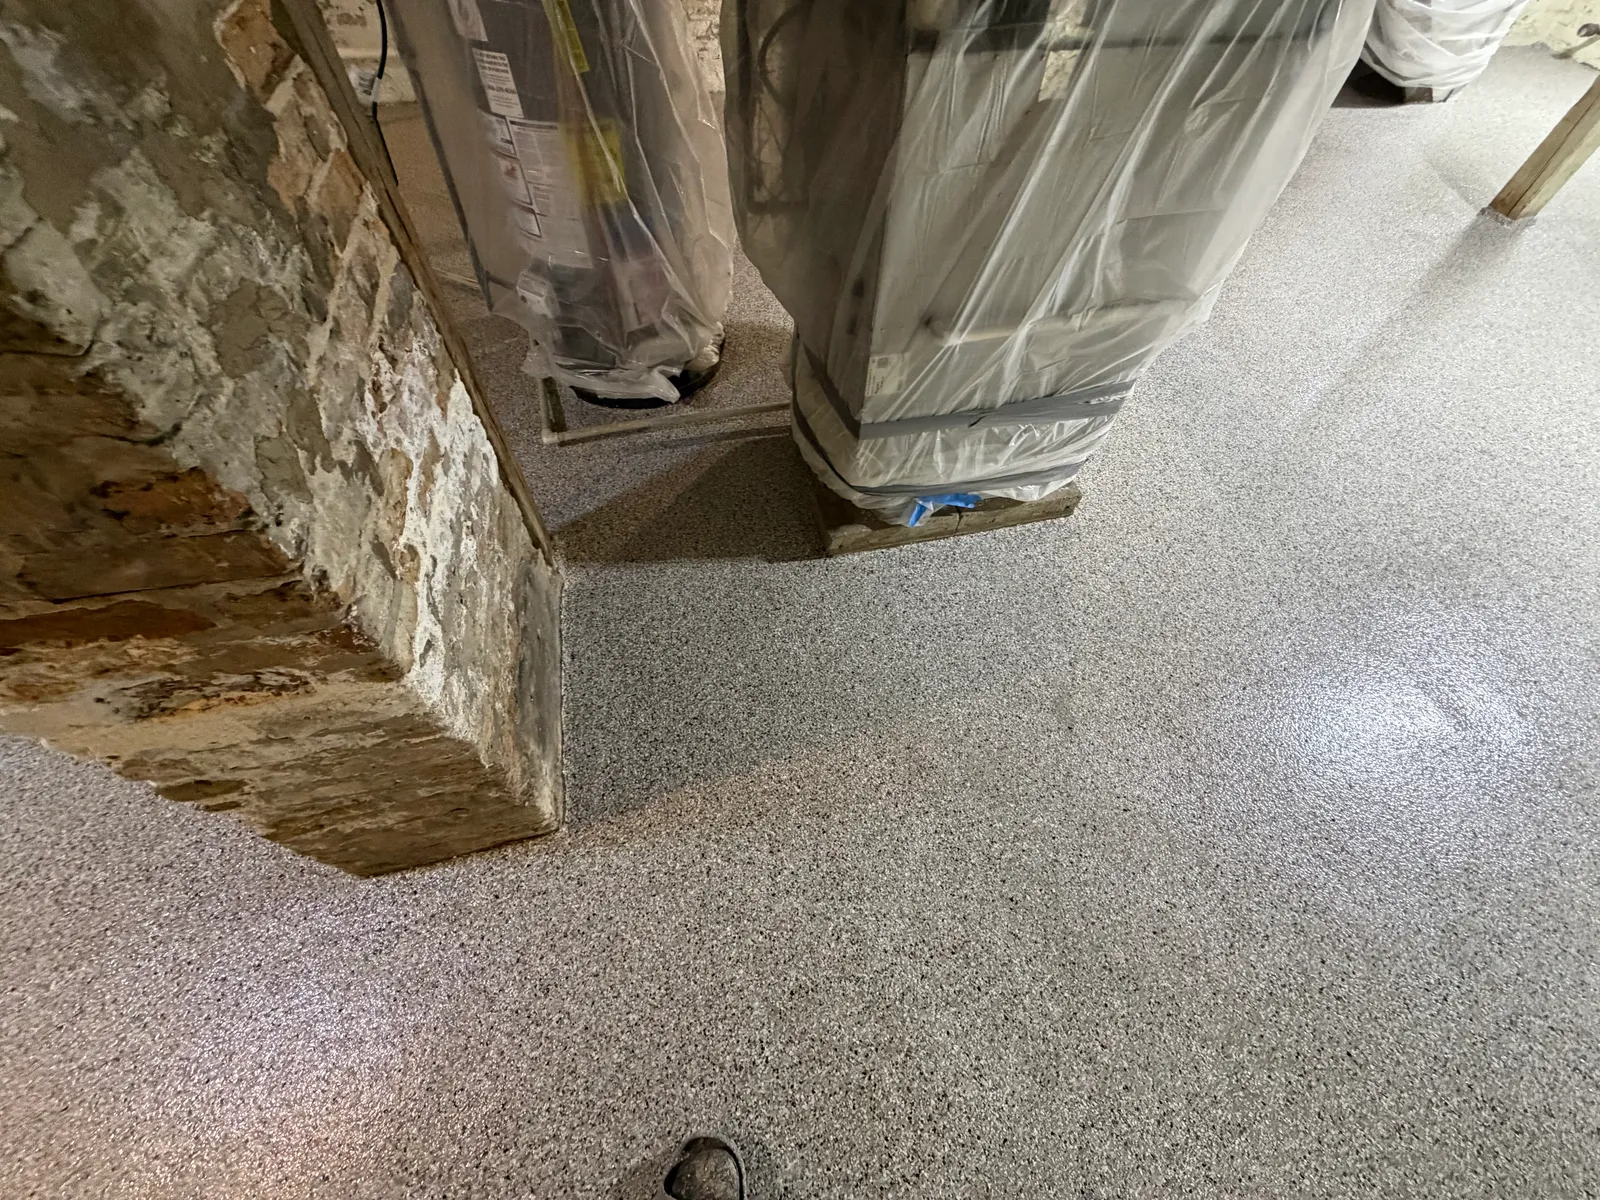
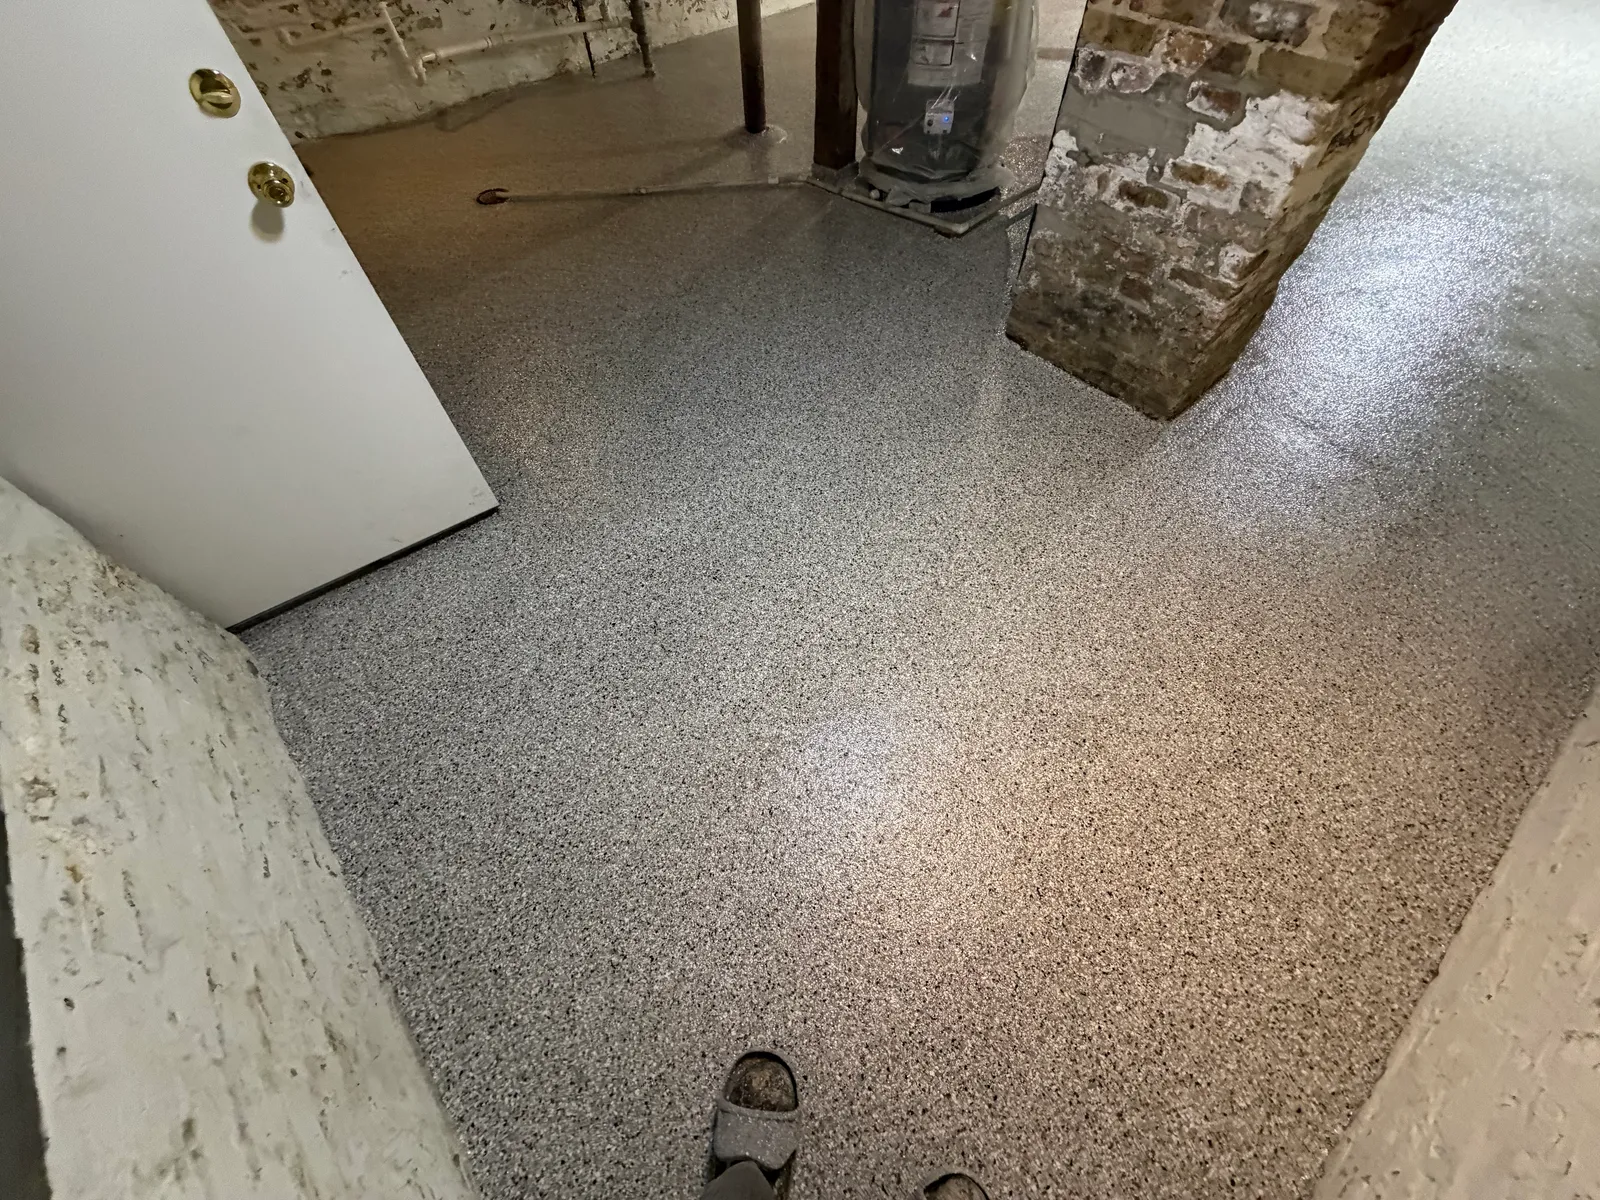
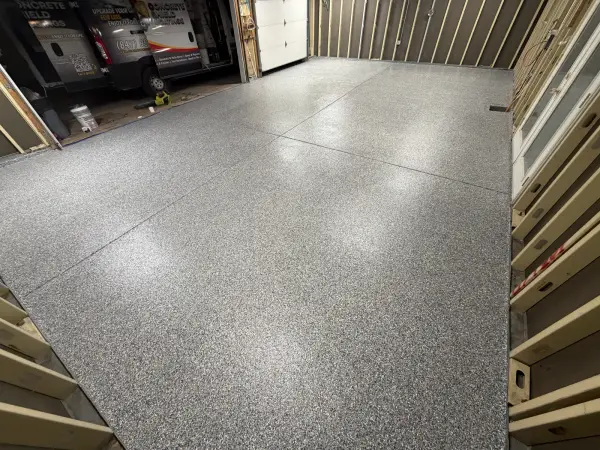
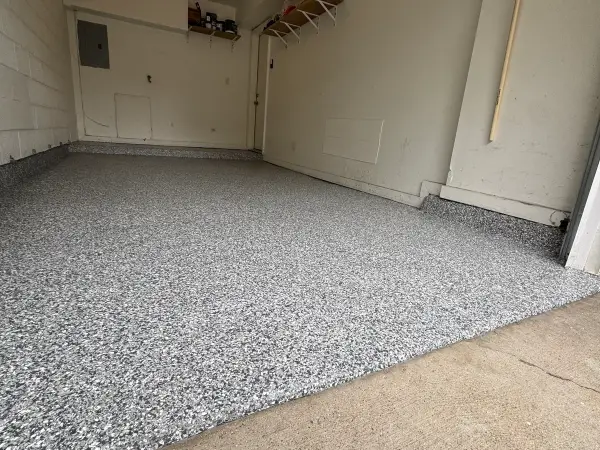
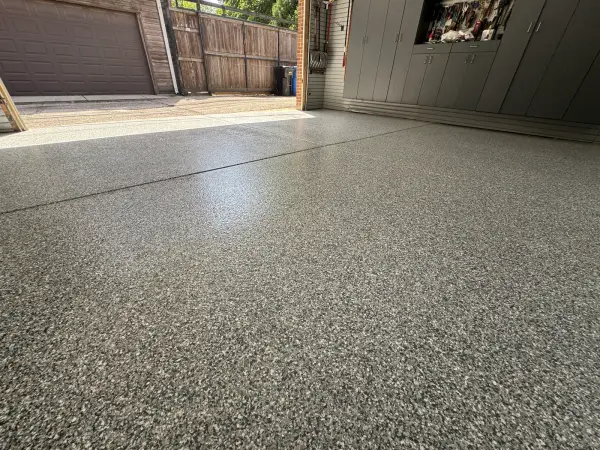
With the slab ready, we rolled out the polyurea base coat and broadcast decorative vinyl flakes into it to rejection, which means we kept adding flake until the wet coat couldn't take any more. That full broadcast gives even coverage with no bare patches showing through. Once it set, we scraped and vacuumed off the loose flake and applied a clear polyaspartic topcoat, the layer that handles abrasion and spills. If you want more on how this kind of polyurea basement floor system is built, we've laid it out in detail.
The whole install took us one day. The floor was ready for light foot traffic about 12 hours after the topcoat went down, ready for normal use after about 48 hours, and fully cured in about 5 days. If you have a similar basement and you're weighing polish, epoxy or something else, it's worth reading how polyurea systems for basements compare, since that's the same choice this homeowner worked through before we started.