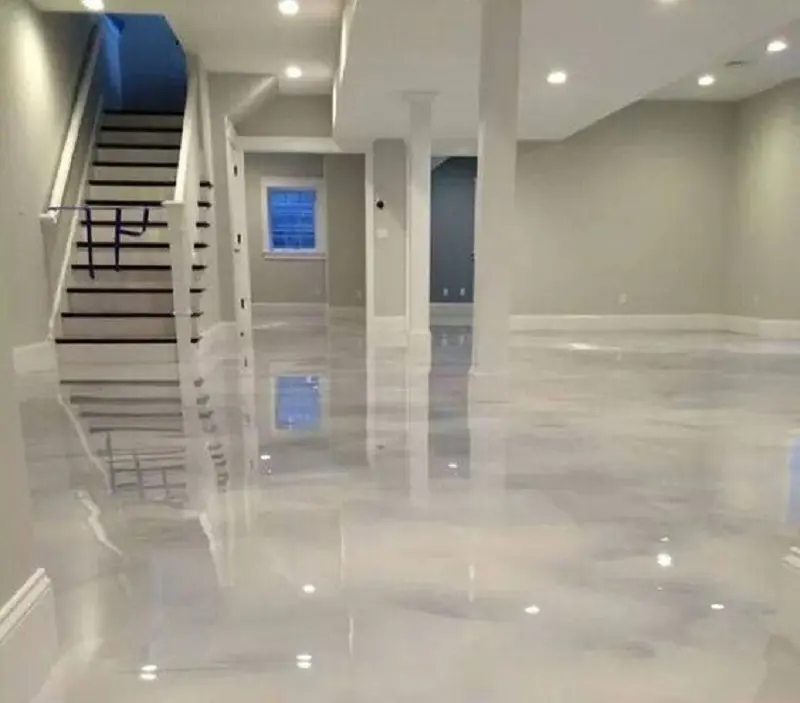
Moisture-tested epoxy basement floor systems with a polyaspartic topcoat — built for
damp Chicago slabs. Mold-resistant, low-VOC and easy to clean. Installed in 1–2 days by a local crew.
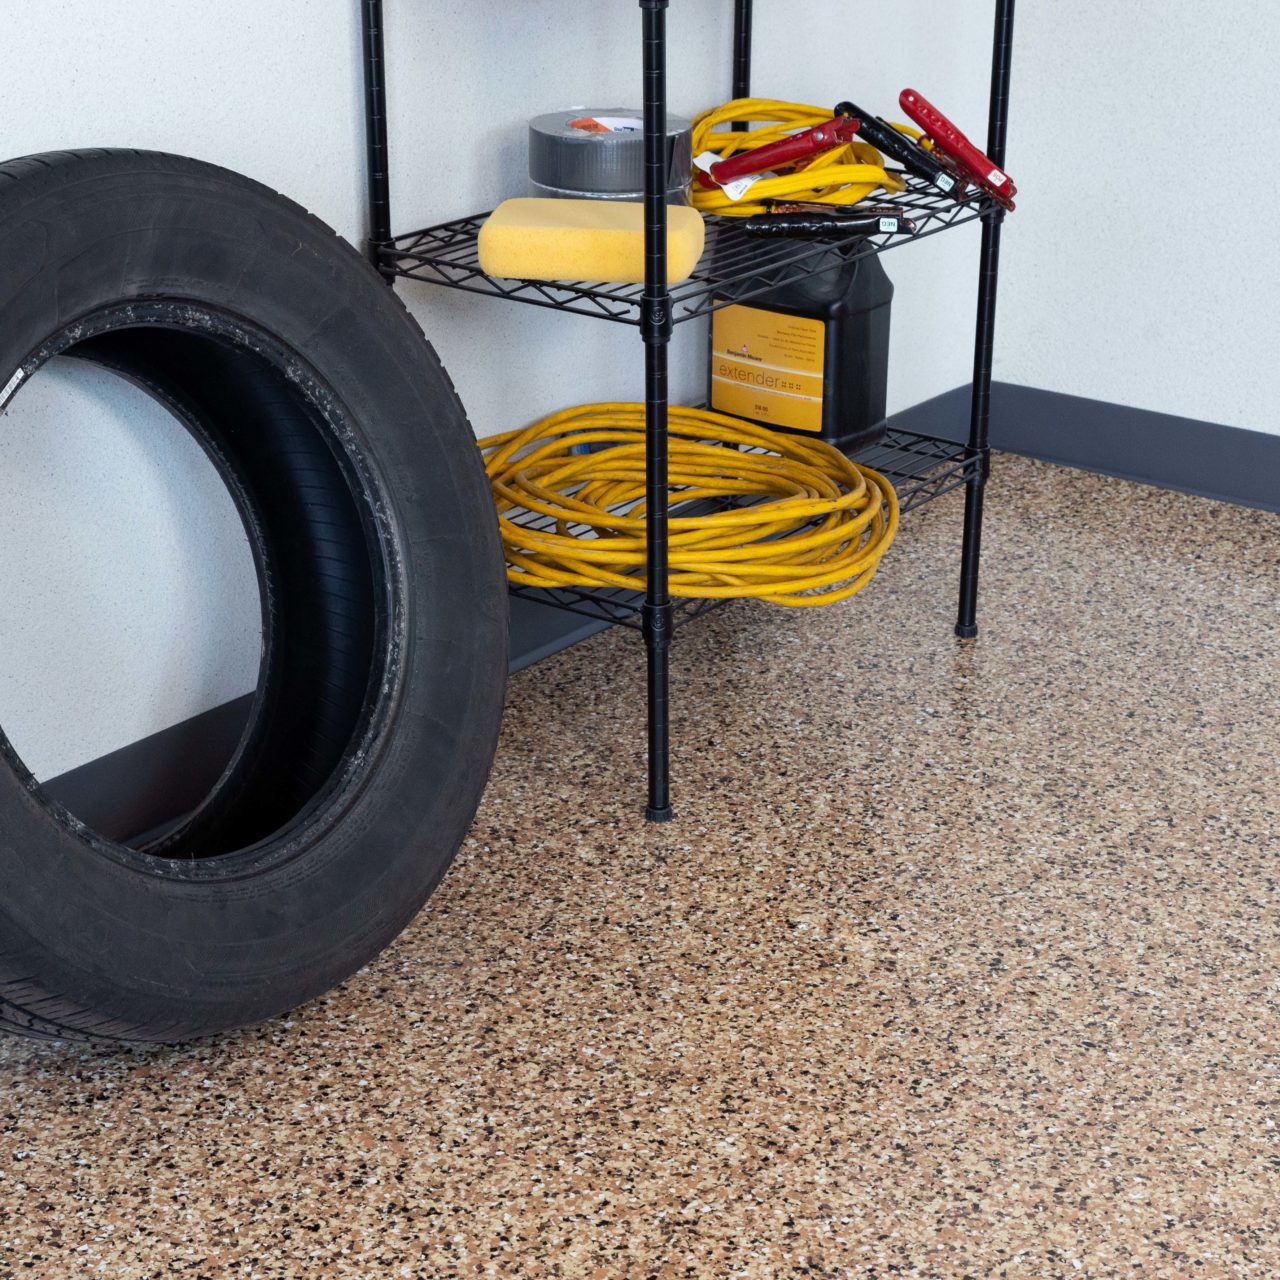
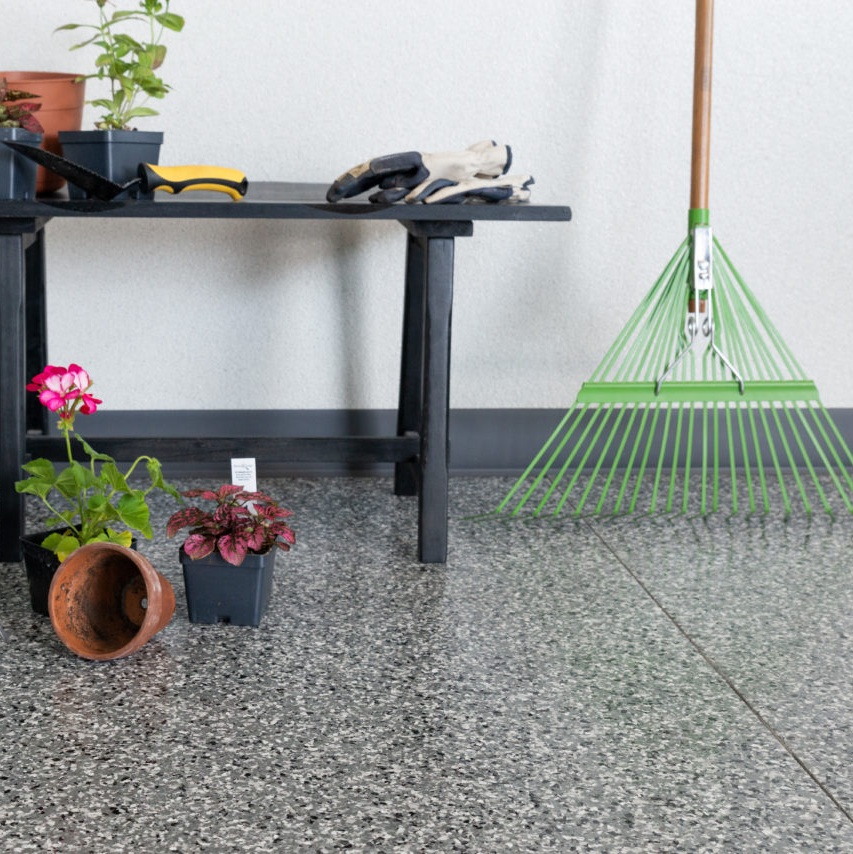
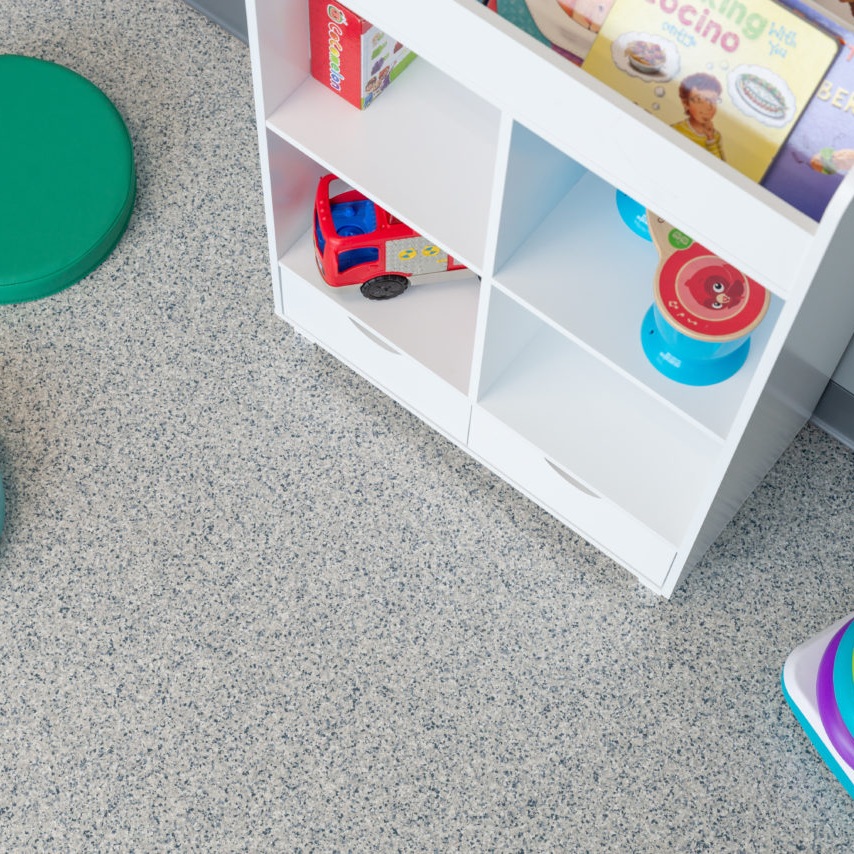
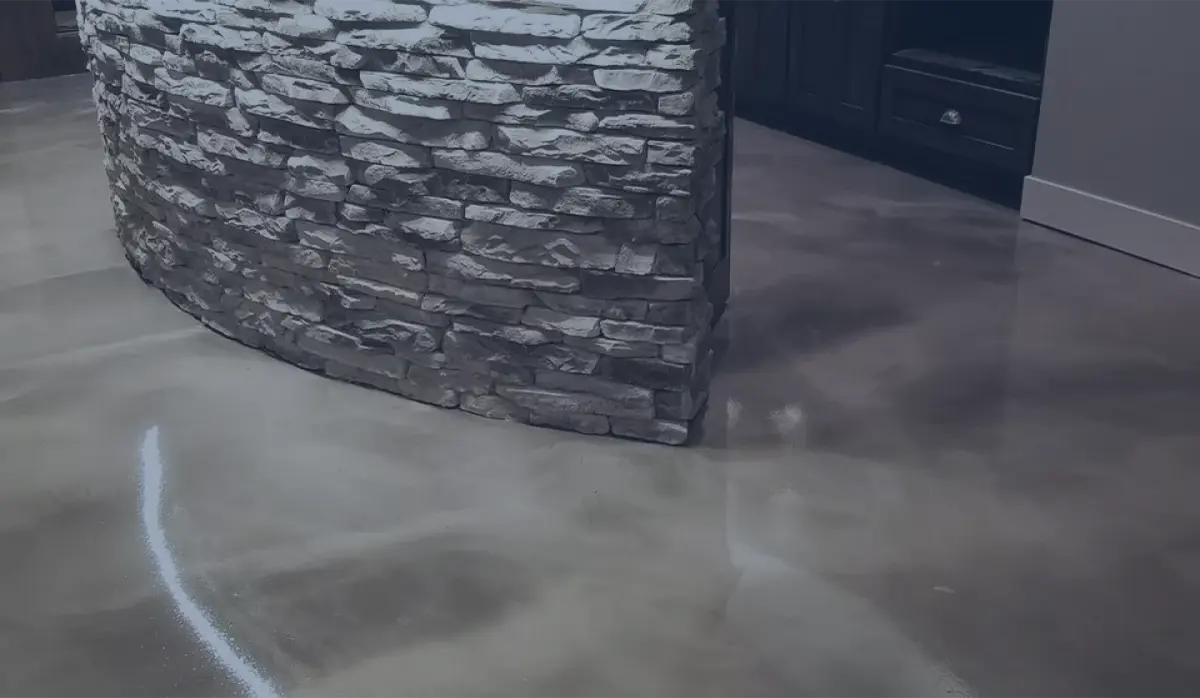
For Chicago homeowners, basements are family rooms, home gyms, laundry, workshops and play
areas — but the bare concrete floor is usually the thing holding the space back. It's dusty,
cold, stains easily, and lets vapor and efflorescence migrate through the slab.
A coated basement floor seals the slab against vapor and minor seepage, gives mold and
mildew nothing to feed on, and turns the room into a finished, easy-to-clean surface.
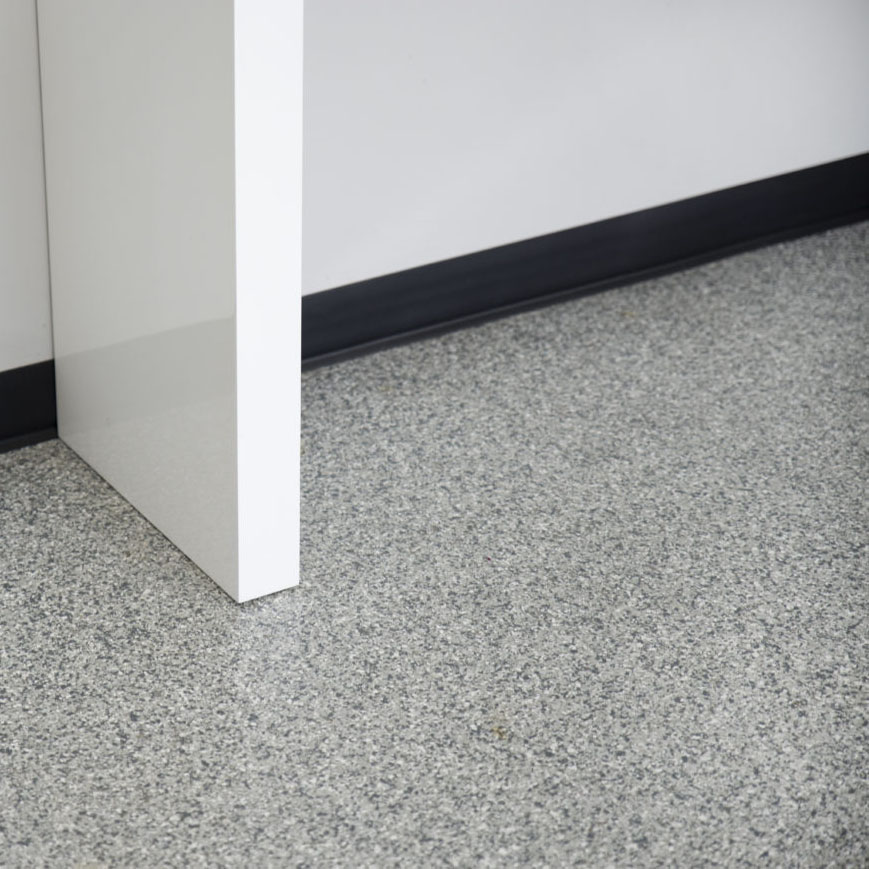
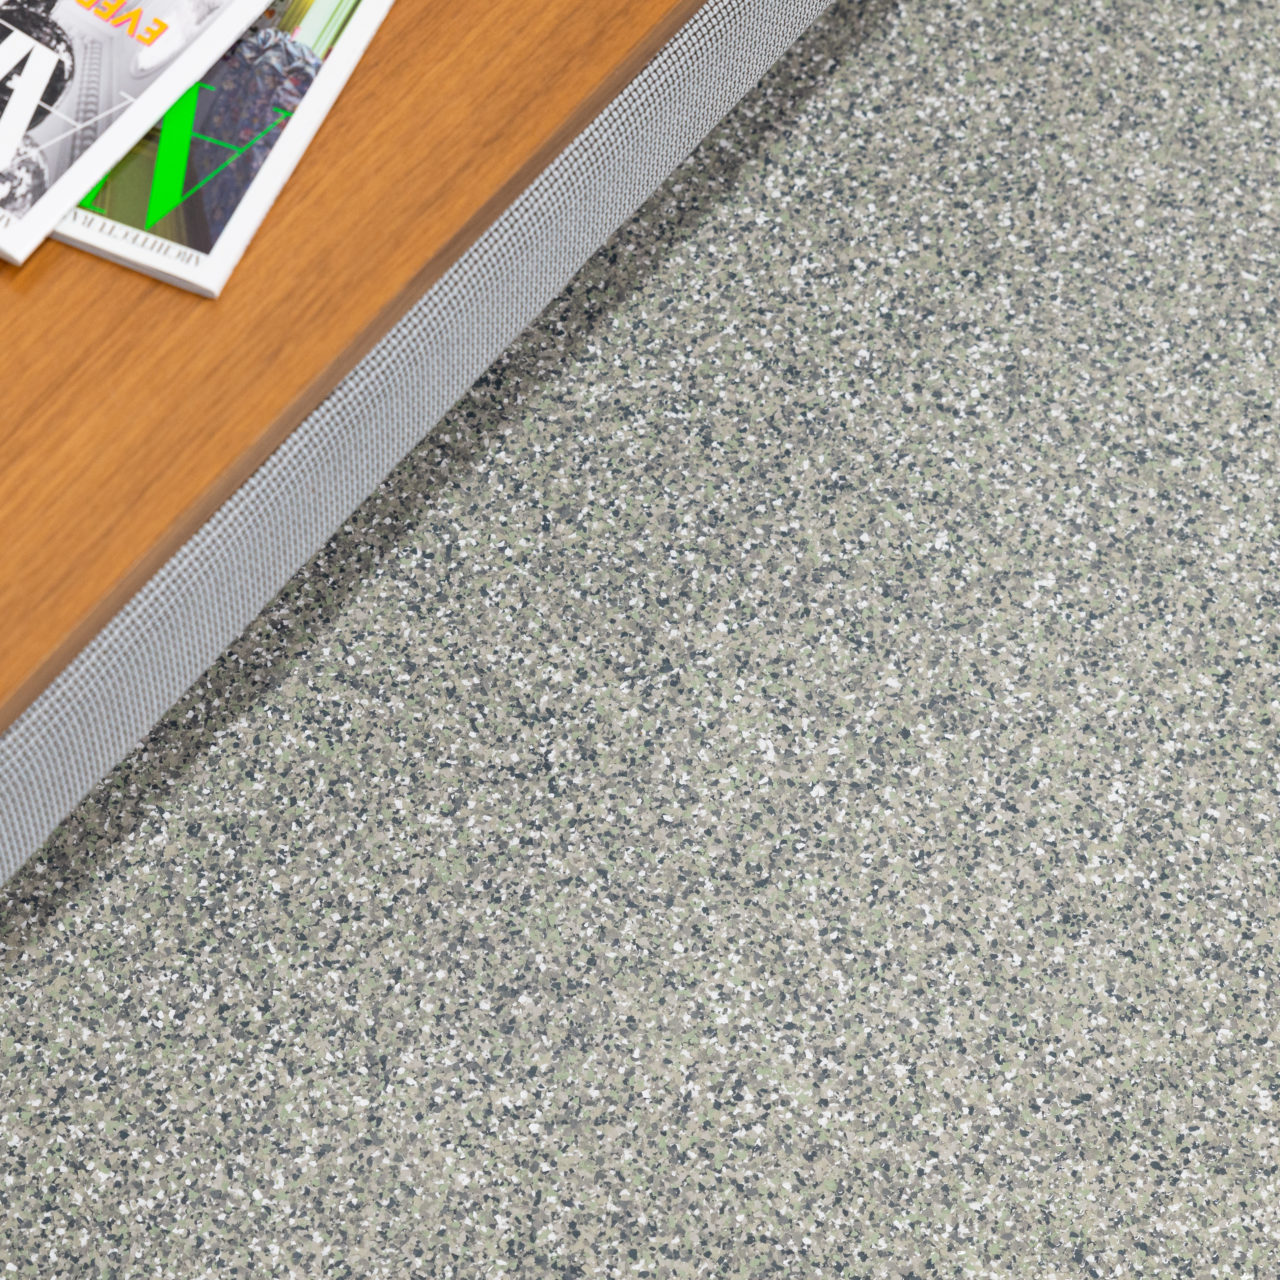
Every basement we coat gets the same layered system — diamond-ground prep, crack repair,
a moisture-barrier primer, a pigmented epoxy
basecoat (with flake or solid color), and a clear polyaspartic topcoat. It's the system
we'd put in our own basements.
Mold & mildew resistant Wipes clean — no dust on socks Seals against vapor & minor seepage 5-year written warranty
Transparent Pricing
What Does a Basement Floor Coating Cost?
Honest ranges for Chicago basements — including diamond-ground prep, crack repair, moisture-mitigating primer (when needed), materials and labor.
Small Basement
$1,500–2,400
Approx. 300–400 sq ft
Moisture & RH test
Diamond-ground prep
Crack & joint repair
Pigmented epoxy basecoat
Flake or solid color
Polyaspartic topcoat
Most Popular
Medium Basement
$2,600–4,200
Approx. 500–700 sq ft
Moisture & RH test
Diamond-ground prep
Crack & joint repair
Pigmented epoxy basecoat
Decorative flake broadcast
Polyaspartic topcoat
Large / Finished
$4,400–6,800
Approx. 800–1,200 sq ft
Moisture & RH test
Diamond-ground prep
Multi-room layout planning
Flake, solid or metallic finish
Slip-resistant laundry & utility zones
Polyaspartic topcoat
Laundry / Utility
Custom Quote
Laundry · Mechanical · Mudroom
Slip-resistant flake or quartz
Coved-up edges on request
Around sump pumps & drains
Chemical-resistant topcoats
Heavier appliance traffic rated
5-year written warranty
Ranges assume concrete in normal condition. Active moisture, heavy spalling or previously painted floors may need a moisture-mitigating primer or extra prep — we'll flag those costs in writing before any work begins. Questions about pricing? Call (847) 999-6330 →
Design Options
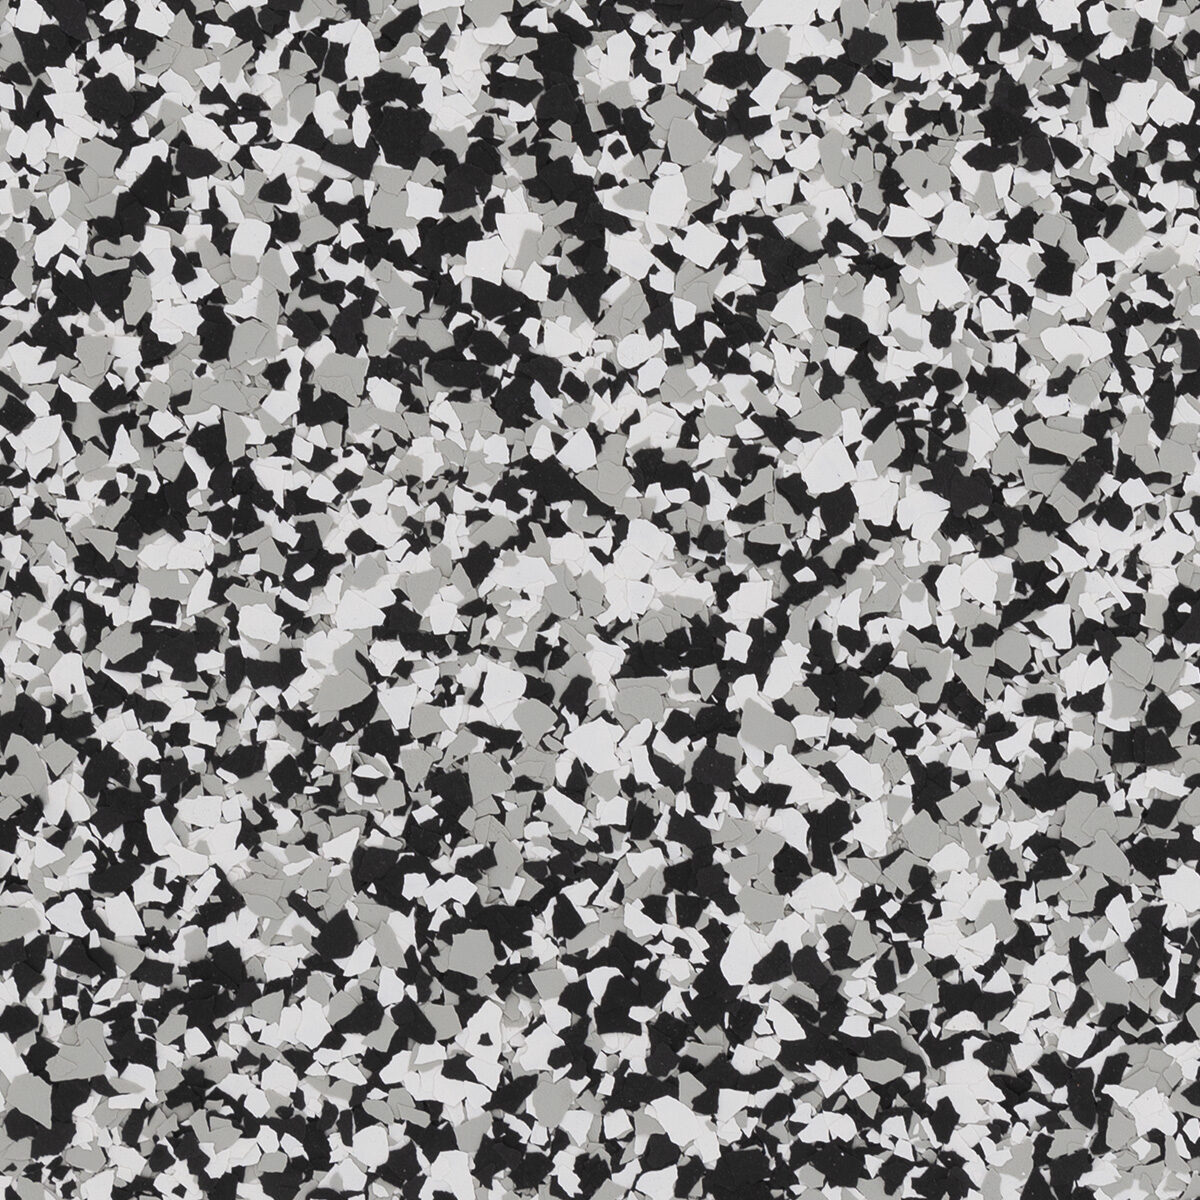
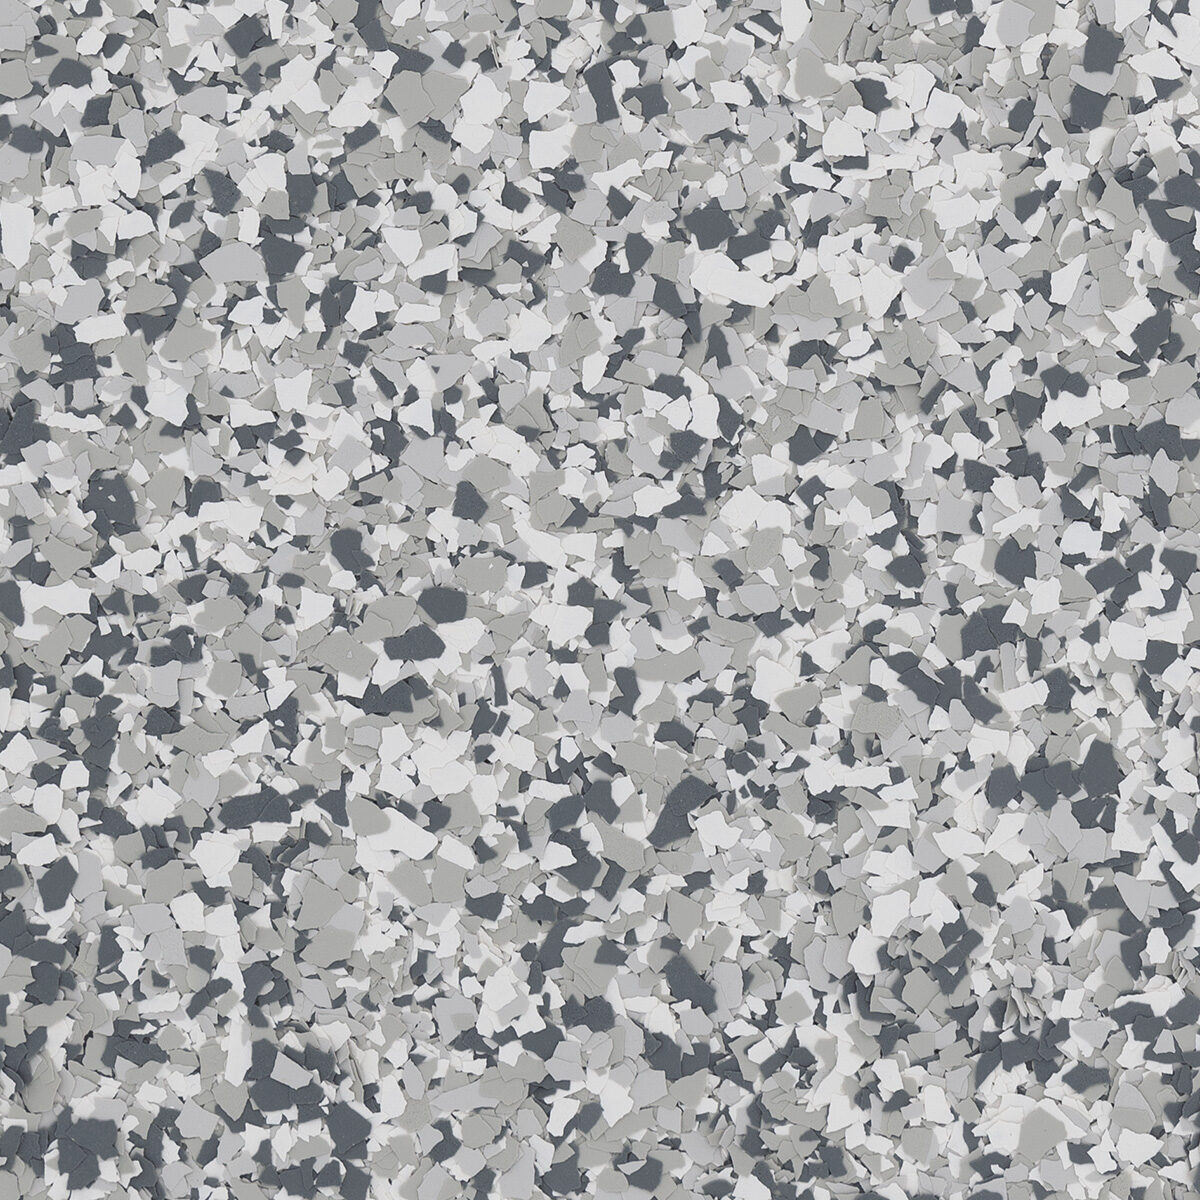
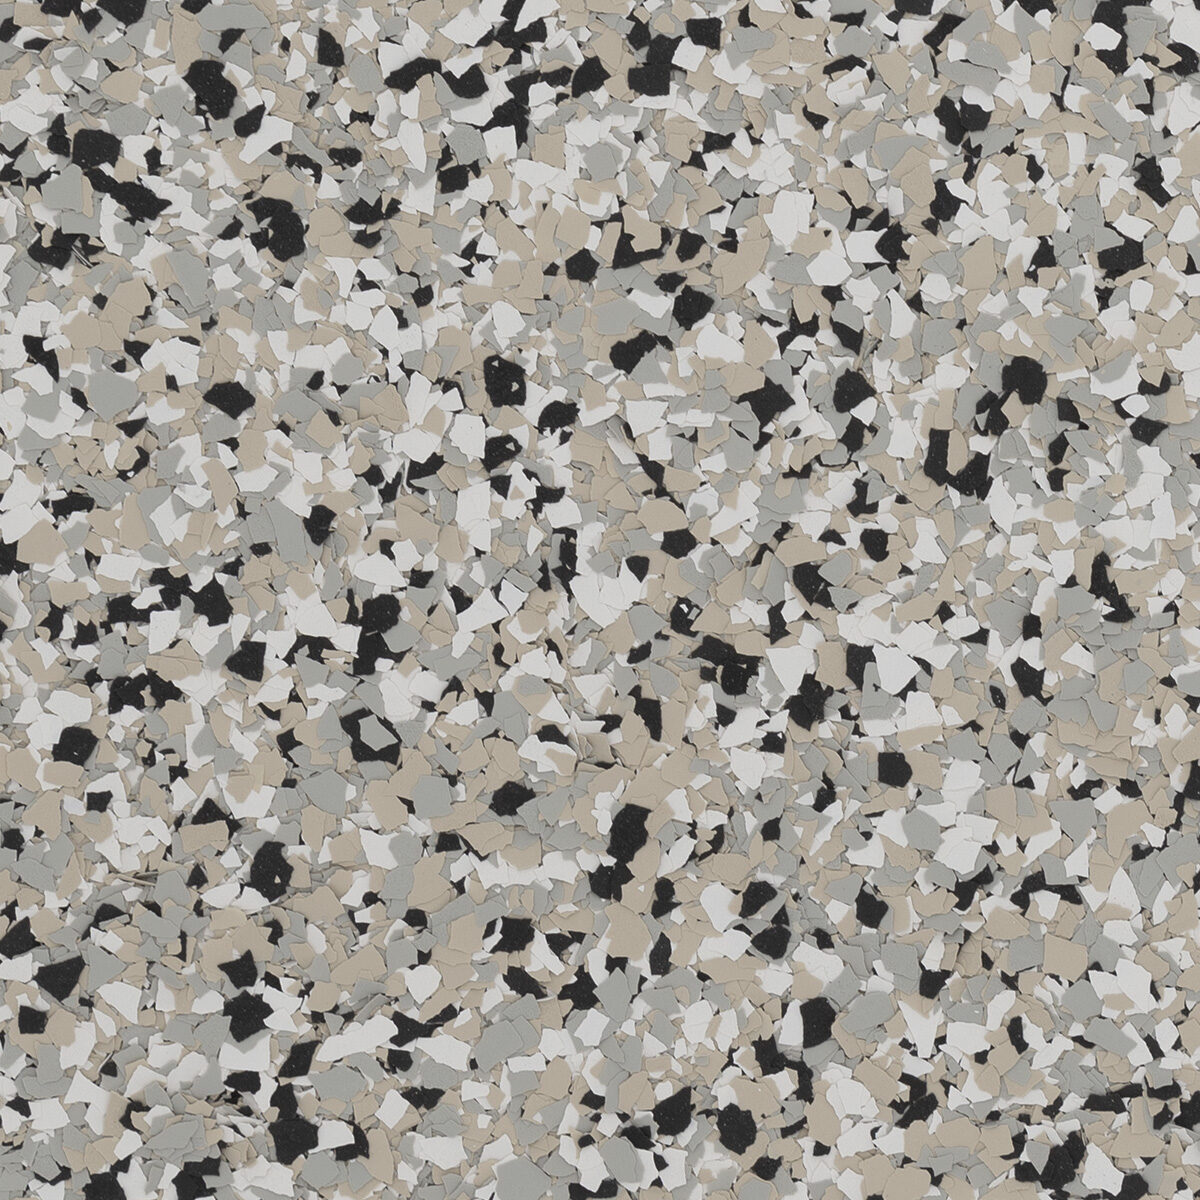
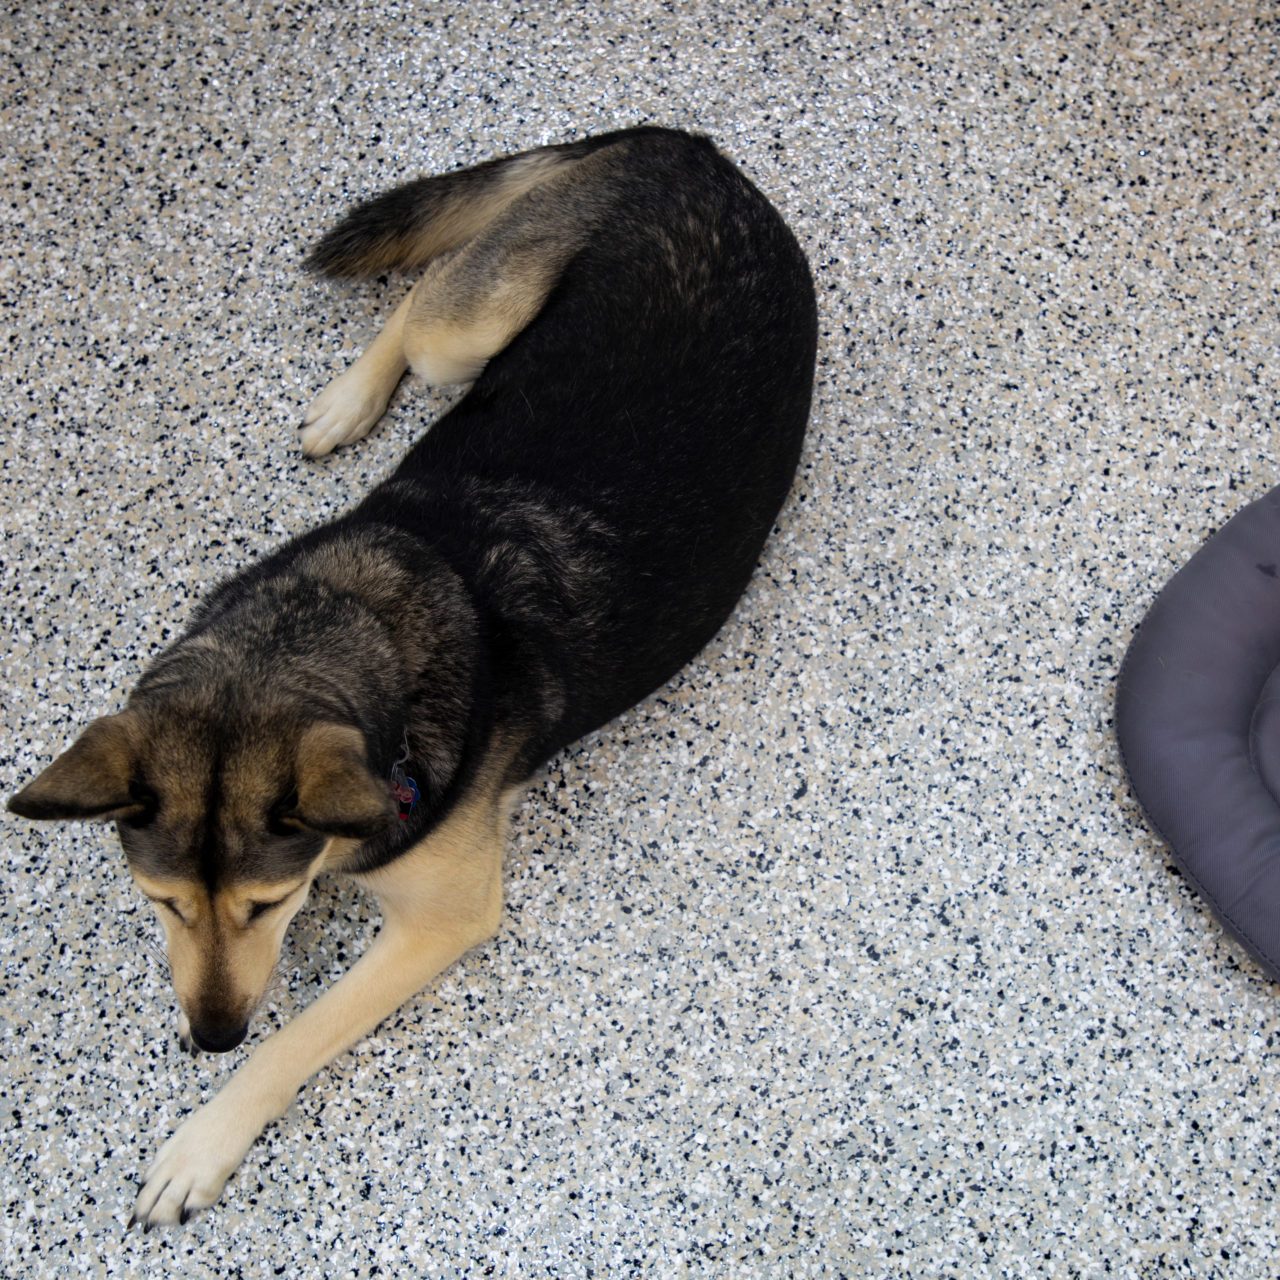
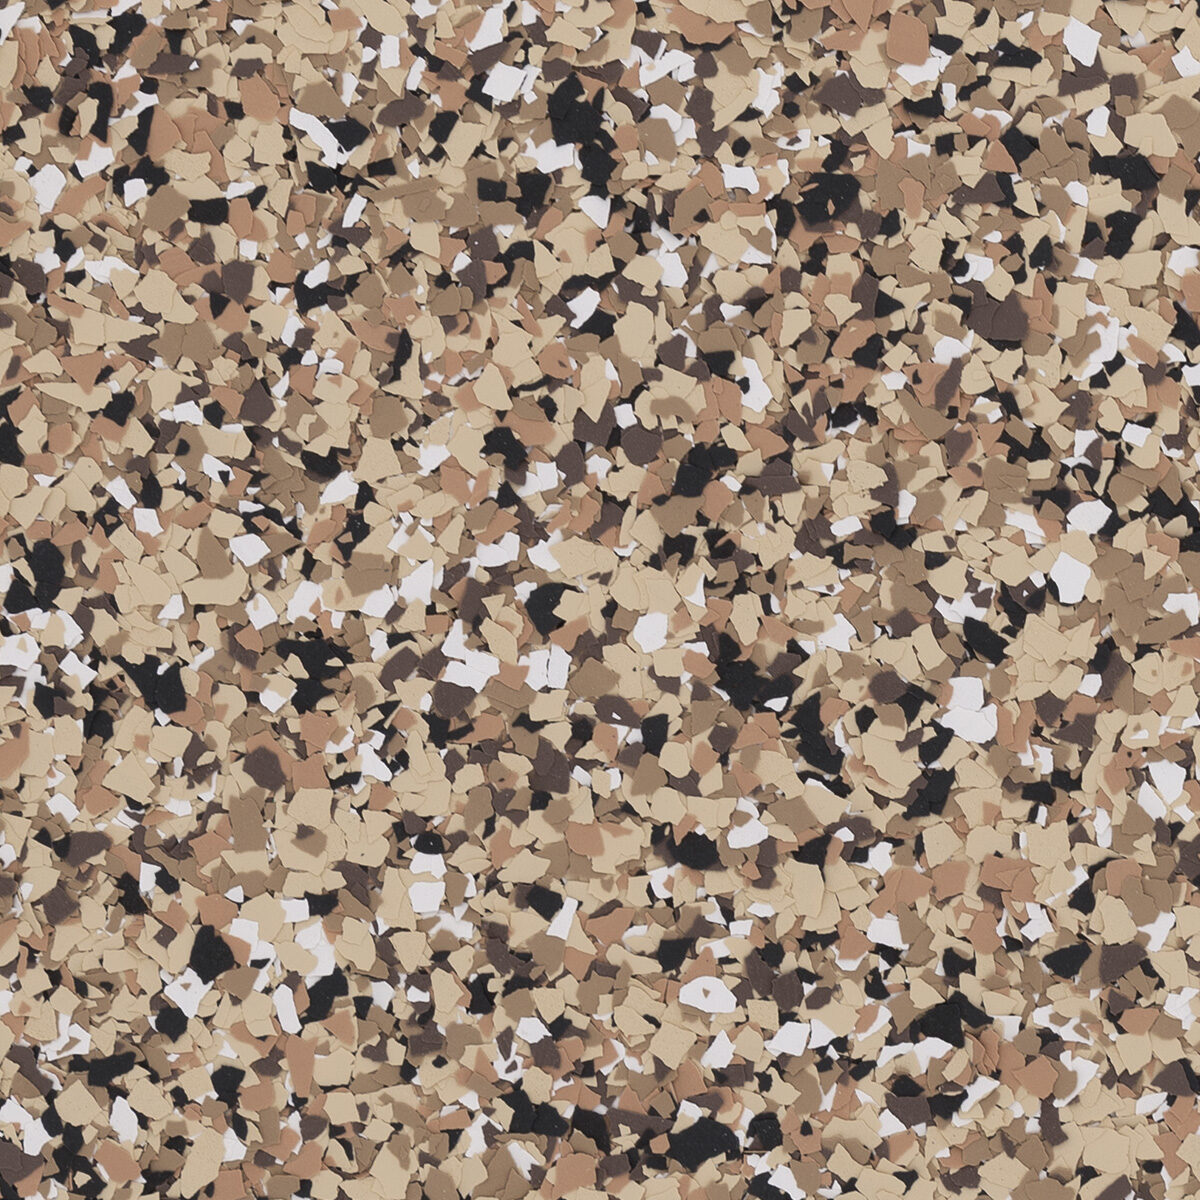
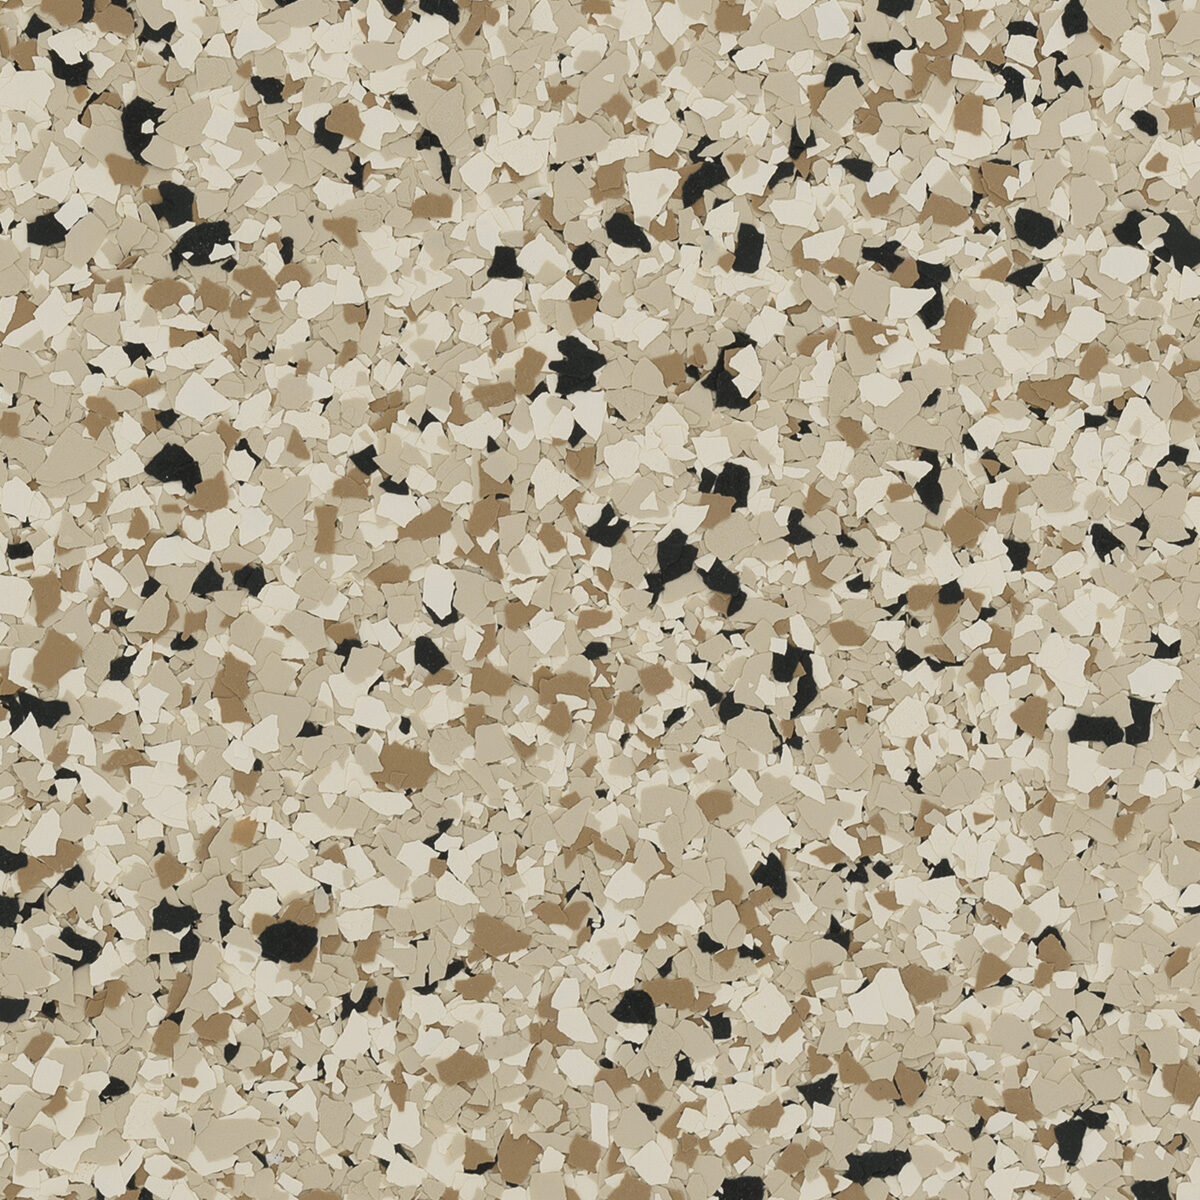
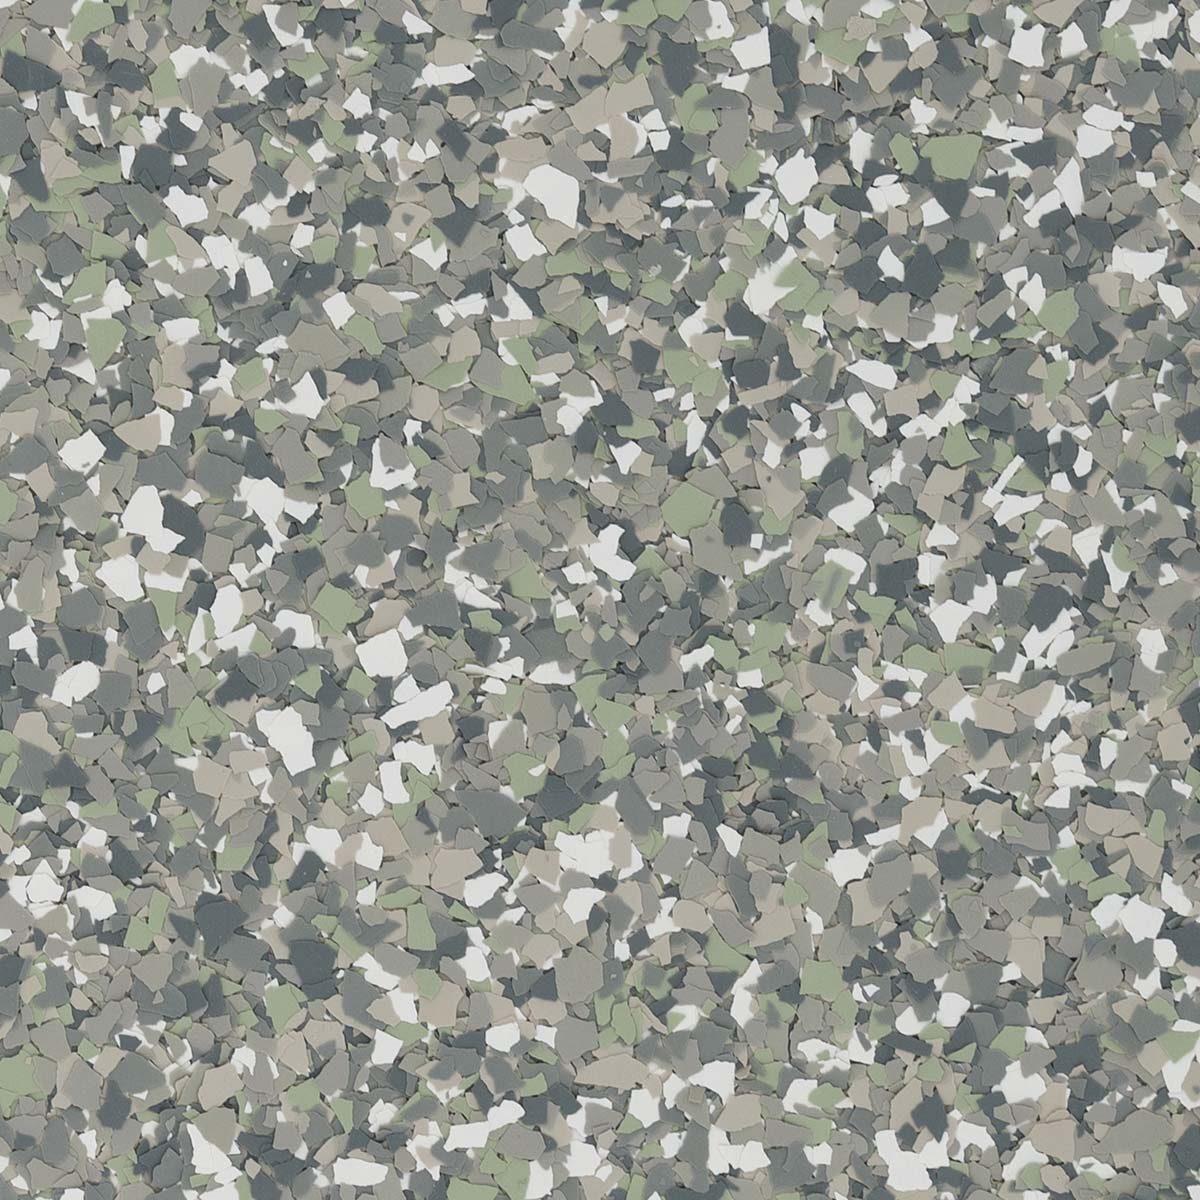
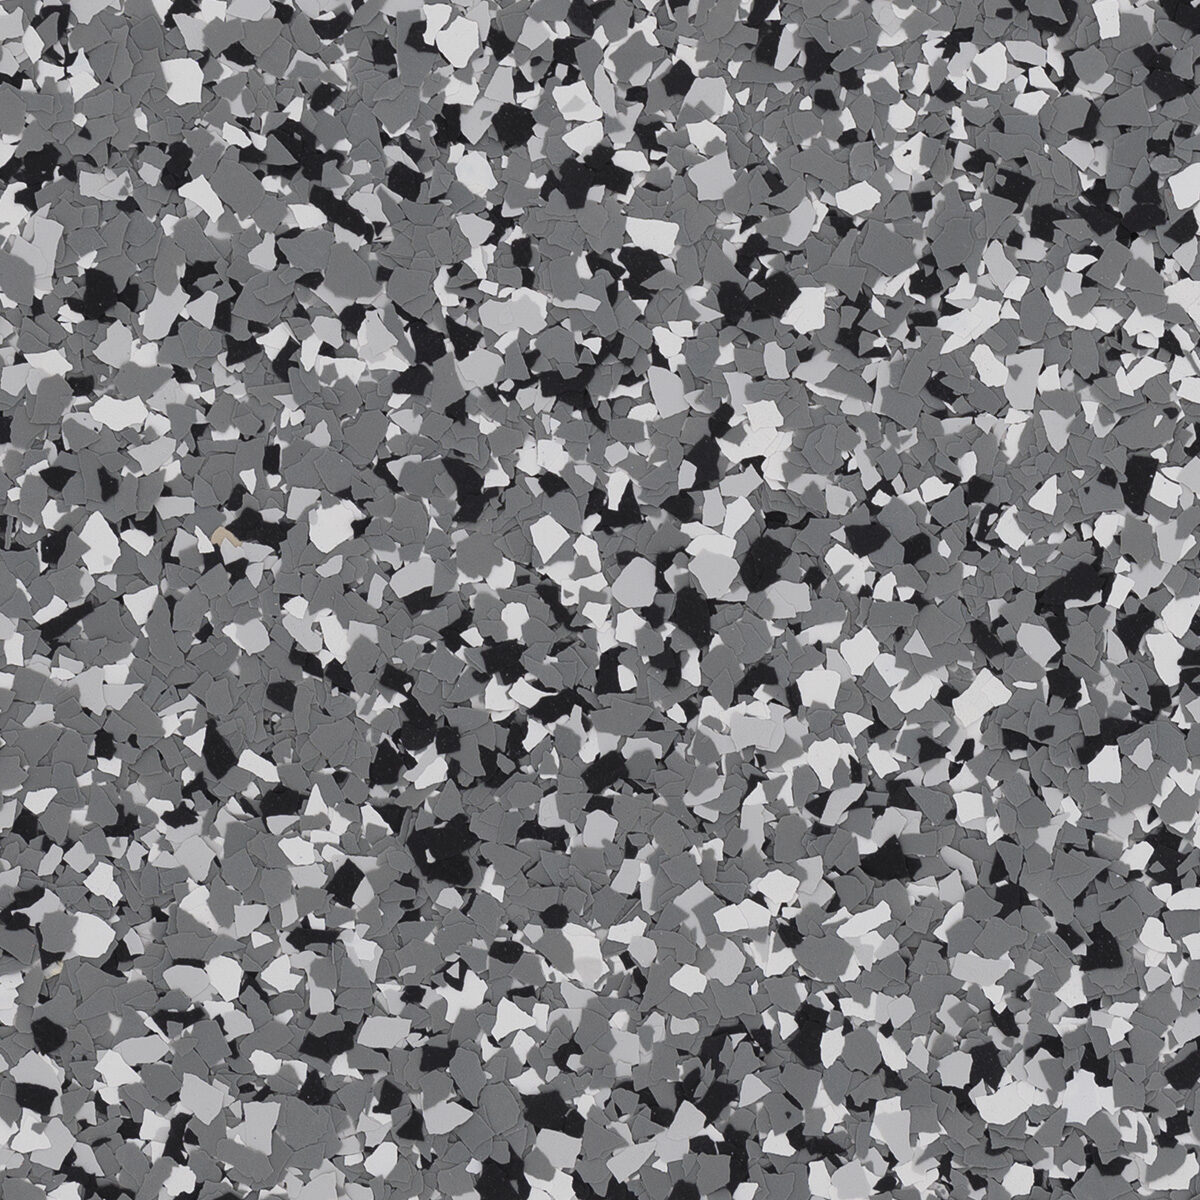
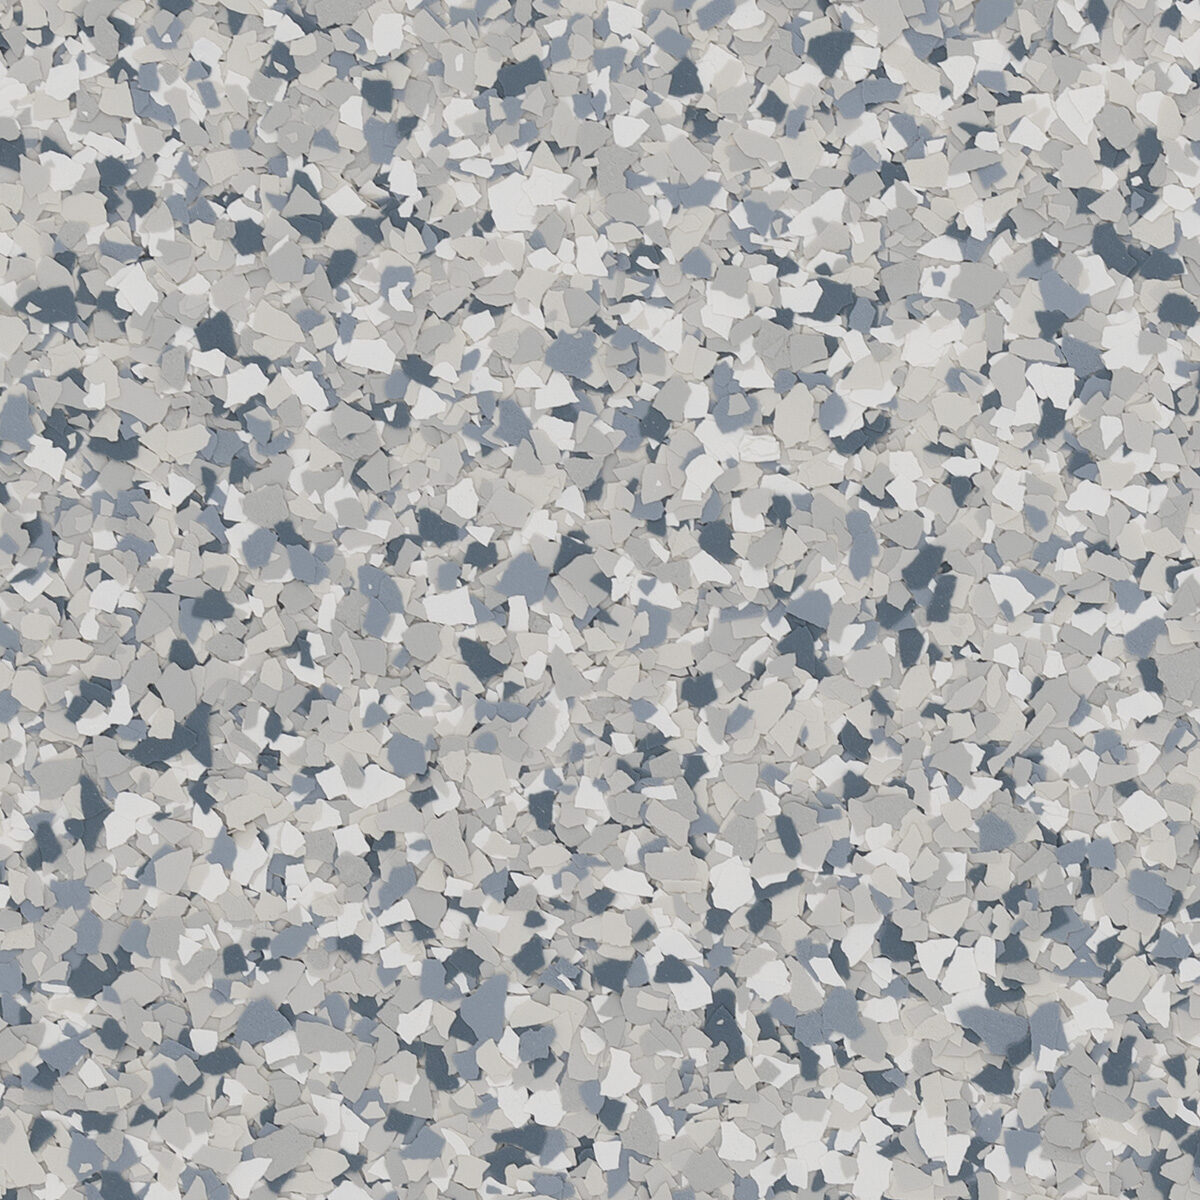
Flake Blends for Basement Floors
Decorative vinyl flake adds slip resistance and hides minor concrete imperfections — both useful in a basement. Hover or tap any swatch to preview the blend on a real installed floor. We bring physical samples to your estimate.
Preview
Domino
Preview
Gravel
Preview
Cabin Fever
Preview
Outback
Preview
Shoreline
Preview
Thyme
Preview
Wombat
Preview
Tidalwave
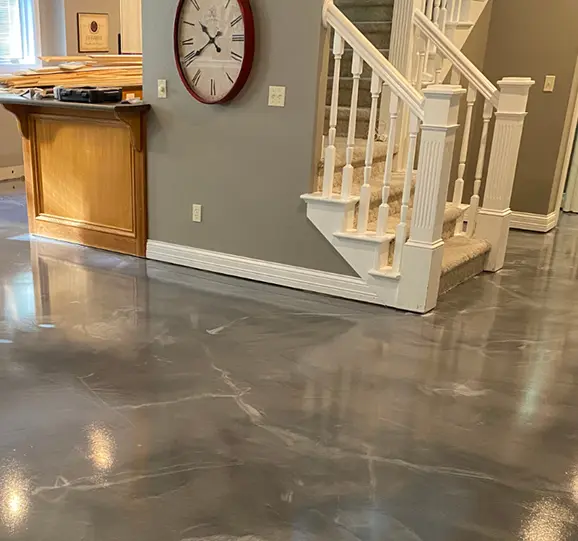
Design Options
Three Looks, One Proven System
Every basement we coat uses the same epoxy + polyaspartic system over a moisture-barrier primer. The only thing that changes is the look of the epoxy basecoat — flake, solid color, or metallic.
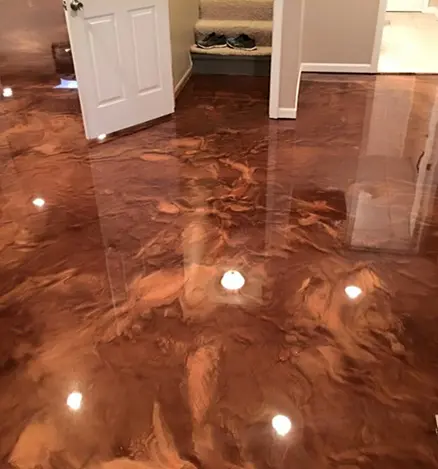
A premium statement finish for finished basements, theaters and entertainment spaces. Hand-troweled metallic pigments in the epoxy basecoat create three-dimensional swirls — no two floors identical — and a high-gloss polyaspartic topcoat seals it all in:
High-gloss finish with real depth and movement
Indoor-only — basements are the ideal environment
Pairs beautifully with LED lighting and modern interiors
Custom color combinations
Same durability as our standard epoxy + polyaspartic system
Same proven build on every basement we coat in Chicago — prep, repair, moisture barrier, pigmented epoxy basecoat (with flake or solid color), and a polyaspartic topcoat. Each layer has a job.
Layer 1 — Diamond grinding
We mechanically grind the entire slab with industrial diamond tooling. This opens the concrete pores and removes paint, sealer, tile mastic or any weak surface material:
Acid-etching can't remove paint — grinding can
Creates the mechanical profile epoxy needs to bond
Why this matters: 90% of failed DIY epoxy projects fail at this step
Layer 2 — Crack & joint repair
Cracks, pits, control joints and spalls are filled and troweled flat so they don't telegraph through the finished floor:
Filler is feathered into the slab — no visible scars
Control joints are honored or filled per your preference
Active hairline cracks get a flexible filler that moves with the slab
Layer 3 — Moisture-barrier primer
The layer that lets us coat Chicago basements with confidence. Sized to the calcium chloride or RH reading we took during the estimate:
100%-solids primer rated for active vapor transmission
Stops efflorescence and stops vapor from delaminating the topcoats
The reason our basement coatings stay bonded
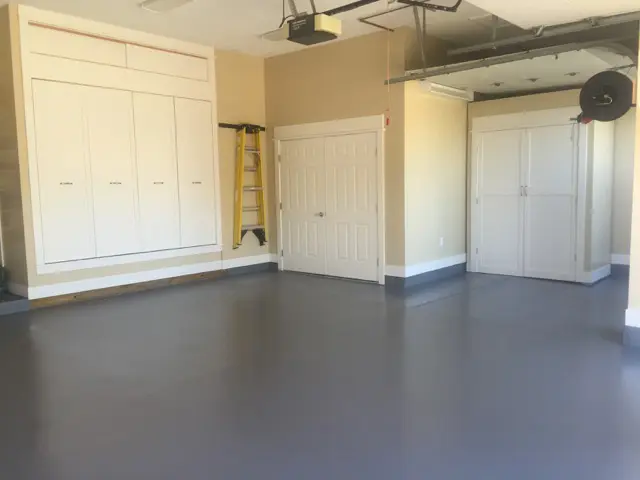
Layer 4 — Pigmented epoxy basecoat
The look of the floor lives here. A two-part pigmented epoxy basecoat goes down over the cured primer:
Flake floors: vinyl flake broadcast to refusal into the wet epoxy
Solid color floors: basecoat left smooth, no broadcast
Metallic floors: metallic pigments hand-troweled for three-dimensional swirls
Scraped and vacuumed before the topcoat goes on
Layer 5 — Polyaspartic topcoat
A clear, low-VOC polyaspartic topcoat goes over the cured epoxy basecoat. This is the layer you actually walk on, clean and live with:
Far harder and more chemical-resistant than epoxy alone
UV-stable — won't yellow over time
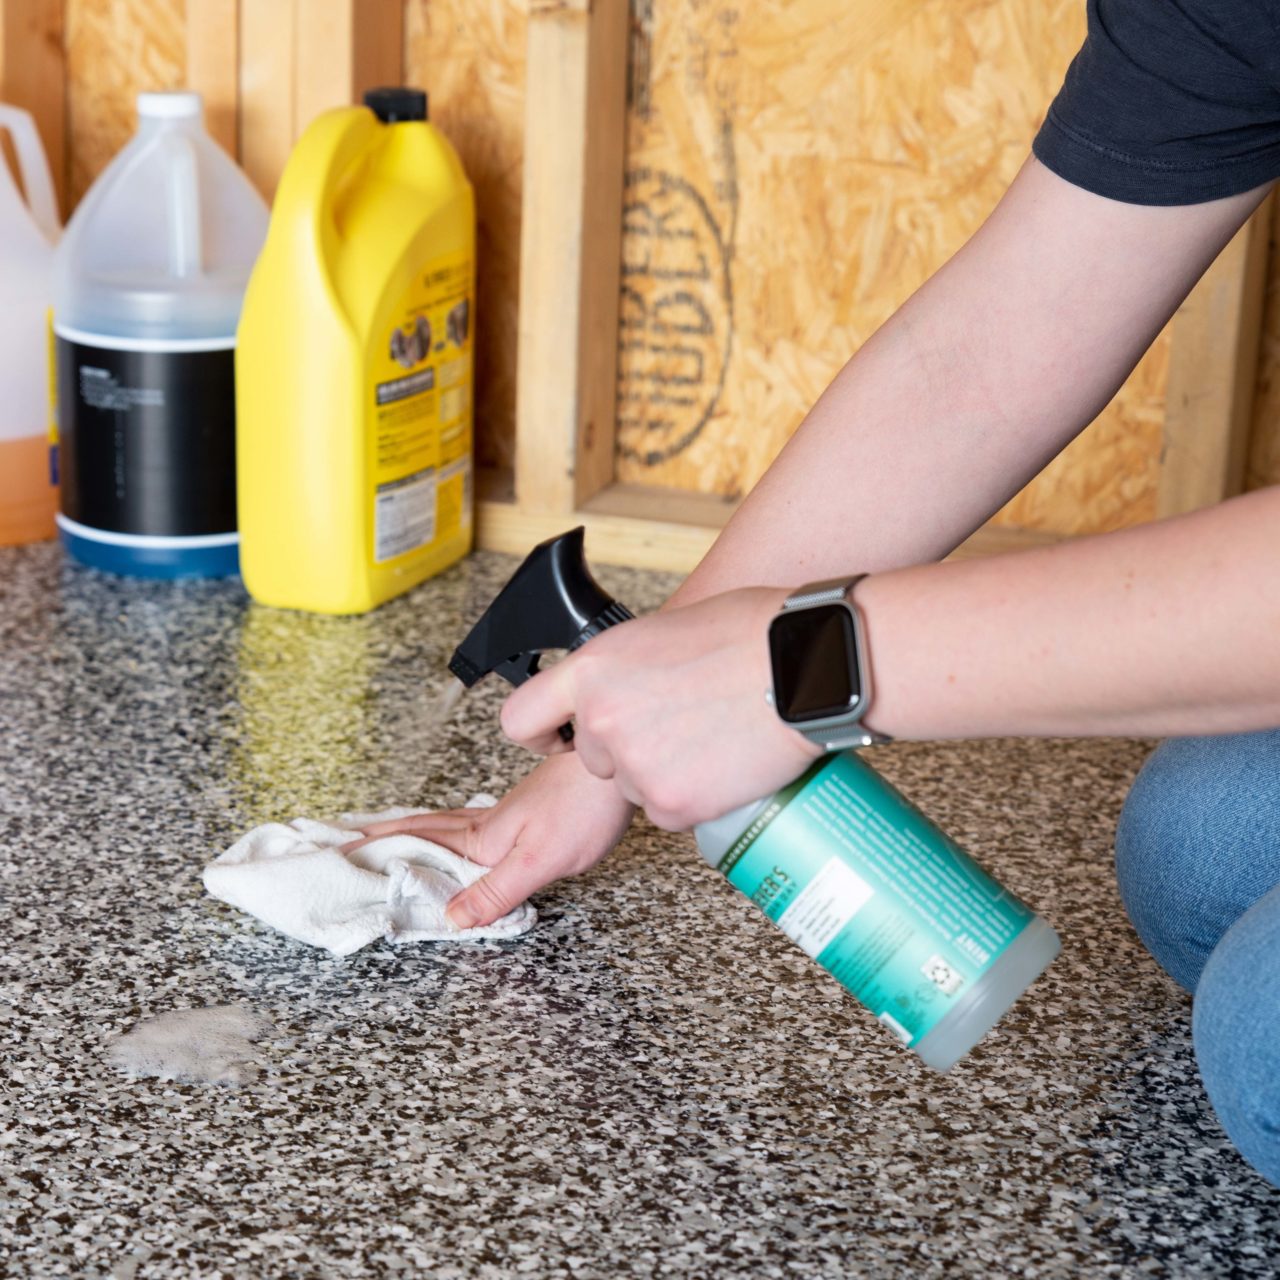
Easy to mop, won't trap basement dust
Long-term gloss and depth
Why we don't skip steps
Every layer above does something the next one can't:
No grinding → no bond
No crack repair → cracks reappear through the finish
No moisture barrier → coating eventually peels in a damp basement
No polyaspartic → the floor scratches and dulls in a few years
This is the system we put in our own basements. Same recipe every time.
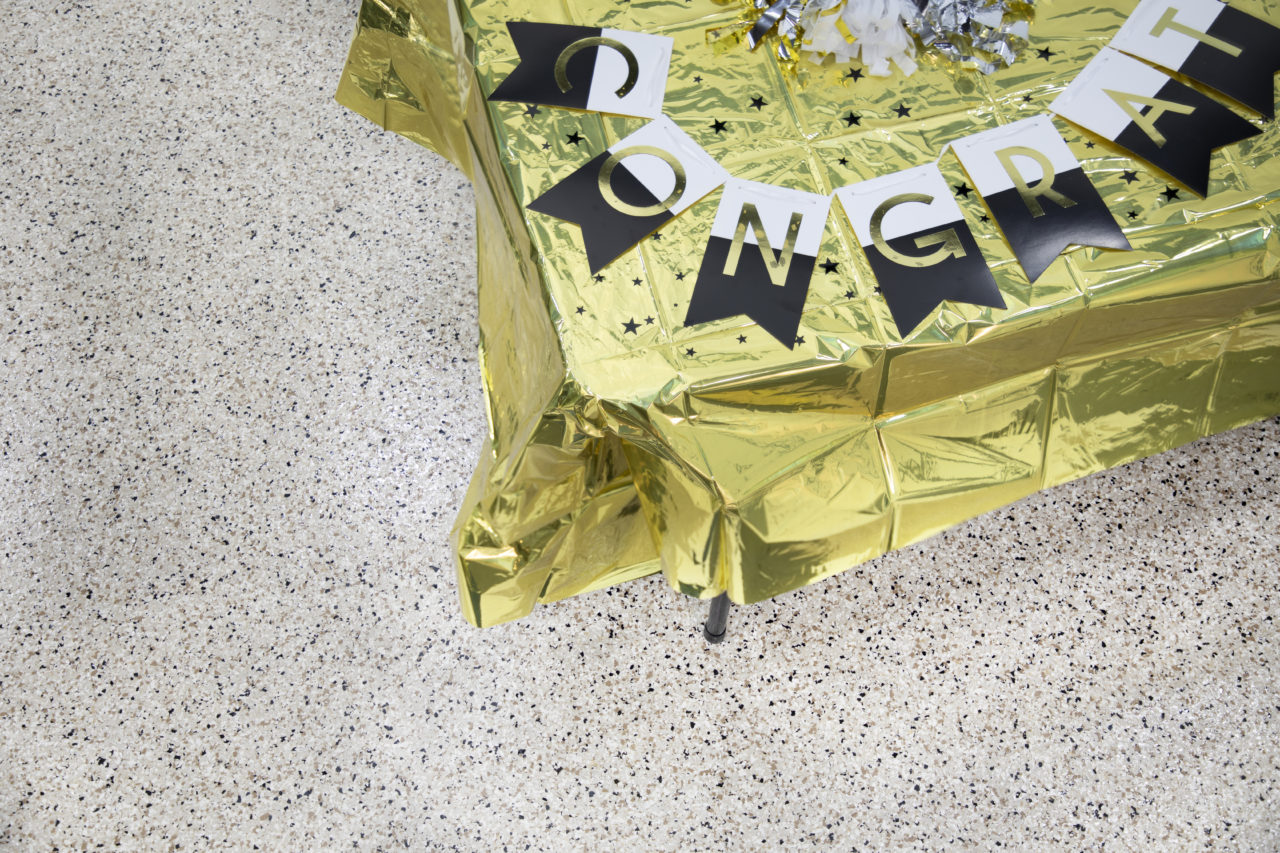
Recent Work
Recent Basement Floors Across Chicagoland
A sample of basements we've finished across Chicago and the suburbs — moisture-tested, diamond-ground and sealed for the way the room actually gets used.
We recently had our laundry room floor done with epoxy, and I couldn't be happier with the results. Professional, punctual, and clearly experienced. They took the time to properly prepare the surface, which really shows in the final outcome. The finish is smooth, durable, and looks absolutely amazing.
Laundry Room · Epoxy
LJ
Lukas J
Naperville, IL
★★★★★September 2025
"
The basement and steps were done beautifully — clean, smooth, and very professional. The team worked efficiently and paid close attention to detail. Highly recommend.
Basement & Stairs · Epoxy
DK
Danny Kostas
Lombard, IL
★★★★★February 2026
"
These guys are honest and do a great job. I would recommend them to anyone. They really know what they are doing.
Floor Refinishing
Just need moisture protection? A breathable penetrating concrete sealer can be a lower-cost option for unfinished basement slabs.
Basement Floor Coatings Across Chicagoland
We coat basement floors across the entire Chicago metro — from the city to the far suburbs.
We also travel for select projects in southern Wisconsin and northwest Indiana — contact us to discuss your location.
Our Process
How We Install a Basement Floor Coating
The same sequence on every basement we coat in Chicago — assess, grind, repair, moisture-barrier, epoxy basecoat with flake or solid color, polyaspartic topcoat.
1
On-site assessment & moisture test
We walk the basement, inspect for cracks, efflorescence, previous paint, sealer or tile, and run a calcium chloride or relative humidity test to measure vapor coming up through the slab. The reading drives the moisture-barrier choice.
2
Diamond grinding
We mechanically grind the entire slab with industrial diamond tooling to open the concrete pores and remove old paint, sealer or contamination. Acid-etching can't remove paint, which is why most DIY basement epoxy projects eventually peel.
3
Crack & joint repair
Cracks, pits, control joints and spalls are filled, troweled flat and feathered so the finished floor reads as one consistent surface — not a map of past damage.
4
Moisture-barrier primer
A 100%-solids moisture-mitigating primer sized to the vapor reading from step 1. This is the layer that keeps the rest of the system bonded in a Chicago basement — and the reason we don't skip the moisture test.
5
Epoxy basecoat — flake or solid color
Pigmented epoxy basecoat goes down over the cured primer. For flake floors we broadcast vinyl flake to refusal while the epoxy is wet. For solid color we leave it smooth. For metallic we hand-trowel the pigments.
6
Polyaspartic topcoat & walkthrough
A clear, low-VOC polyaspartic topcoat is rolled over the cured basecoat for chemical resistance, easy cleaning and long-term gloss. We walk the finished floor with you and leave care instructions.
Direct answers to the questions Chicago homeowners ask us most before coating their basements.
Yes, in most cases. We test every basement slab with calcium chloride or relative humidity probes before we recommend a system. If readings are elevated, we switch to a moisture-mitigating primer rated for active vapor transmission. The only basements we walk away from are ones with standing water or active leaks — those need to be fixed first.
Most Chicago-area basements run $5–$8 per square foot installed, including diamond-ground prep, crack repair, materials and labor. A typical 500–700 sq ft basement falls in the $2,500–$4,500 range. Moisture-mitigating primers, heavy repair work, or metallic epoxy finishes can add to that — we'll lay out any extras in writing before work begins.
Yes. We mechanically remove the existing paint or sealer with diamond grinders so the new coating bonds directly to clean concrete. Acid-etching can't remove old paint — which is why so many DIY basement epoxy kits eventually peel. The coating only bonded to the old paint, not the slab.
Yes. We use low-VOC, low-odor formulations specifically chosen for enclosed spaces like basements. Once fully cured (typically 24–72 hours depending on the system), the coating is inert and safe around kids, pets, gym equipment and food-prep areas. We give you ventilation guidance during install.
A floor coating seals the top surface of the slab and stops vapor and minor seepage from rising through the concrete. It is not a substitute for exterior waterproofing or fixing hydrostatic-pressure leaks at the wall-to-floor joint. If your basement is actively flooding, that needs to be resolved first — then the coating protects the dry slab.
Epoxy is the pigmented basecoat that bonds to the prepared concrete and holds the flake or color. Polyaspartic is the clear topcoat we roll on top — it's harder, faster-curing, UV-stable and far more chemical-resistant than epoxy alone.
The combination gives you epoxy's bond and build plus polyaspartic's durability and gloss. Every basement we coat uses this layered system over a moisture-barrier primer.
Yes. We coat right up to and around sump basins, floor drains, water heaters and washer pans. For laundry and utility zones we usually recommend a flake-broadcast or quartz system to add slip resistance when the floor gets wet.
Most basements are completed in one to two days depending on square footage and concrete condition — diamond grinding, repairs and the moisture barrier on day one, epoxy basecoat and polyaspartic topcoat on day two. Light foot traffic is typically possible 12–24 hours after the topcoat goes down. Full cure for moving heavy furniture back is usually 48–72 hours.
Yes. A sealed, non-porous coating stops moisture from wicking up through the slab and gives mildew nothing to feed on. Combined with proper ventilation and any necessary moisture mitigation, it's one of the most effective long-term steps for a healthier finished basement.
With proper prep and a quality system, basement floor coatings are designed as long-term solutions — typically 10–20+ years depending on the product, traffic and any moisture conditions. The single biggest factor is surface prep: coatings applied over inadequately prepared concrete will fail regardless of how good the product is.
Related Articles
Helpful guides to learn more about the systems, options and care behind our coatings.