1
Garage assessment & written estimate
We inspect your concrete, look for cracks, moisture and previous coatings, and talk through how you use the garage. You get a clear written estimate and timeline before any work starts.
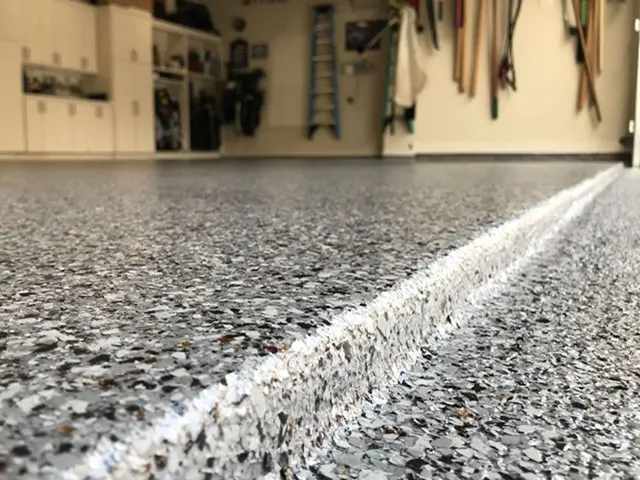
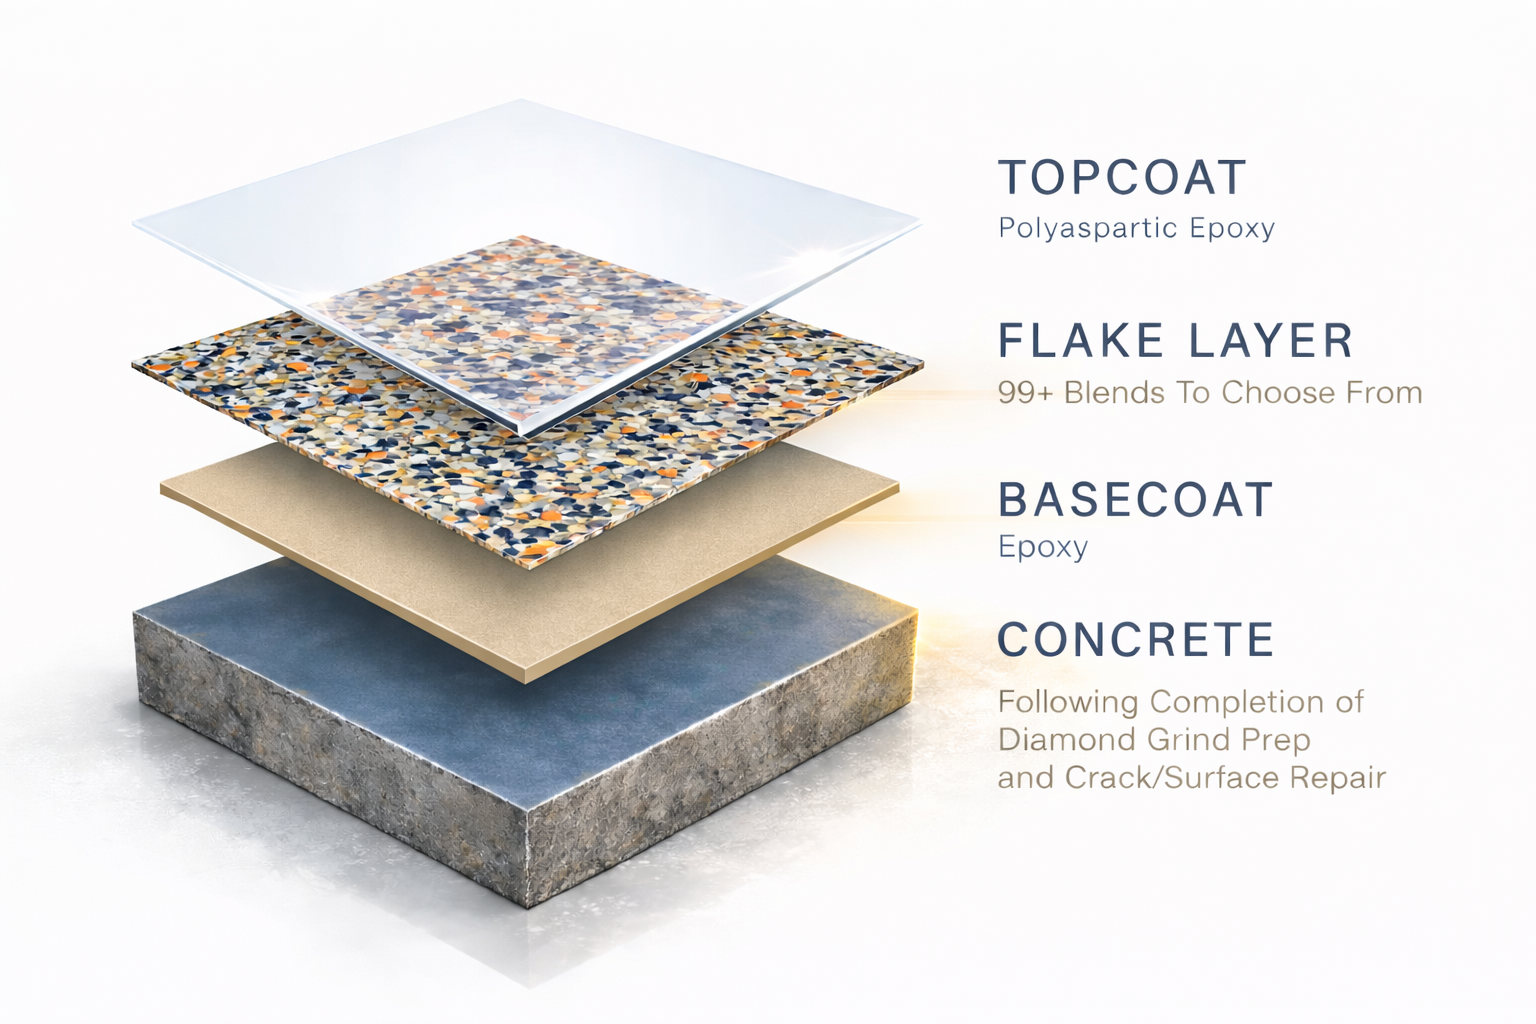
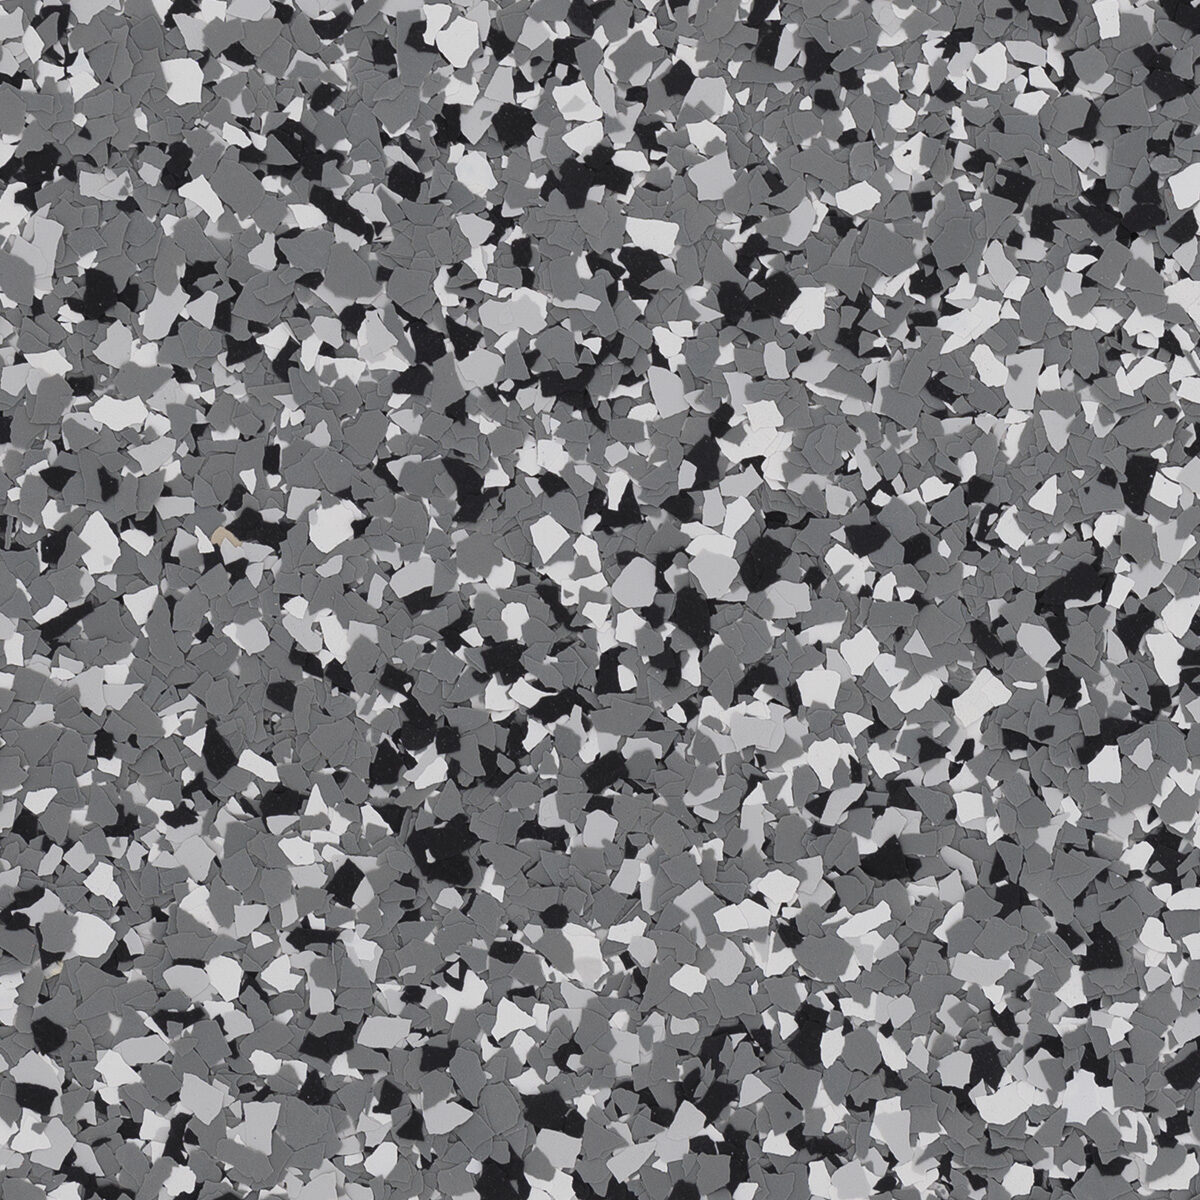
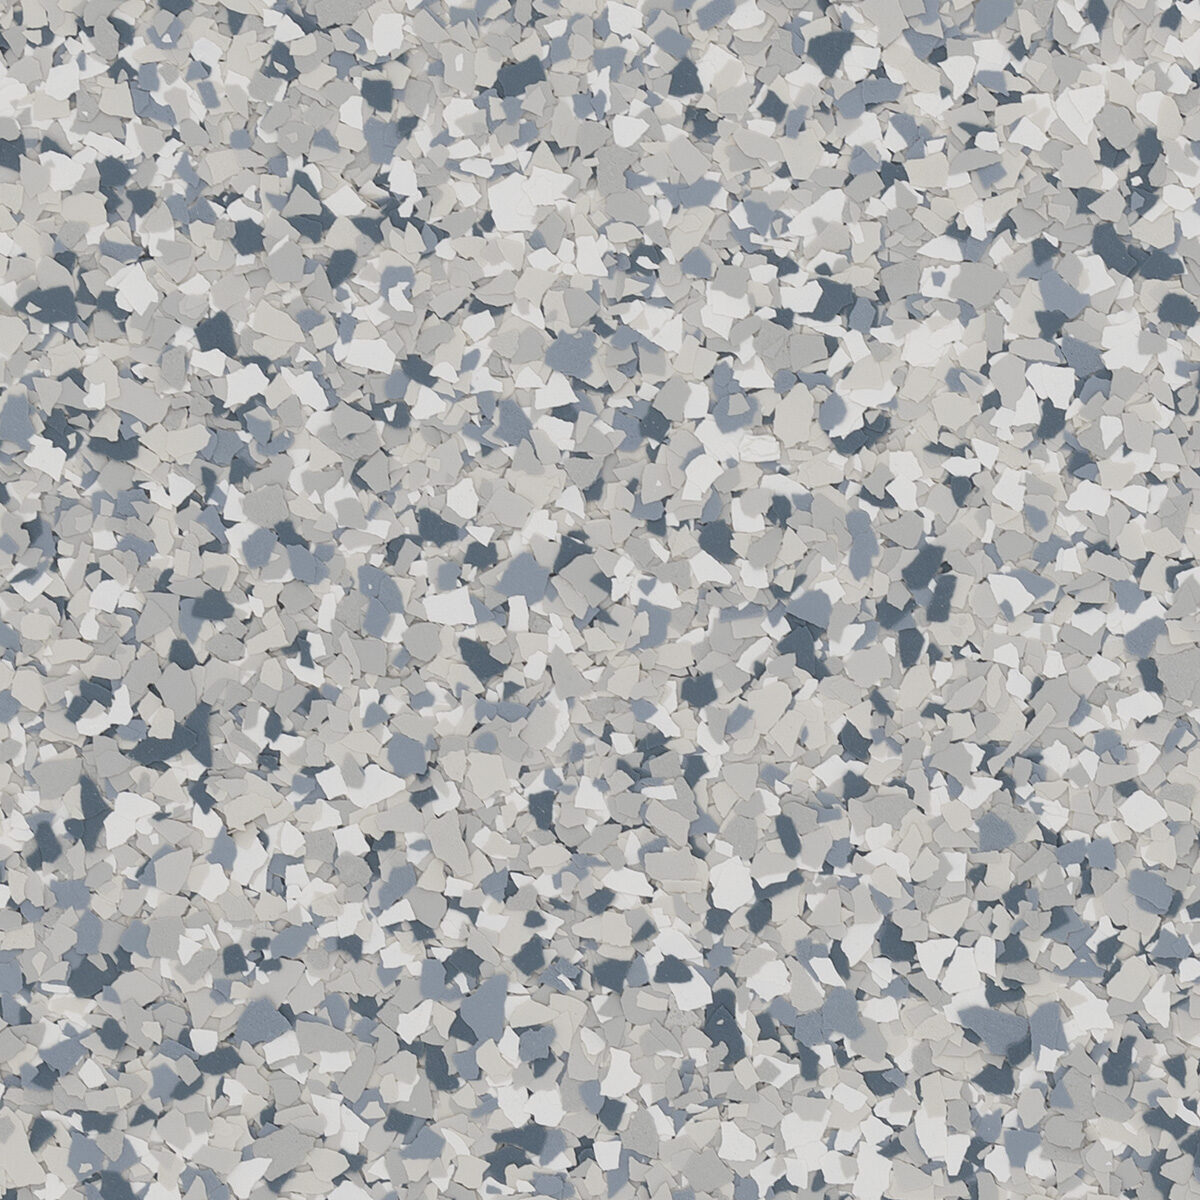
Two-part epoxy resin, broadcast flake or solid color, durable topcoat — the indoor-floor system that hits the sweet spot of price and performance. Diamond-ground prep on every job and a written warranty.
Same-week on-site visits
Epoxy is a two-part resin system that bonds chemically to prepared concrete and cures into a hard, sealed surface. It's been the standard residential and commercial floor coating for decades because it's tough, easy to clean, resistant to stains and chemicals, and looks dramatically better than bare concrete.
Where epoxy shines is indoor floors with limited UV — garages, basements, workshops, indoor commercial. It costs noticeably less than polyurea and the lifespan trade-off is small in those conditions. For outdoor-adjacent floors or hot-tire-heavy use, we'd point you to polyurea instead.
We install both systems and we'll always recommend the one that actually fits your floor. Side by side on the things that matter, epoxy wins on cost — and for indoor floors with limited UV, the lifespan difference shrinks to almost nothing.
| Feature | Epoxy Traditional | Polyurea / Polyaspartic What we install |
|---|---|---|
| Ready in | 2–3 days | 1 day |
| UV resistance | May yellow | Stays clear |
| Strength | Very good | ~2× stronger |
| Flexibility | Rigid | Flexible — rides freeze-thaw |
| Realistic lifespan | 10–15 years | 15–20+ years |
| Install temp | 55°F+ only | All seasons (35°F+) |
| Hot-tire resistance | Very Good | Excellent |
| Chemical resistance | Very good | Excellent |
| Cost (installed) | $5–7 / sqft | $5.50–7 / sqft |
Per Sq Ft Installed
Same diamond-ground prep, same flake options, same warranty — epoxy flake often starts a little lower per square foot than polyurea-polyaspartic.
Years of Service
Realistic indoor lifespan — basements and indoor garages routinely hit the upper end.
Install
Day 1 grind + base + flake. Day 2 topcoat. Walk on it that evening, park within about 48 hours.
One number, all-in. The full two-part epoxy system, installed and warrantied, with no surprise add-ons on install day.
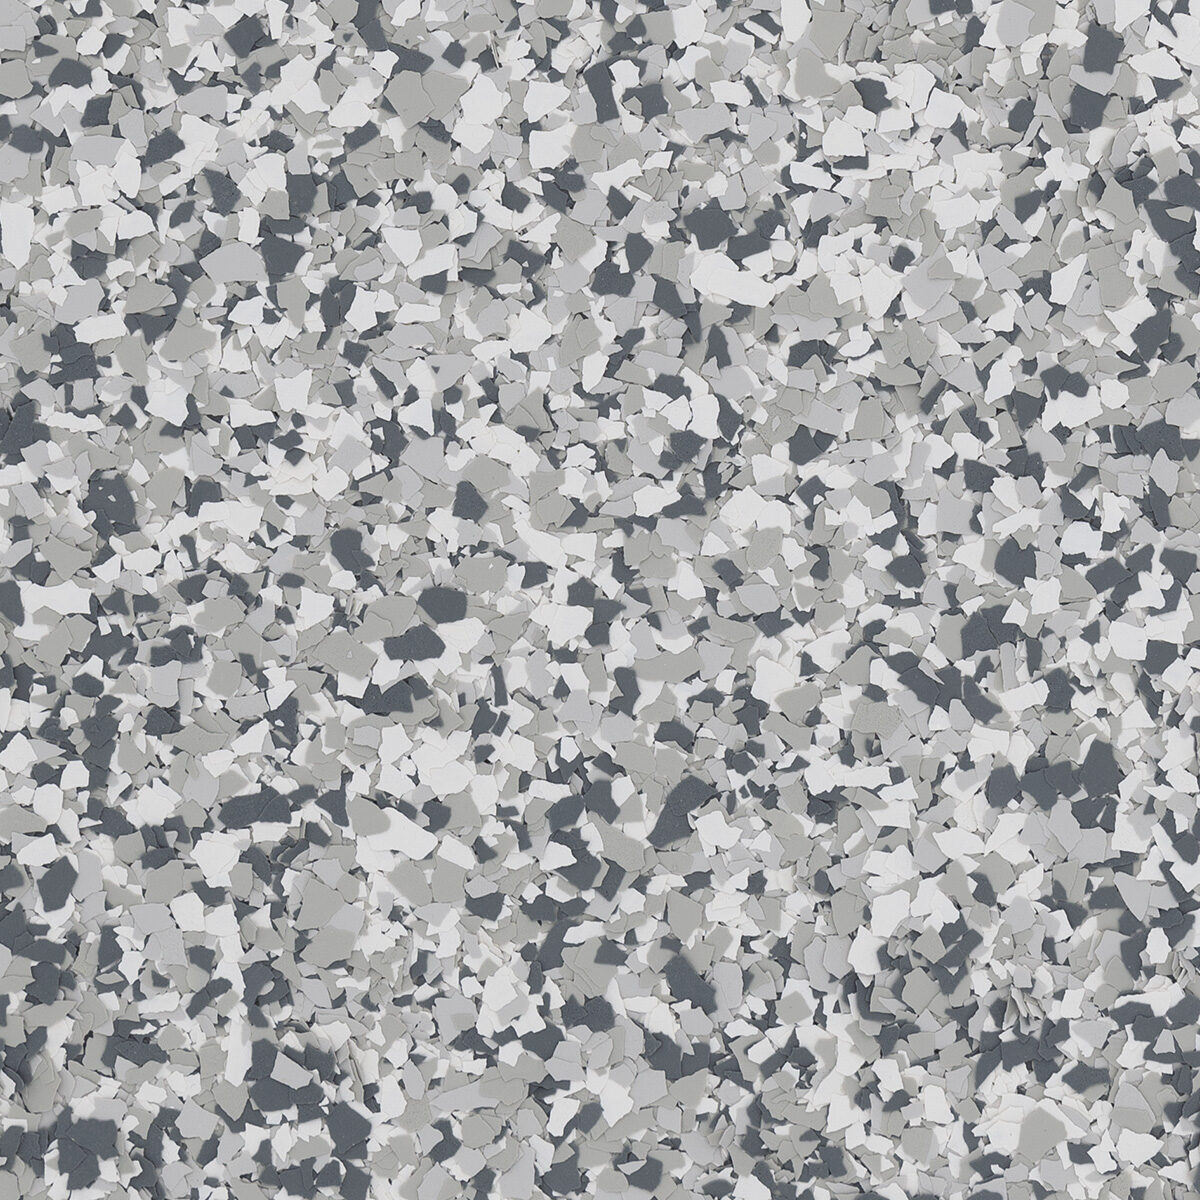
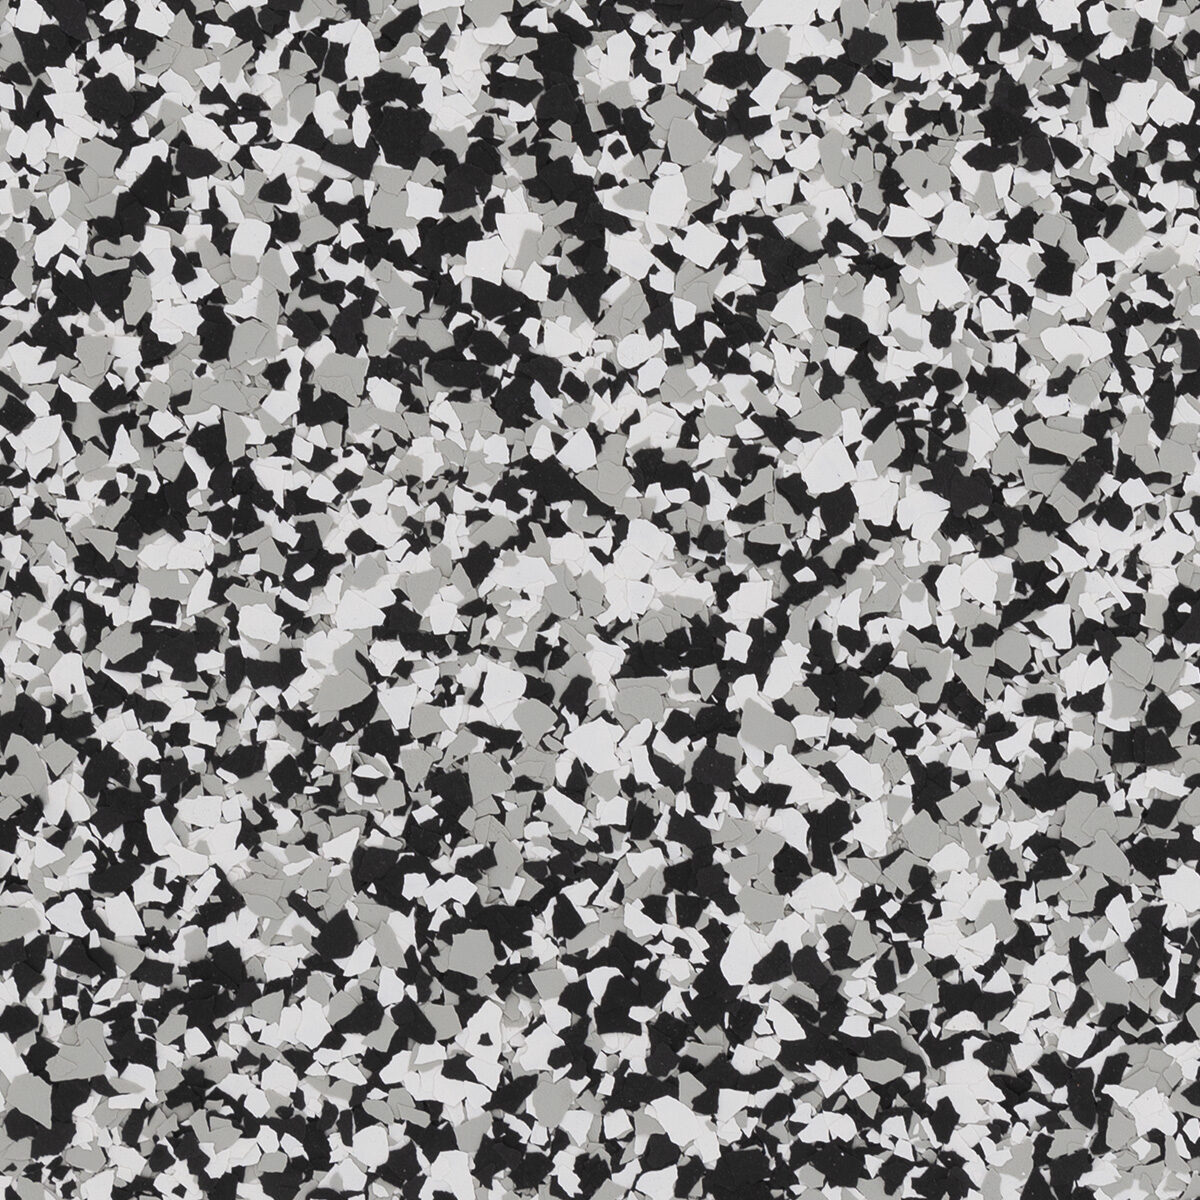
Two-Part Epoxy System (Flake or Solid)
Installed, all-in, written warranty
Pricing assumes concrete in good condition. Heavily damaged or previously coated floors may need additional prep — we'll flag anything unusual upfront, before booking. Comparing systems? See all 5 →
Most epoxy installs are completed over two working days, with full drive-on cure landing about 48 hours after. Here's what to expect on each day.
Crew shows up between 7 and 9 a.m., tapes off door frames and gym mats, then walks the slab with the diamond grinder. The space is empty by now — you cleared it the night before per our prep sheet.
Grinding done, we vacuum the slab and fill cracks/joints/spalls with polymer repair compound. Once it kicks, we grind it flush so the finished floor reads smooth instead of highlighting damage.
Two-part epoxy basecoat goes down. If you chose flake, we broadcast vinyl flake into the wet coating to rejection. If you chose solid color, the basecoat itself carries the color. Cure overnight.
Loose flake is scraped off and vacuumed up (skipped on solid-color jobs). Durable clear topcoat goes on with anti-slip additive if you requested it. Final walk-through and we hand you the care sheet.
Light foot traffic OK by evening of Day 2. You can move tools and shelves back in. Avoid heavy point loads (jack stands, motorcycle kickstands) for another day or two.
Park your car on the floor. Cooler / more humid weather extends this — we'll give you the exact safe-to-drive date based on your install conditions. Full chemical resistance hits at 7 days.
Sweep, occasional mop, keep salt off it in winter. Realistic indoor lifespan is 10–15 years. We back every install with a written warranty that calls out exactly what's covered.
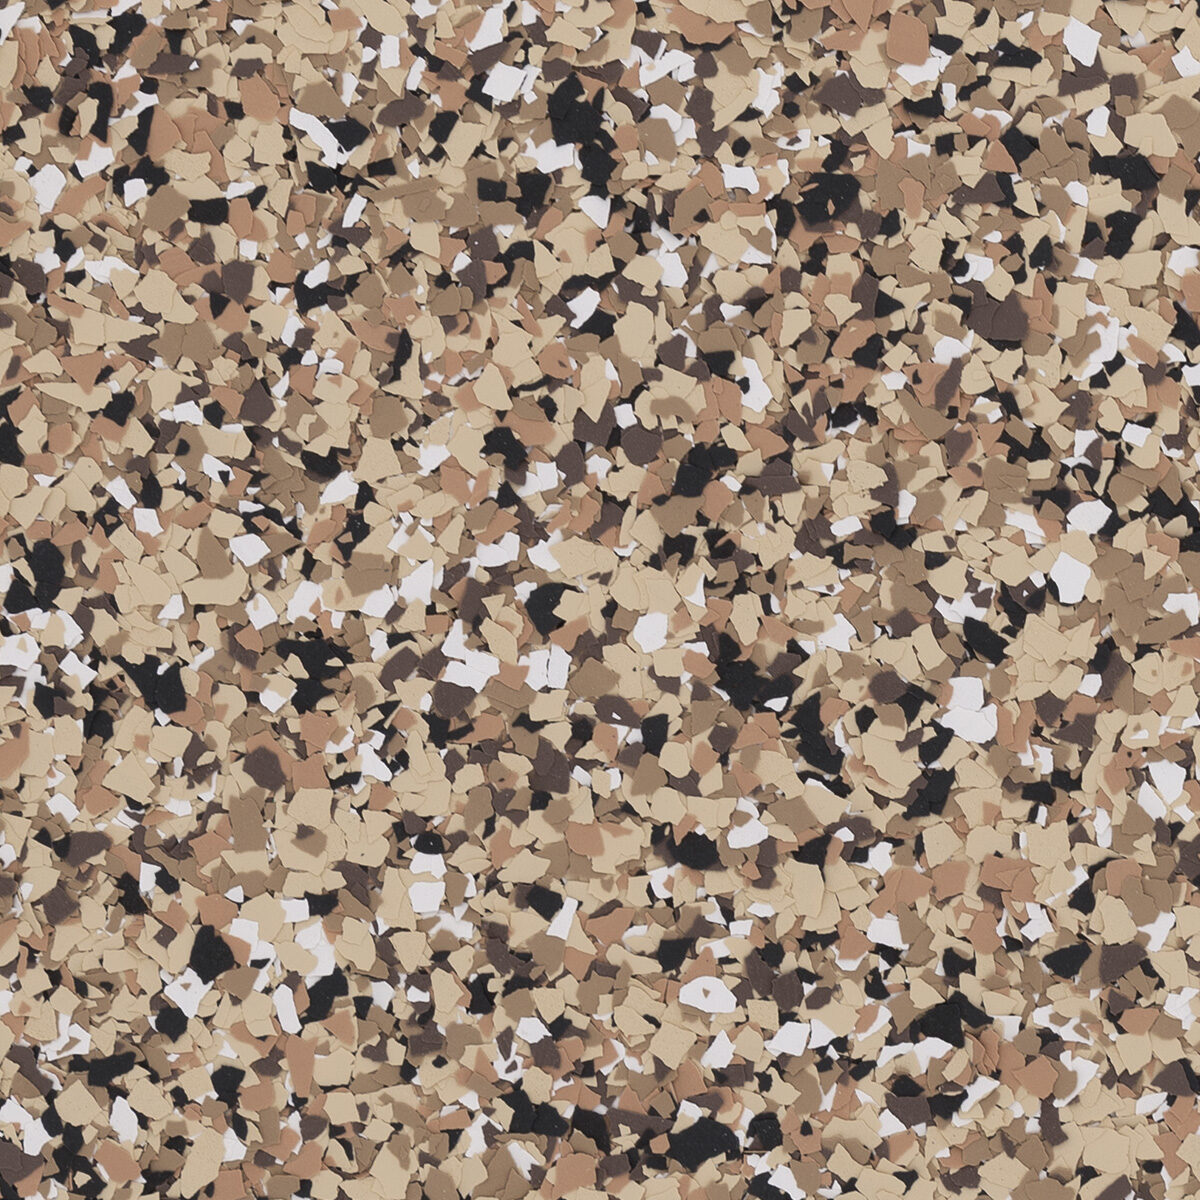
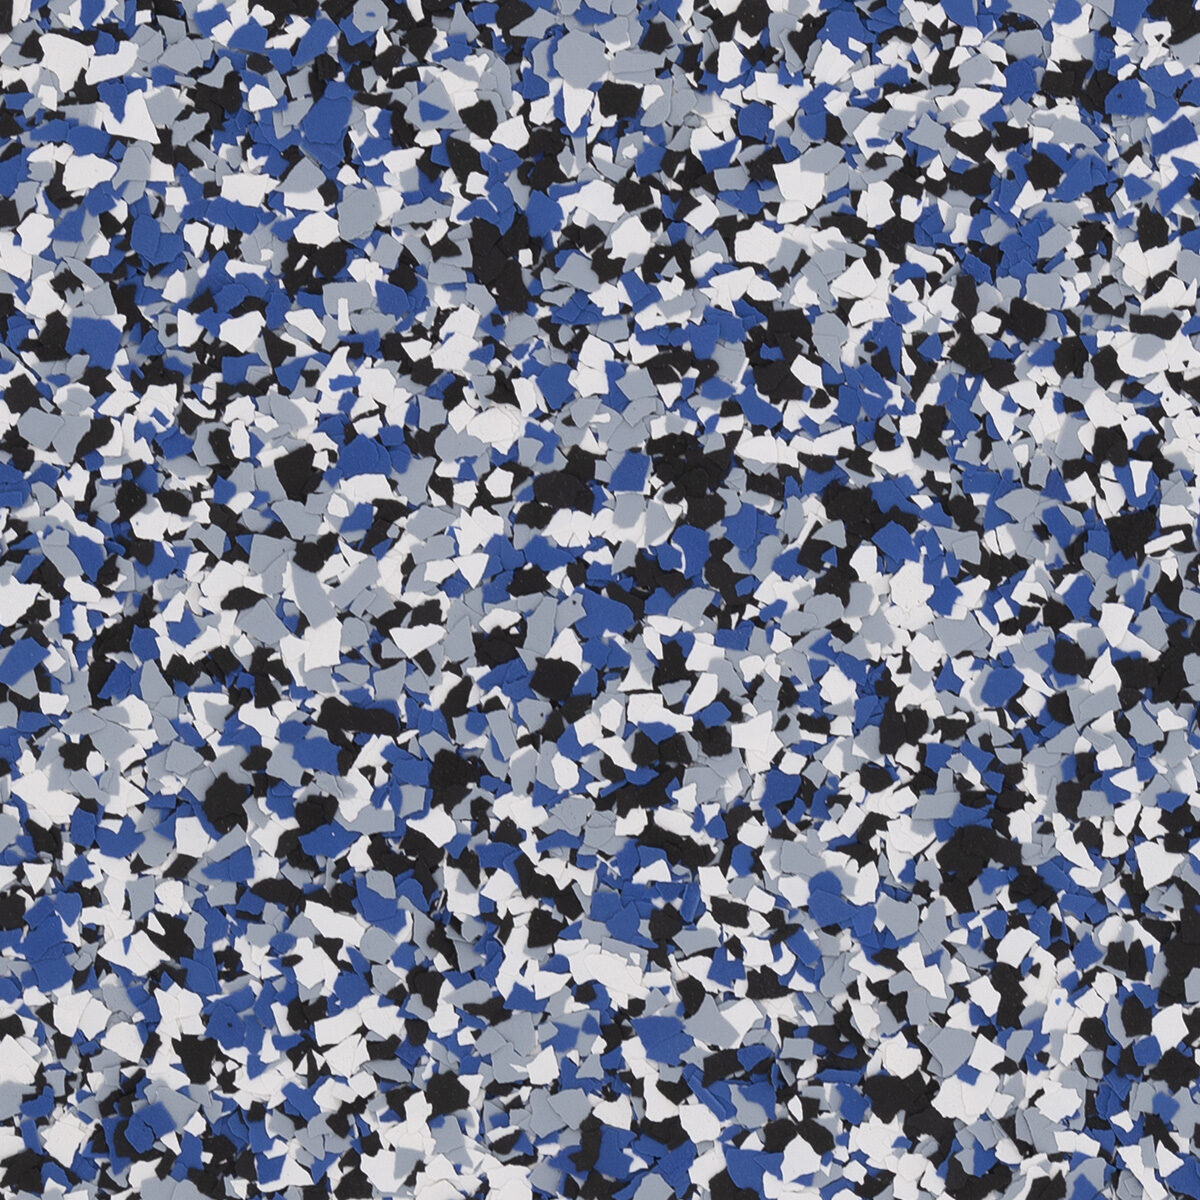
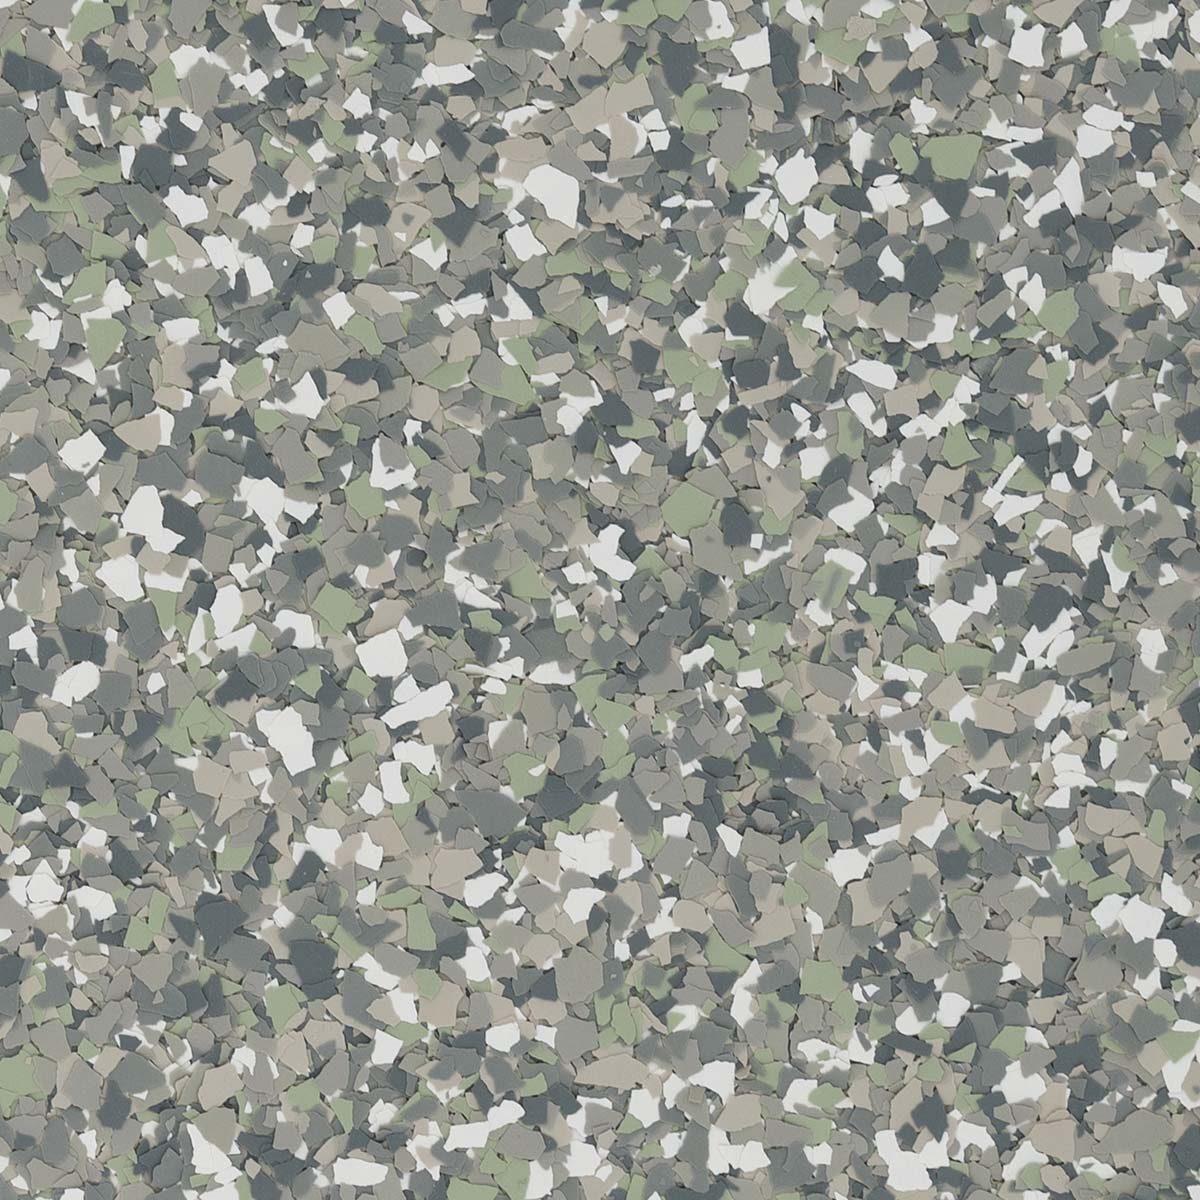
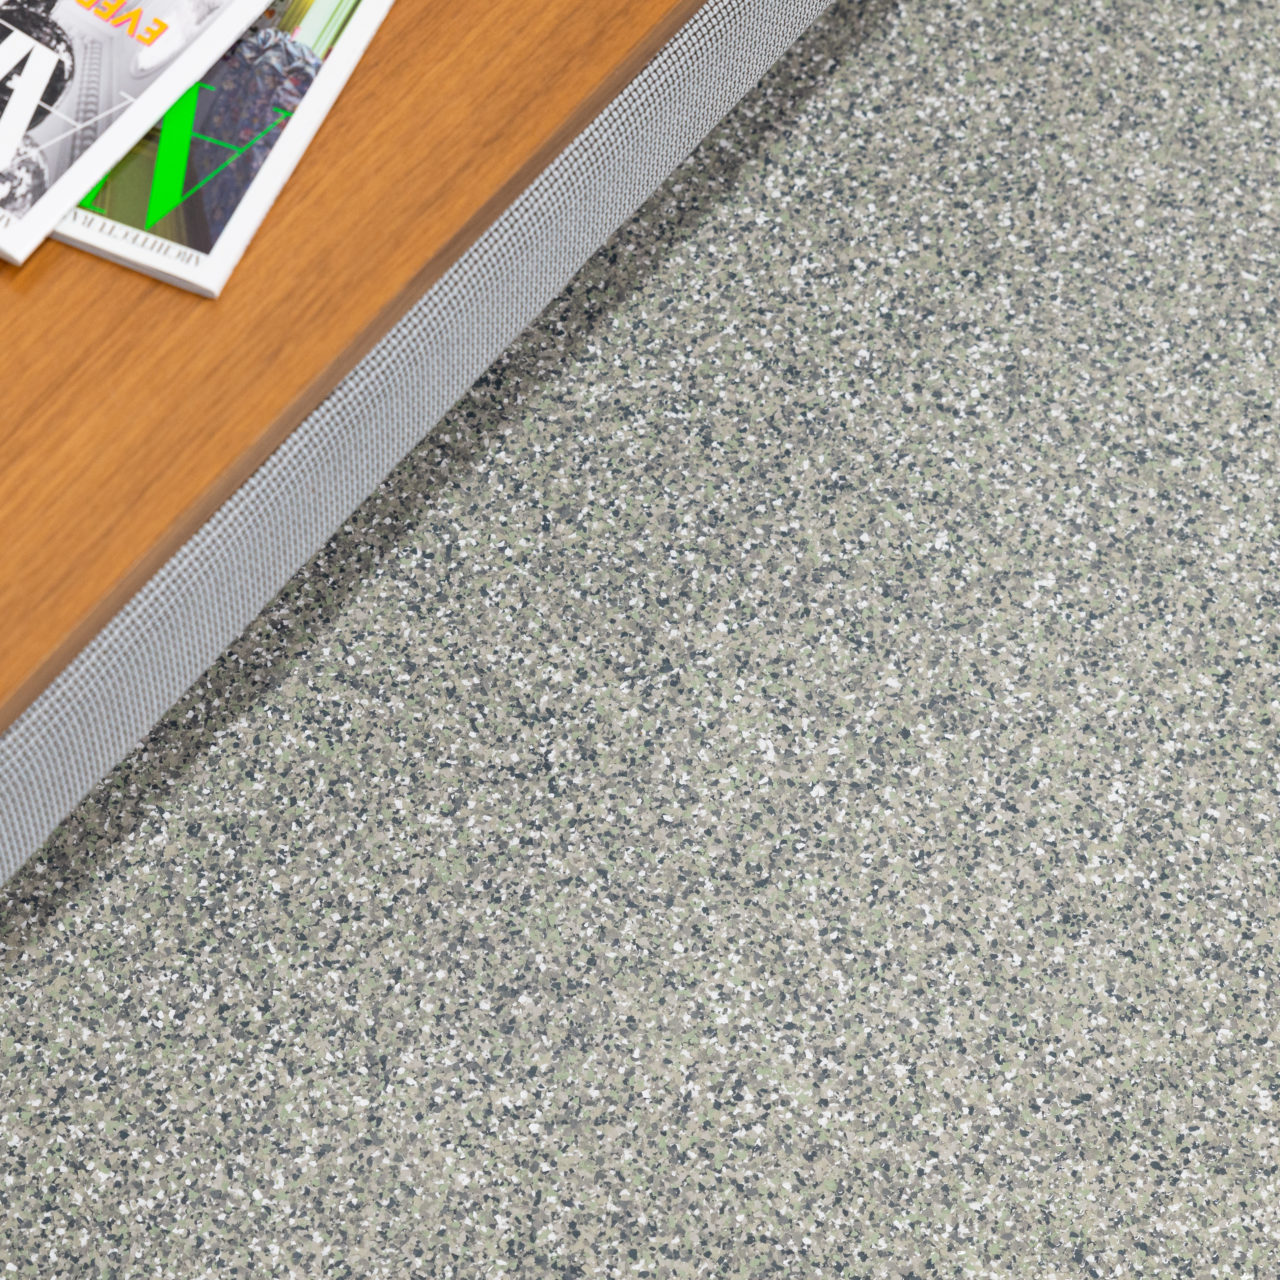
Epoxy works with every flake blend we install. Hover or tap a swatch to see it on a real floor. We'll bring physical samples to your estimate so you can see them in your actual room lighting.
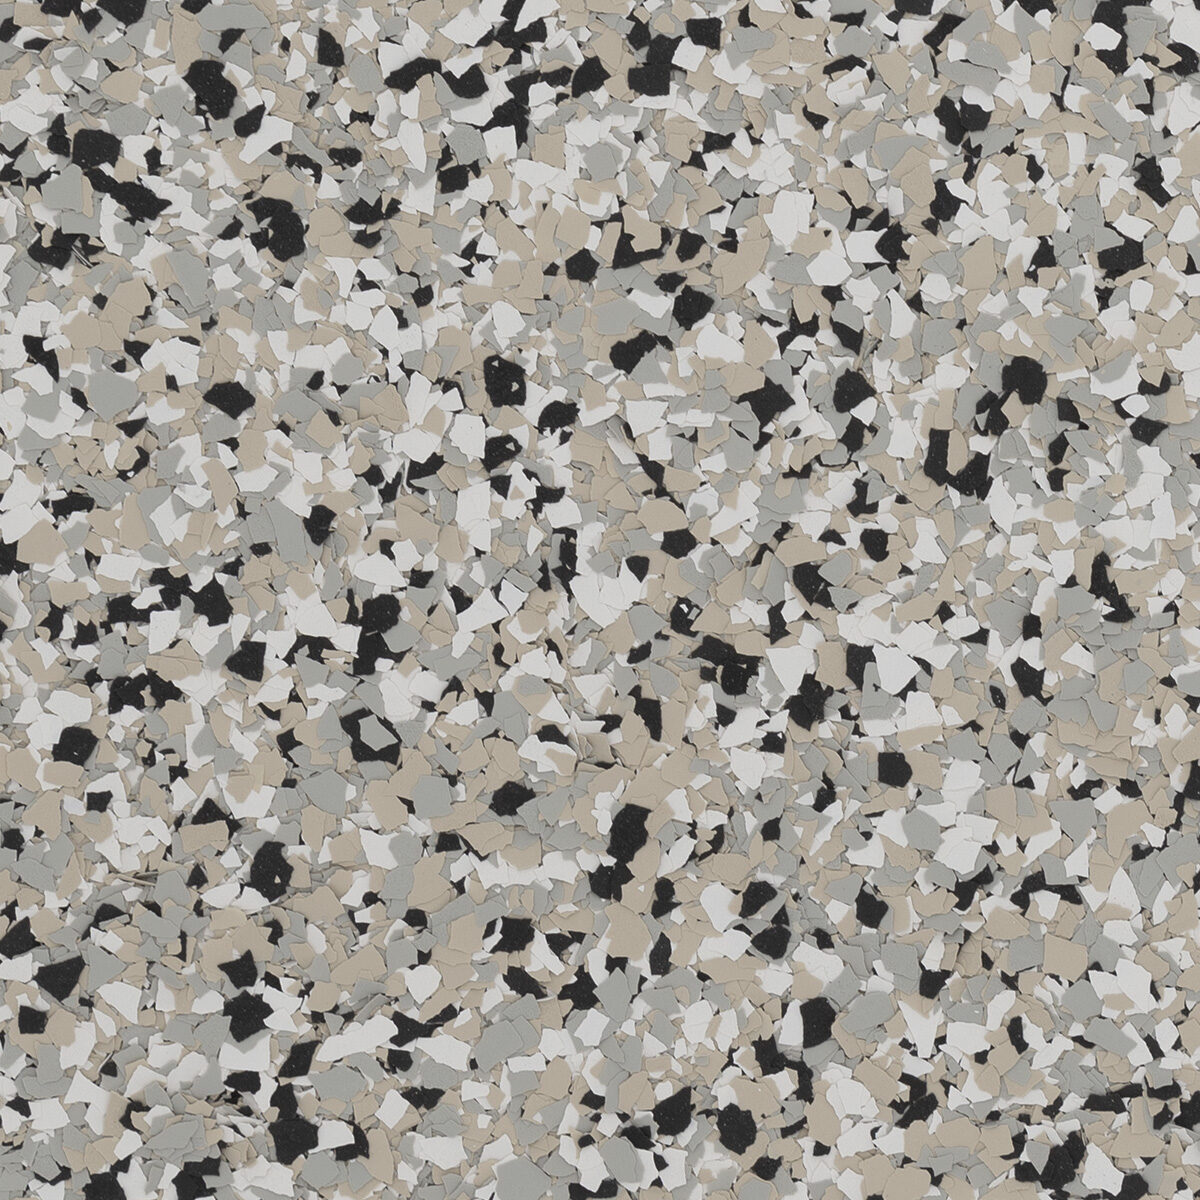
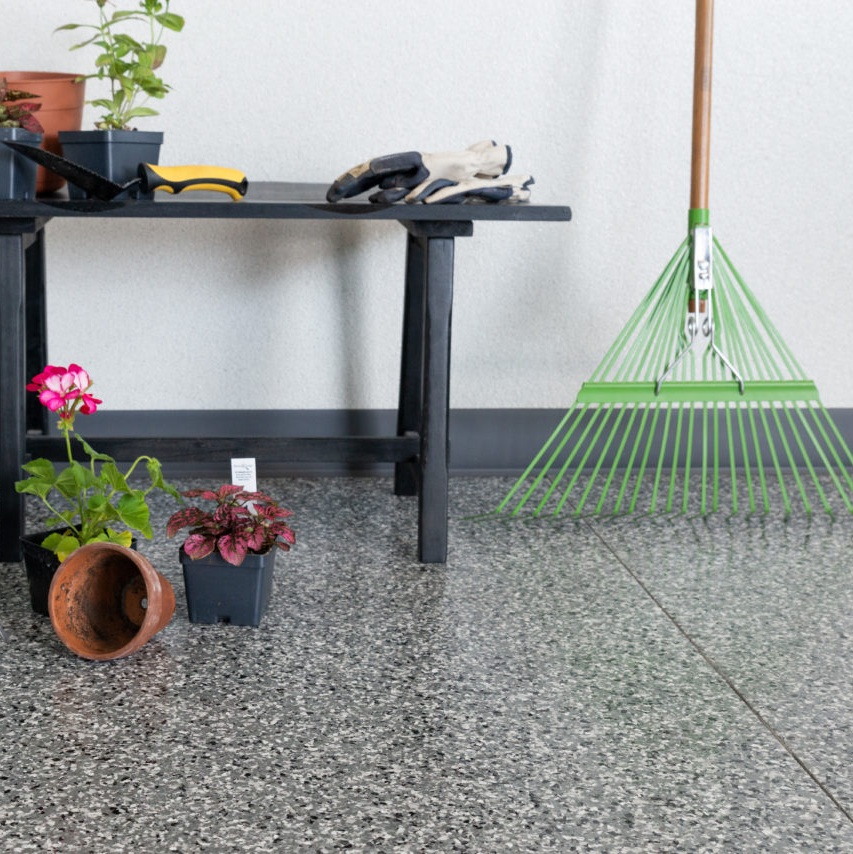
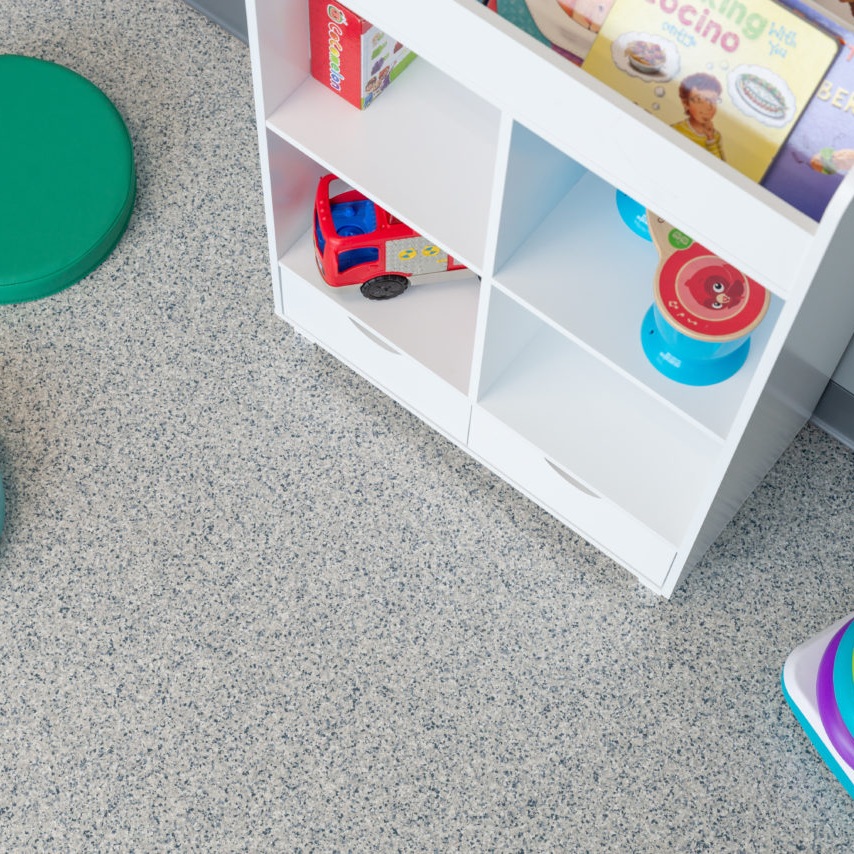
Skip the flake for a smoother, showroom-style finish. Solid color epoxy reads modern and is easier to sweep — popular for workshops, basements and detached garages.


These are our most-installed solid colors — we have many more available. Custom colors can usually be matched at the estimate, just bring a sample.
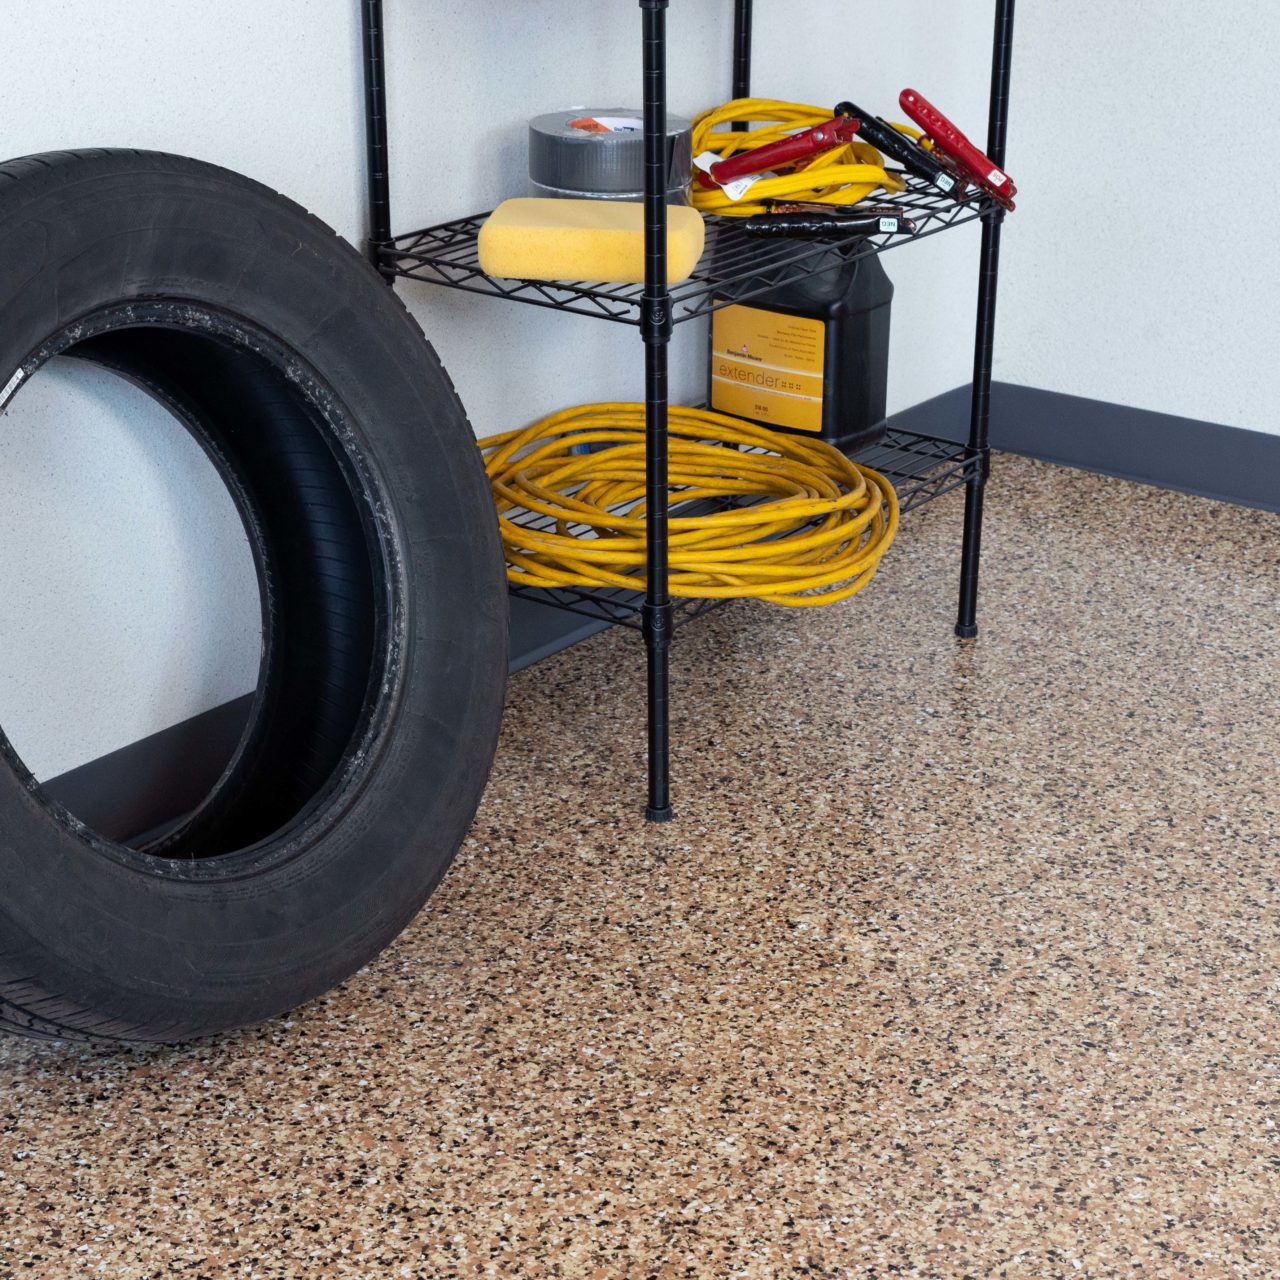
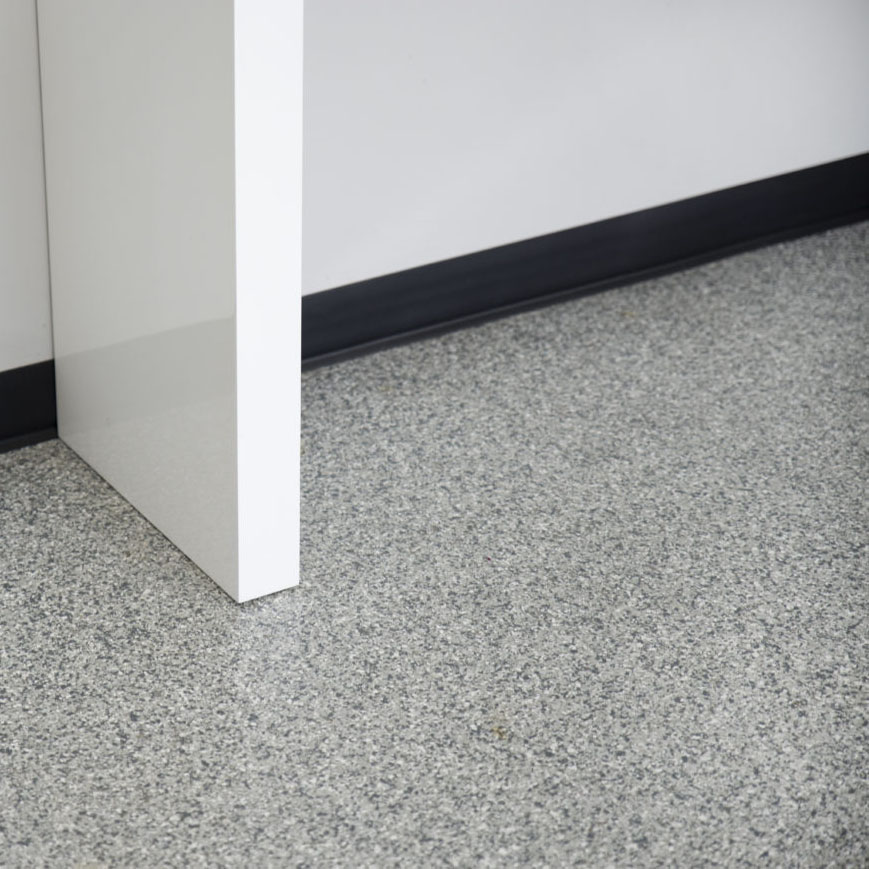
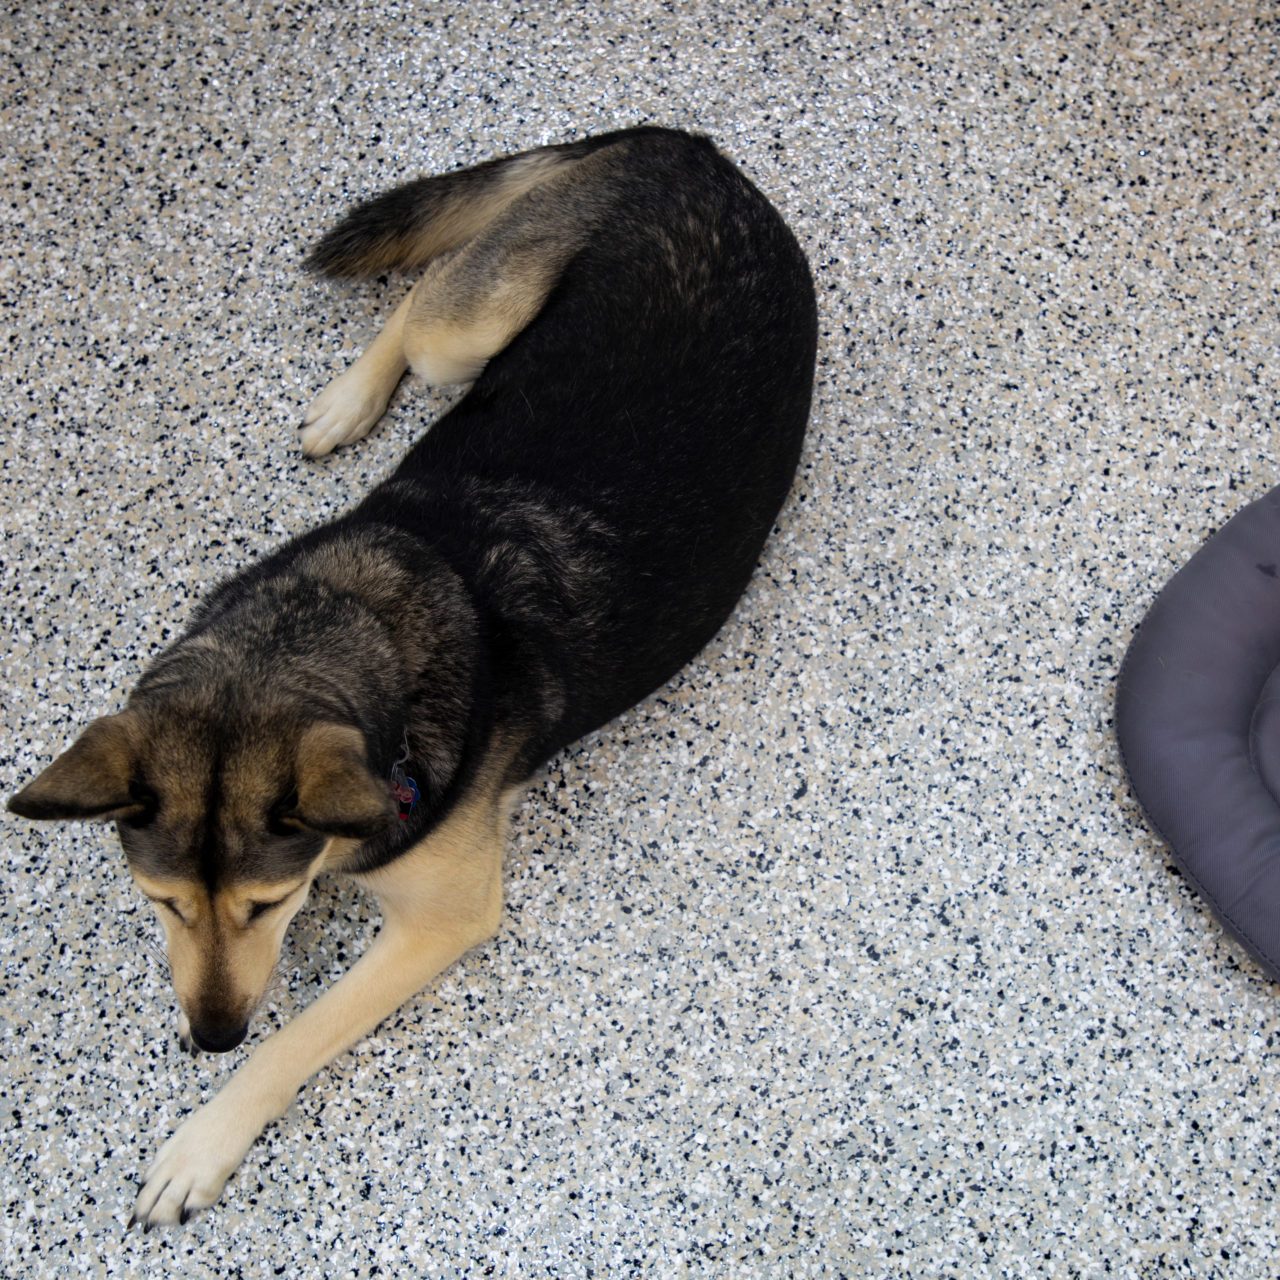
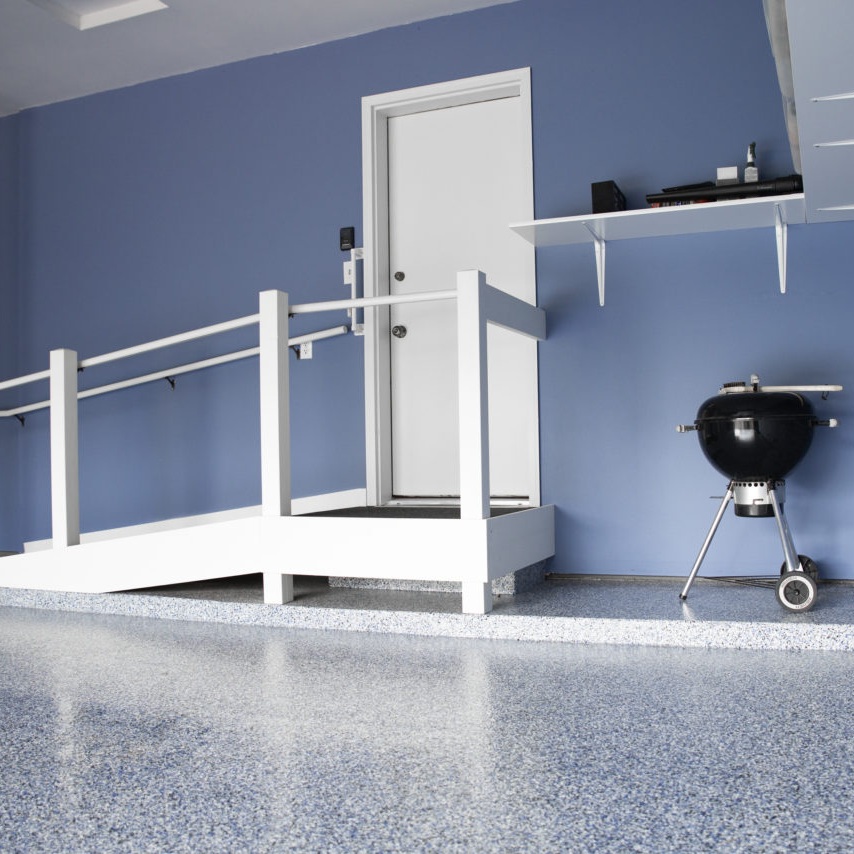
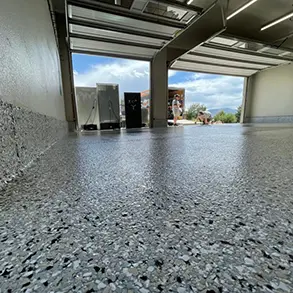
A sample of recent epoxy garage and basement floors we've installed across Chicago and the suburbs — diamond-ground prep, real flake blends, written warranty.
 Chicago, IL 60618
Polyurea / Flake
Chicago, IL 60618
Polyurea / Flake
Polyurea basecoat with Wombat vinyl flakes and UV-stable polyaspartic topcoat — the benchmark system for Chicago garage floors.
View Project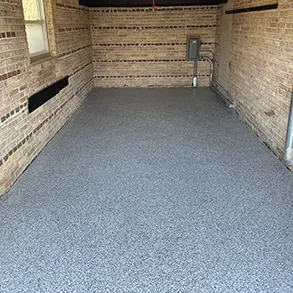 Deerfield, IL
Polyurea / Flake
Deerfield, IL
Polyurea / Flake
Polyurea basecoat with Gravel flakes and UV-stable polyaspartic topcoat — built for Deerfield's heavy winter salt exposure.
View Project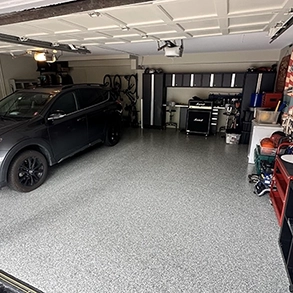 Lombard, IL
Epoxy / Polyaspartic
Lombard, IL
Epoxy / Polyaspartic
Epoxy base with Thyme color flakes and glossy polyaspartic finish — clean, bright result that transforms the entire garage feel.
View ProjectReal reviews from homeowners whose garage floors we've coated — posted directly on Google.
We recently had our laundry room floor done with epoxy, and I couldn't be happier with the results. From start to finish, the company was professional, punctual, and clearly experienced. They took the time to properly prepare the surface, which really shows in the final outcome. The finish is smooth, durable, and looks absolutely amazing.
Laundry Room · Epoxy CoatingReally happy with the job Concrete Shield Coatings did on my garage floor. The guys showed up on time, worked quickly, and made the whole process easy. Price was fair and the floor turned out even better than I expected — looks awesome! Definitely recommend them.
Garage Floor · Epoxy CoatingThese guys are honest and do a great job! I would recommend them to anyone. They really know what they are doing!
Floor RefinishingThree locations let us respond quickly across the entire Chicago metro — from the city to the far suburbs.
We also travel to select projects in southern Wisconsin and northwest Indiana — contact us to discuss your location.
Same five steps on every epoxy job — the prep is what separates a 15-year floor from a 1-year peel.
We inspect your concrete, look for cracks, moisture and previous coatings, and talk through how you use the garage. You get a clear written estimate and timeline before any work starts.
We diamond-grind the concrete to open the pores and remove weak or contaminated material. Proper grinding is the most important step — it's what lets the coating bond tightly and last for years in Chicago's climate.
Pits, cracks and spalls are repaired so the finished floor looks smooth and consistent instead of highlighting existing damage.
Based on the system you chose, we apply a primer or basecoat, broadcast decorative flakes if selected, scrape and vacuum, then finish with a durable polyaspartic topcoat.
We review the finished floor with you, explain cure times for Chicago temperatures, and share simple cleaning and maintenance tips so your coating keeps looking great.
The questions Chicago homeowners and businesses ask us most before booking an epoxy install.
Most professional epoxy floor coatings in the Chicago area run $5–7 per square foot installed, all-in (diamond-ground prep, crack repair, two-part epoxy basecoat, flake or solid color, durable topcoat, written warranty).
A two-car garage typically lands in the $2,000–$3,500 range, a one-car around $1,250–$2,100. Final pricing depends on slab condition and whether flake or solid color is selected.
Most epoxy flake systems are completed over two working days:
Day 1 is diamond grinding, repairs, basecoat and full flake broadcast. Day 2 is scrape, vacuum and topcoat. Light foot traffic is usually OK by Day 2 evening; vehicle traffic typically Day 3 or later depending on temperature and humidity.
Realistic lifespan with proper diamond-ground prep and normal maintenance is 10–15 years for indoor garage and basement installs.
The two biggest factors are surface prep (diamond grinding vs acid etching — the difference between a 12-year floor and a 1-year peel) and how the space is used. Heavy commercial traffic shortens the lifespan; gentle residential use can stretch it past 15.
Much better. Epoxy is a true two-part resin that bonds chemically to prepared concrete and cures into a hard, sealed surface. Concrete paint is a thin film that sits on top of the slab and peels within a year or two under normal use.
The cost difference is small relative to the lifespan difference — paint is usually a false economy.
Usually yes — as long as the slab is properly prepared first. Diamond grinding removes surface contamination, polymer fillers handle the cracks and pits, and degreasing addresses most oil staining.
If a stain has soaked deep into the slab or there's active moisture coming through, we'll flag it during the on-site evaluation and recommend the right next step before coating.
A high-gloss surface gets slippery when water is present — common in garages where snow gets tracked in. We solve it two ways: a full flake broadcast (adds texture and grip naturally) or a slip-resistant additive blended into the topcoat.
The finished floor stays easy to mop but grips like textured concrete.
Yes — epoxy is often the best basement-floor upgrade. The indoor-only environment plays to epoxy's strengths (no UV, no temperature swings), it's cost-effective, and it ends the bare-concrete dust problem.
The one prerequisite: if your basement has active moisture coming through the slab, that needs to be addressed first or we'll spec a moisture-mitigating primer. See basement floor coatings for more.
Epoxy is a thicker, rigid two-part resin — excellent abrasion resistance, lower cost, indoor-friendly. Polyurea is more flexible, cures in hours instead of days, stays UV-stable and lasts roughly twice as long — but costs 30–40% more upfront.
For indoor garages, basements and commercial spaces with no direct sun, epoxy usually wins on value. For outdoor-adjacent garages, hot-tire-heavy use or year-round installs, polyurea is worth the upgrade. See the side-by-side comparison above.
Epoxy needs the slab above ~55°F to cure properly. In Chicago that practically means most epoxy installs run April through October. Heated garages can be done year-round, and we monitor slab temperature (not just air temperature) before starting.
If you need a winter install in an unheated space, polyurea is the better call — it cures down to 35°F slab temp.
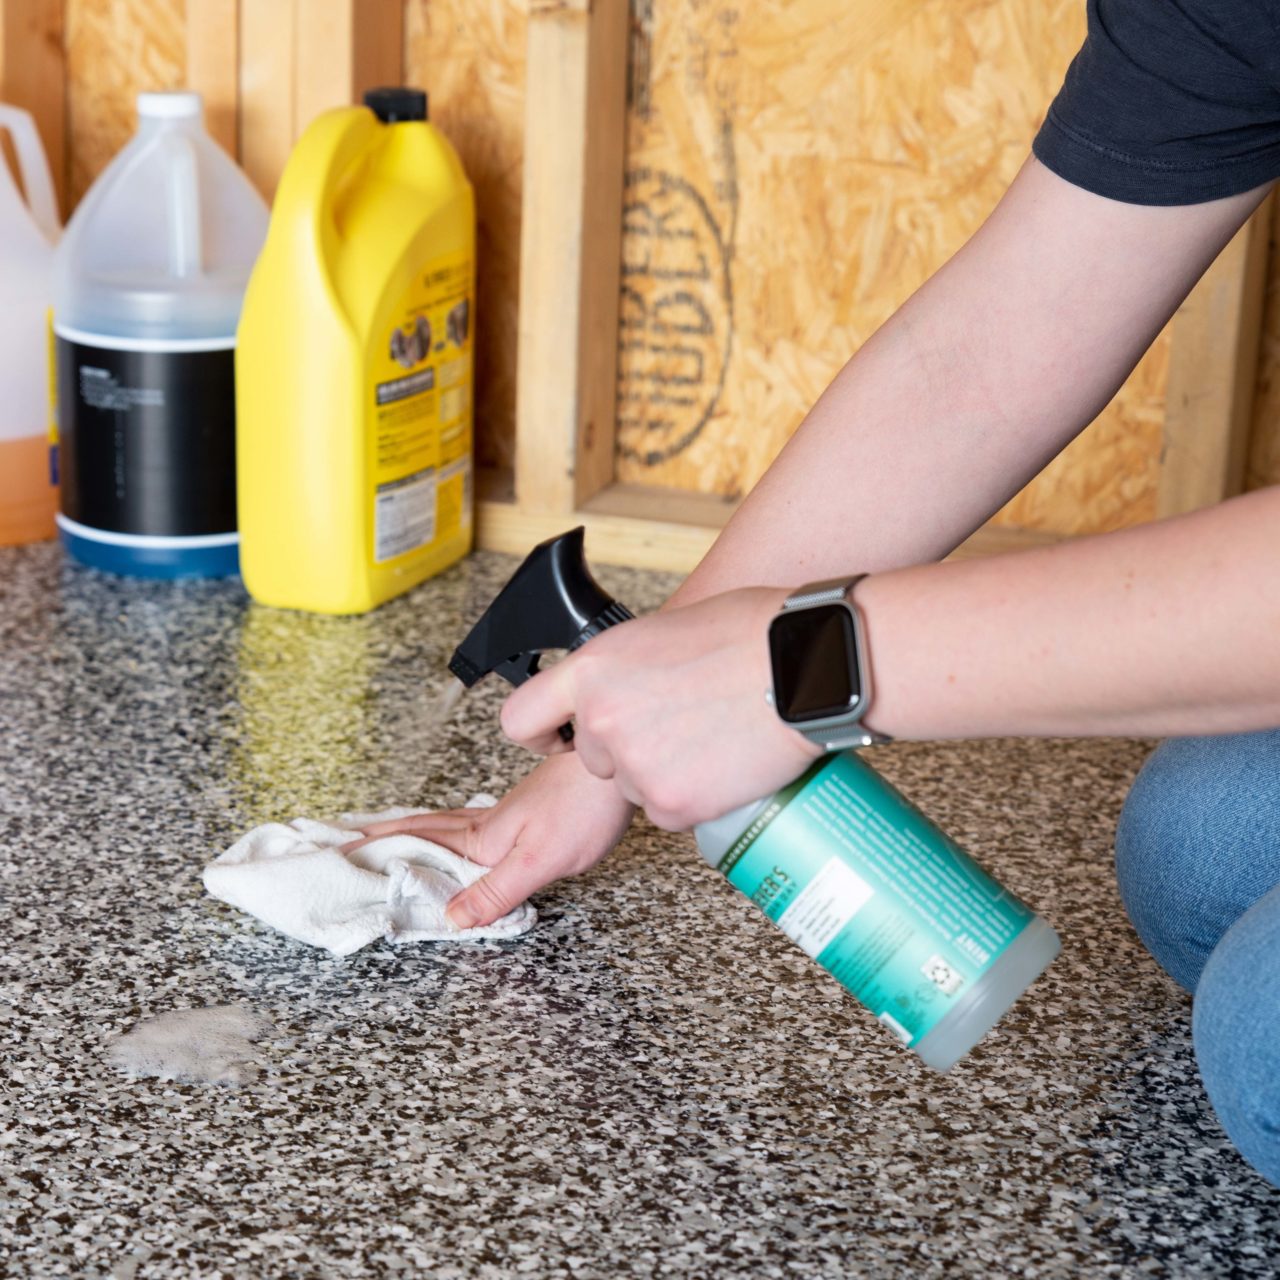
Sweep or shop-vac grit regularly, then mop as needed with a mild non-abrasive cleaner and warm water. Skip acidic cleaners (vinegar, citrus) and abrasive scrubbers.
The Chicago-specific tip: don't let road salt sit on the floor — rinse it off so it doesn't get ground into the topcoat under tires. Floor mats at the entry door and where tires sit cut down on grit and extend the topcoat noticeably. We hand you a one-page care sheet at final walkthrough.
© Concrete Shield Coatings Inc. All rights reserved. | Terms & Conditions | Privacy Policy