What we did
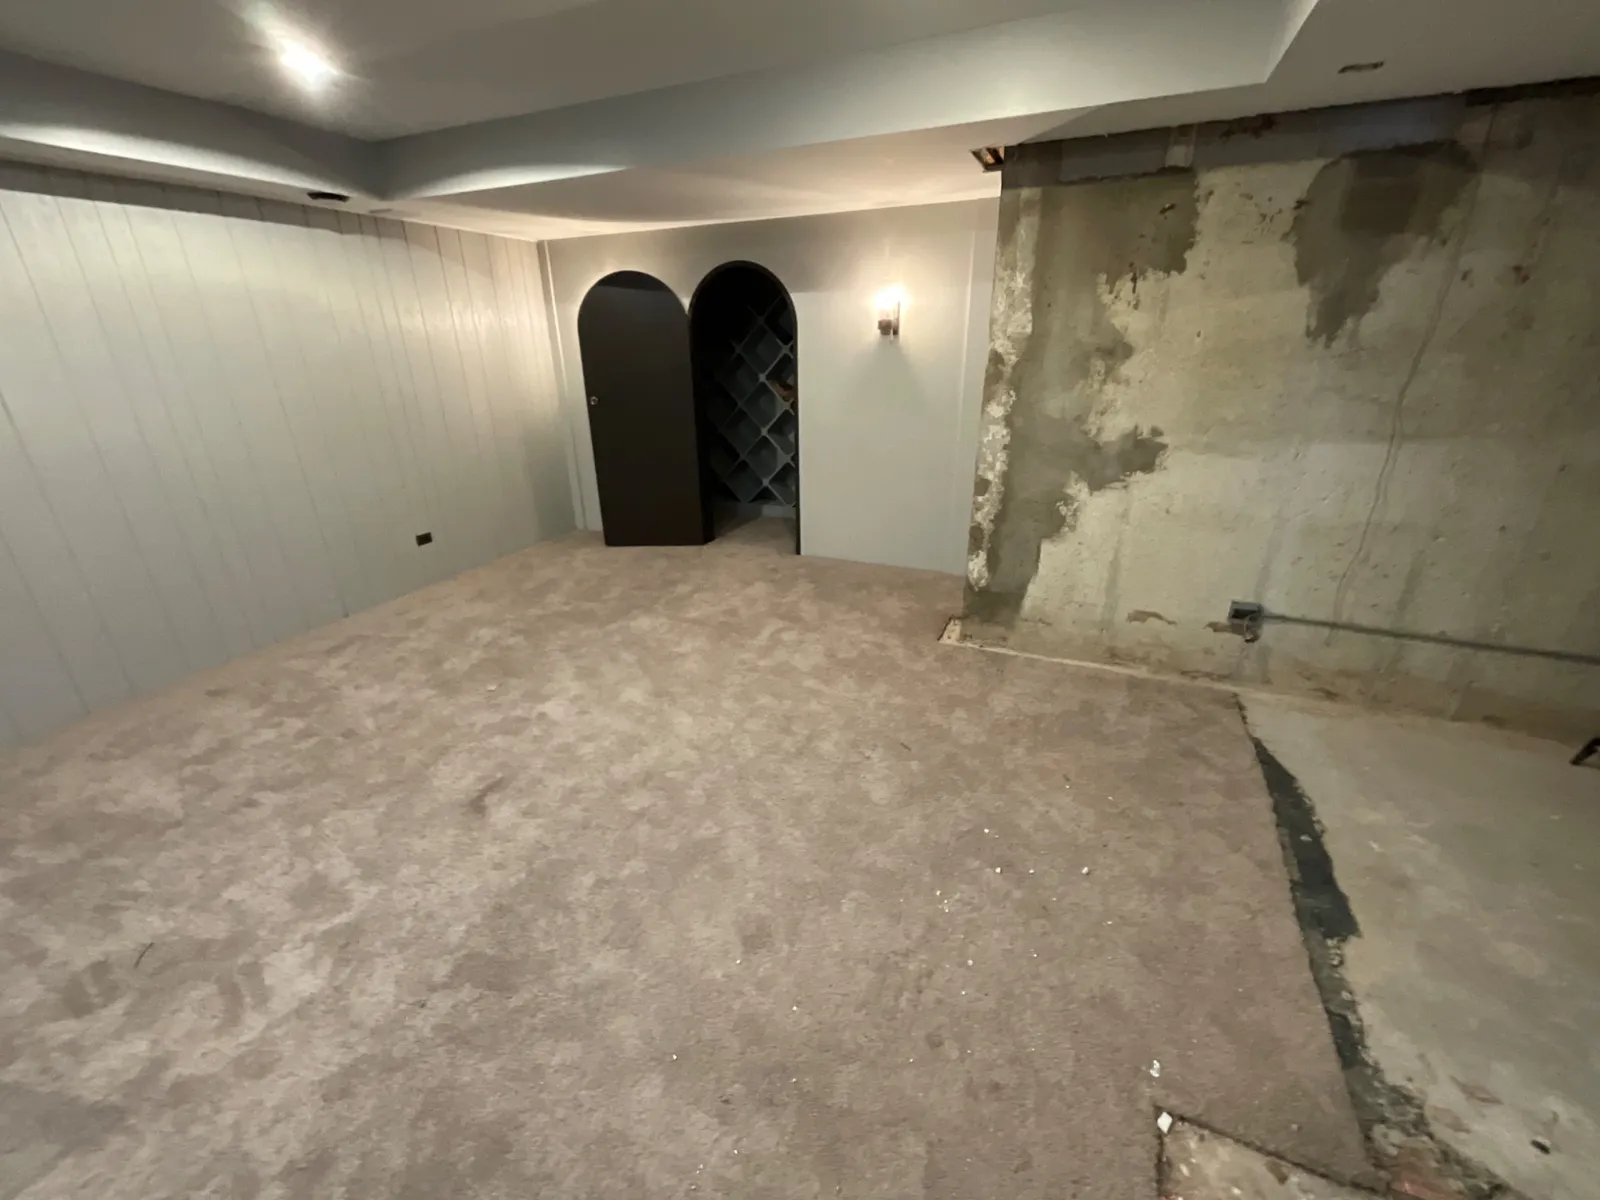
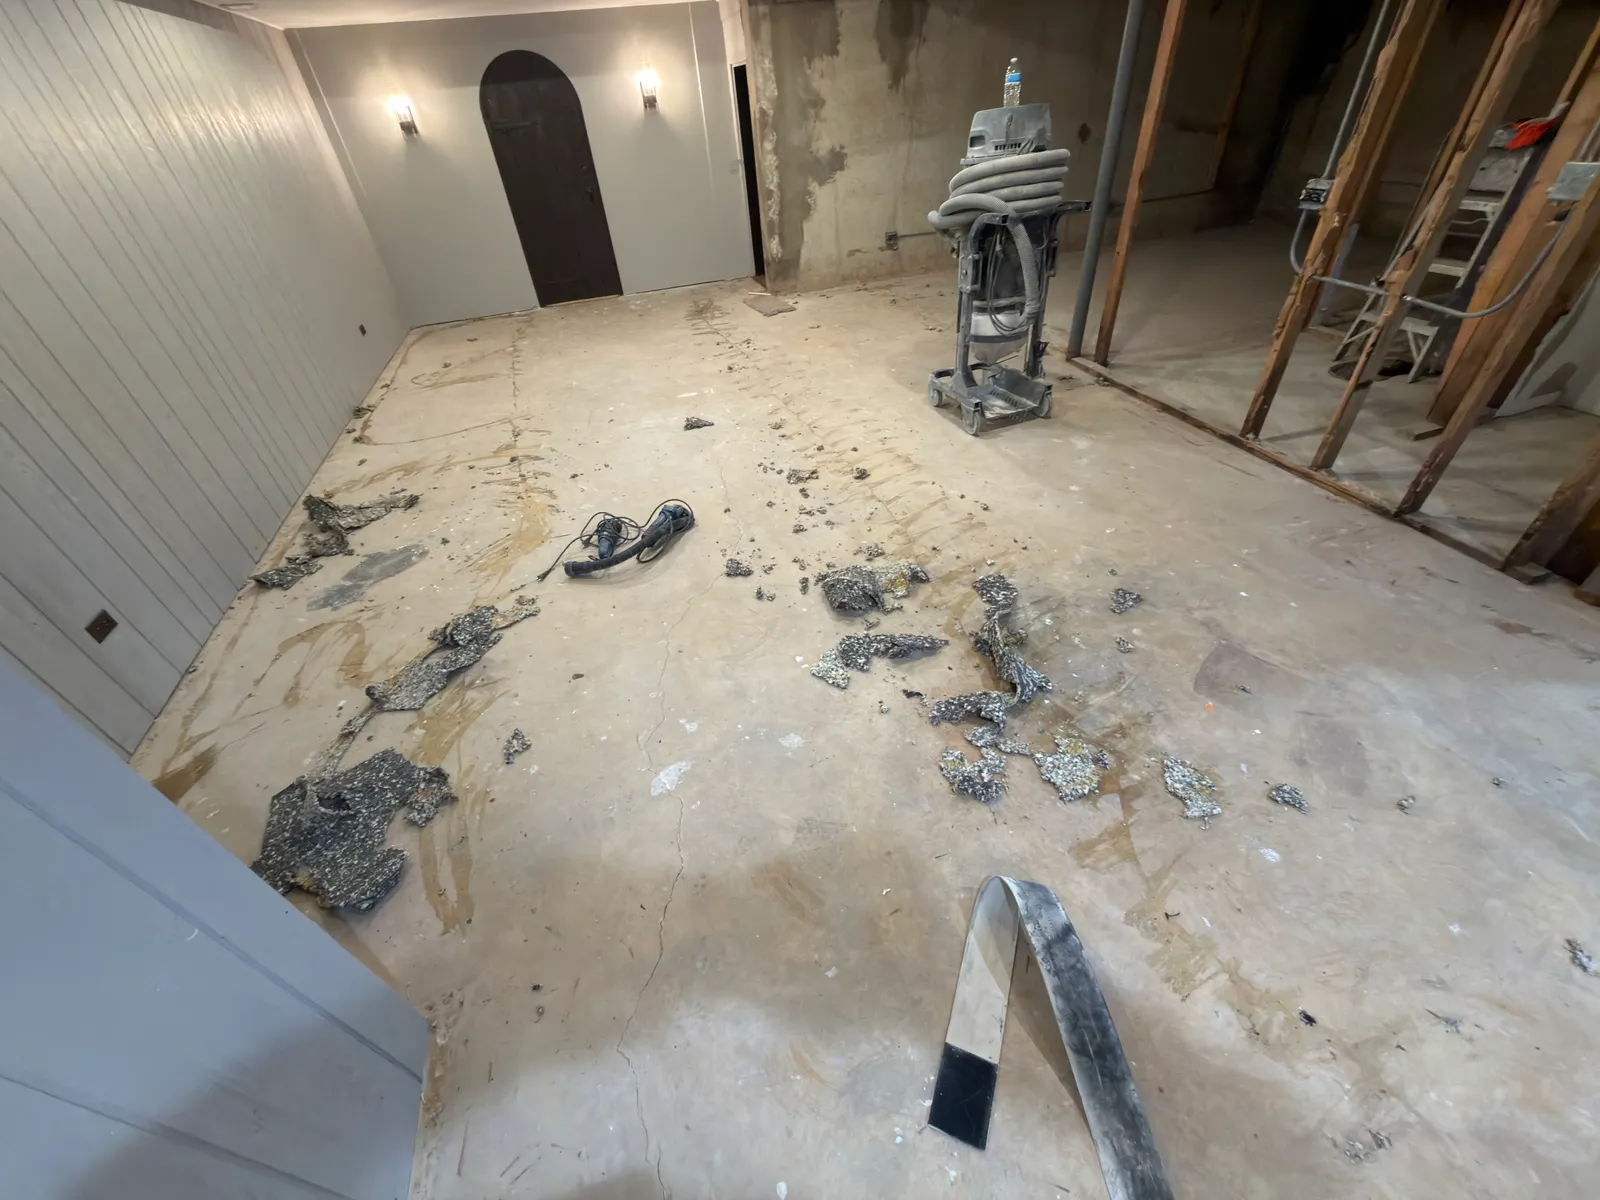
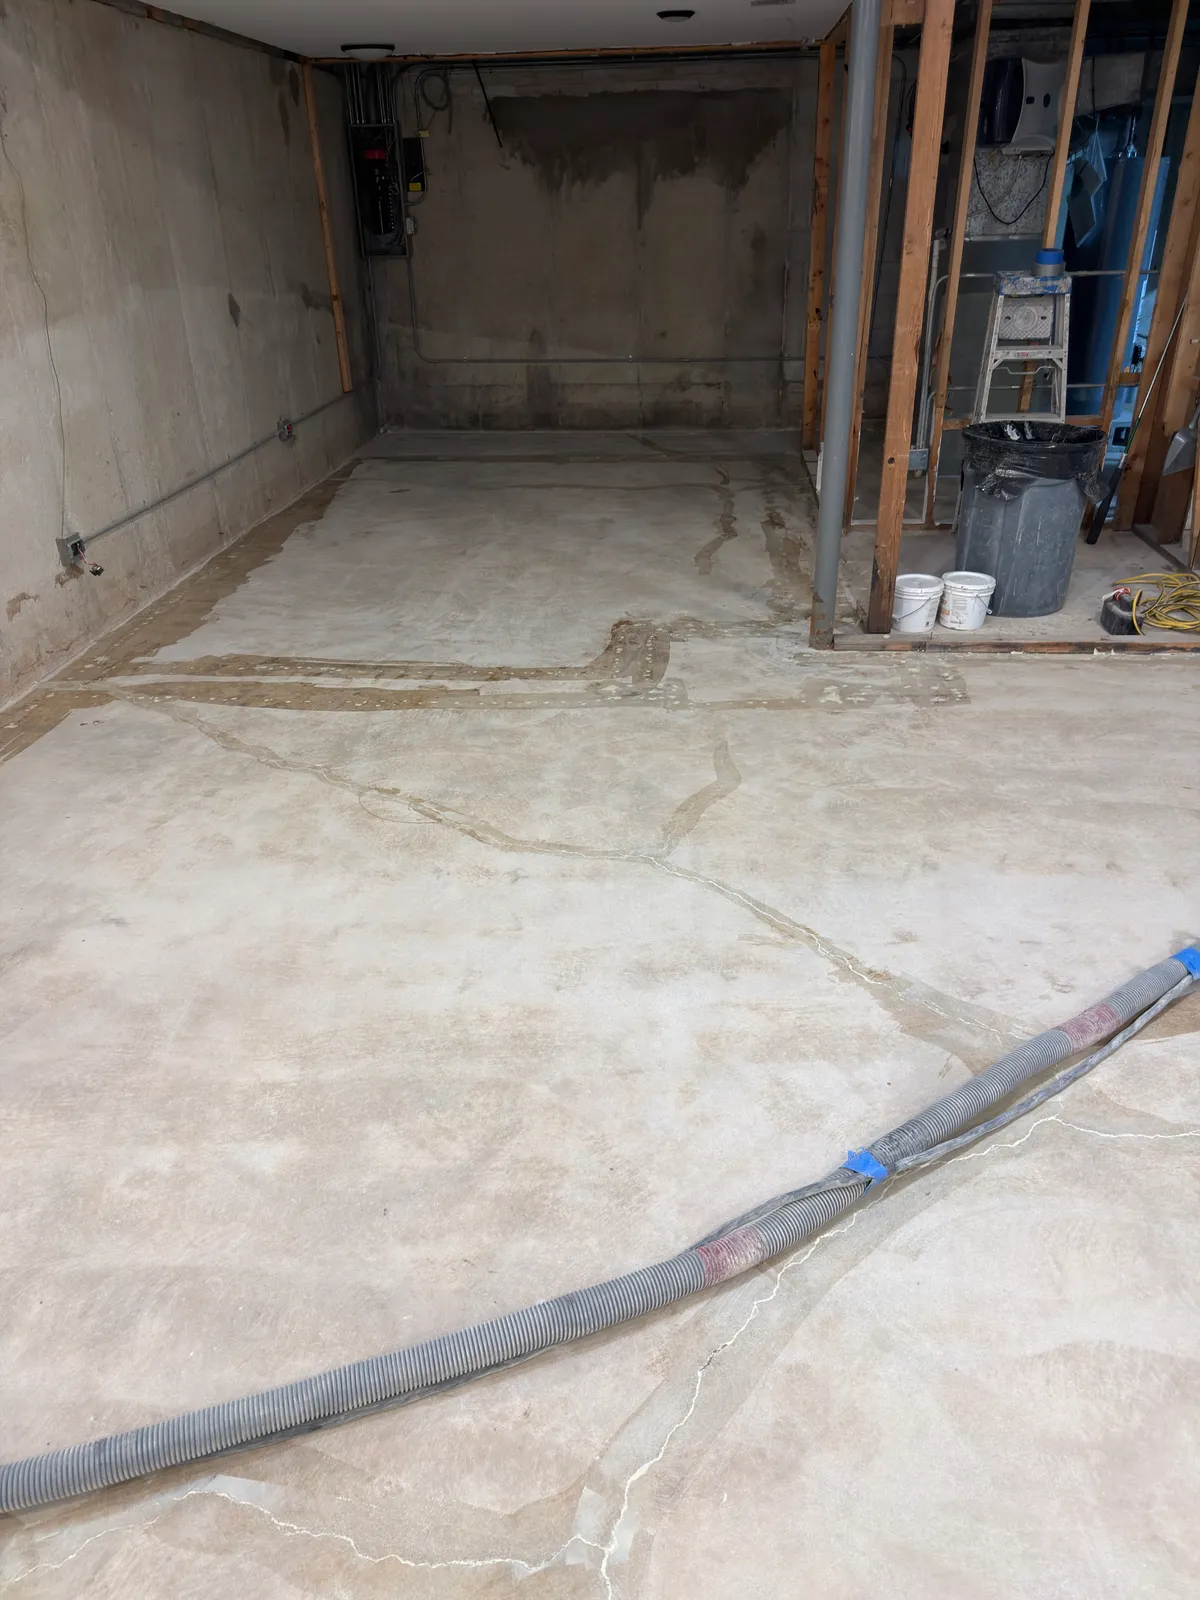
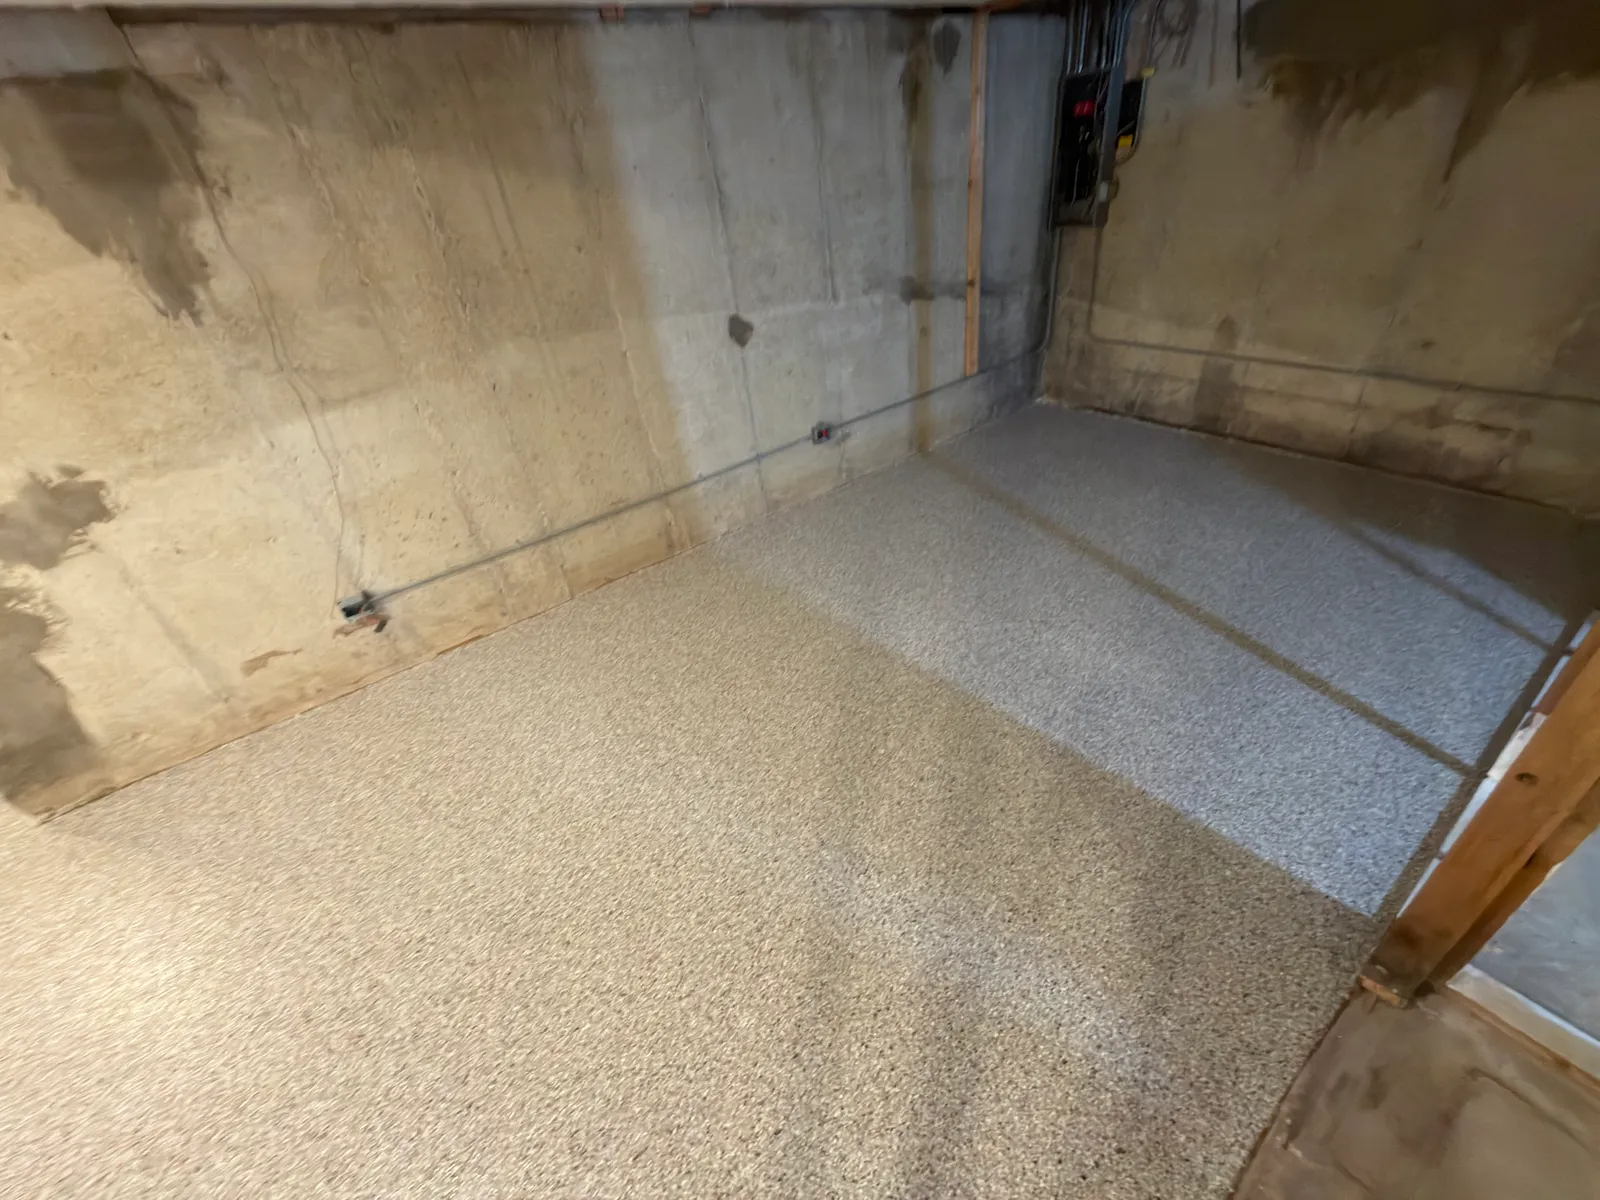
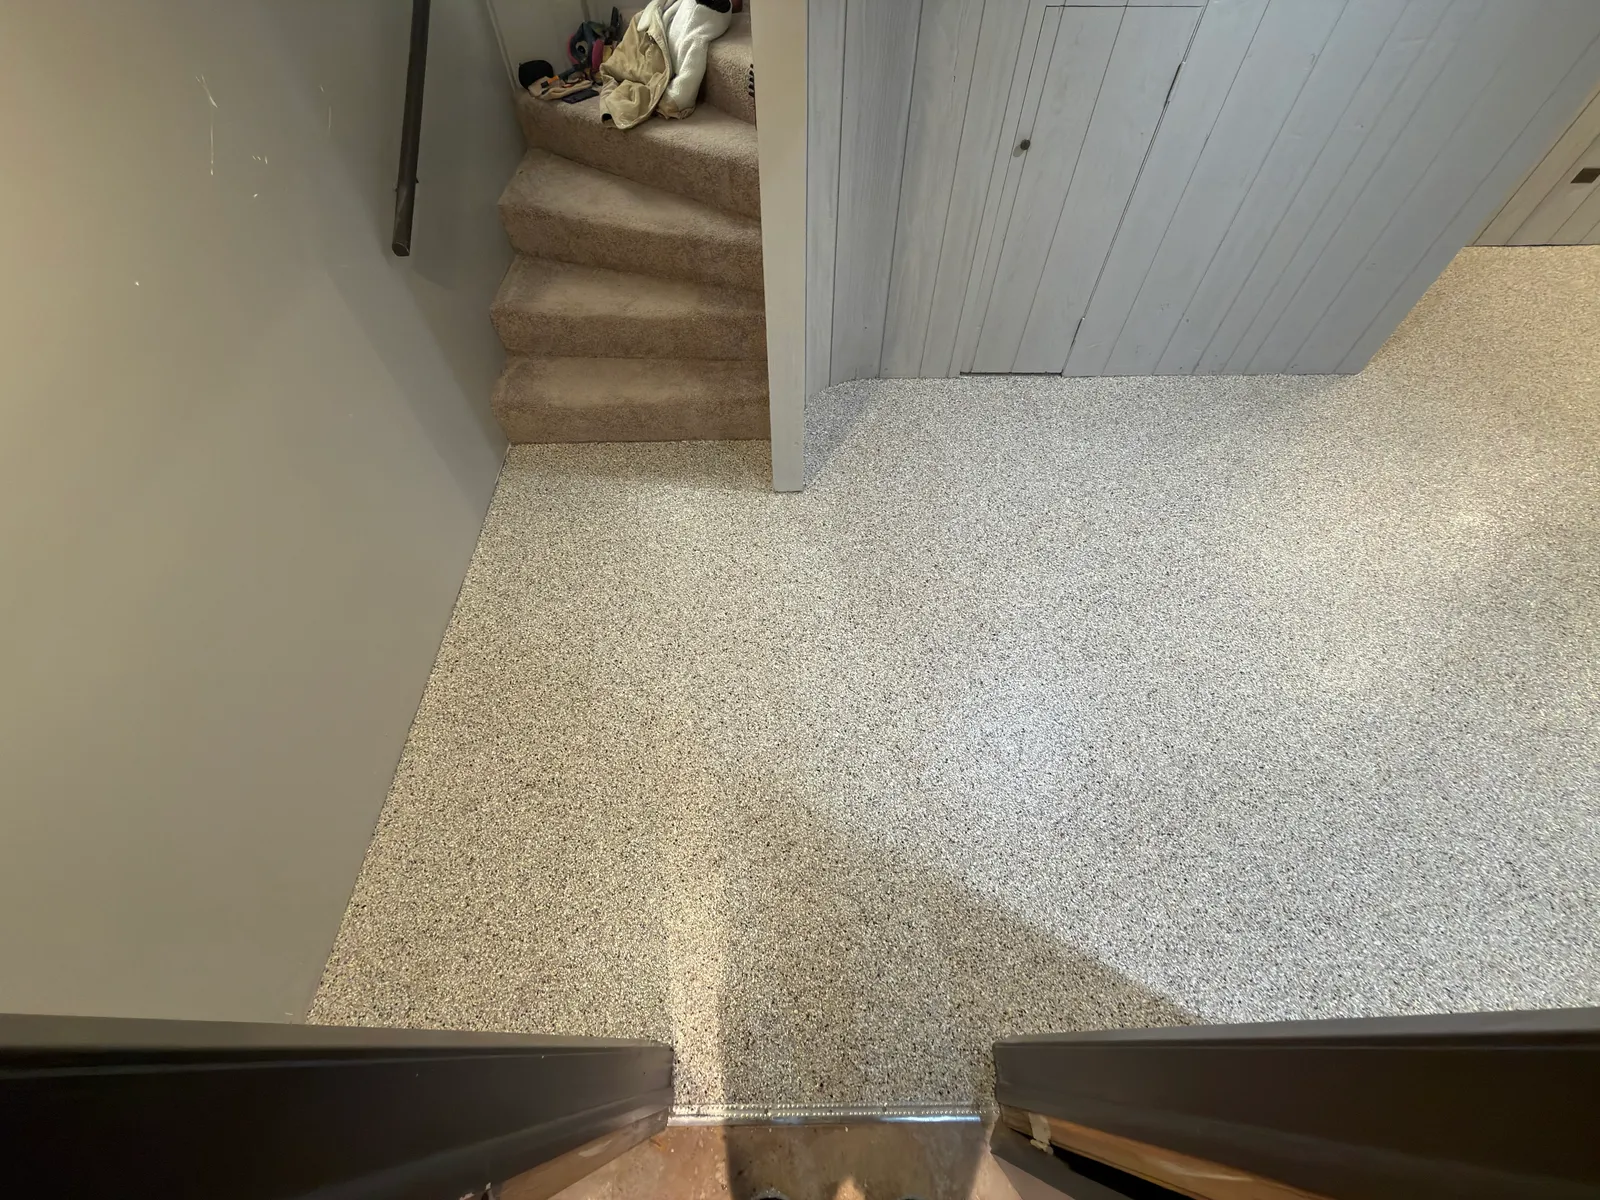
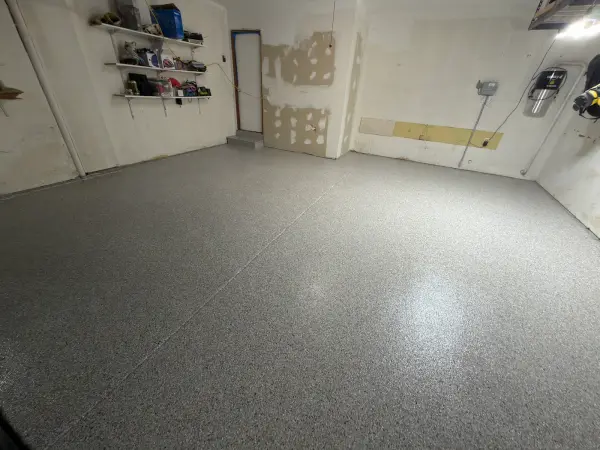
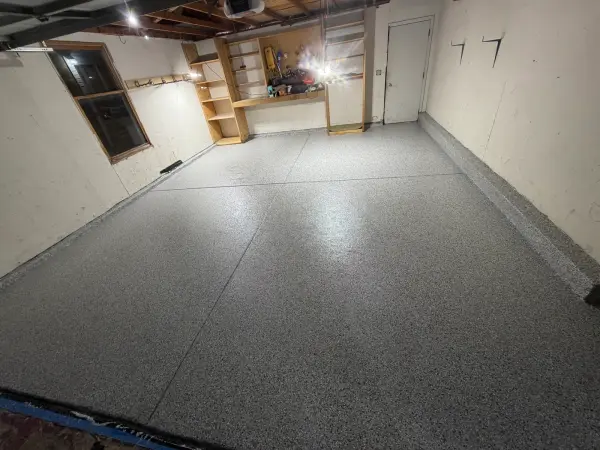
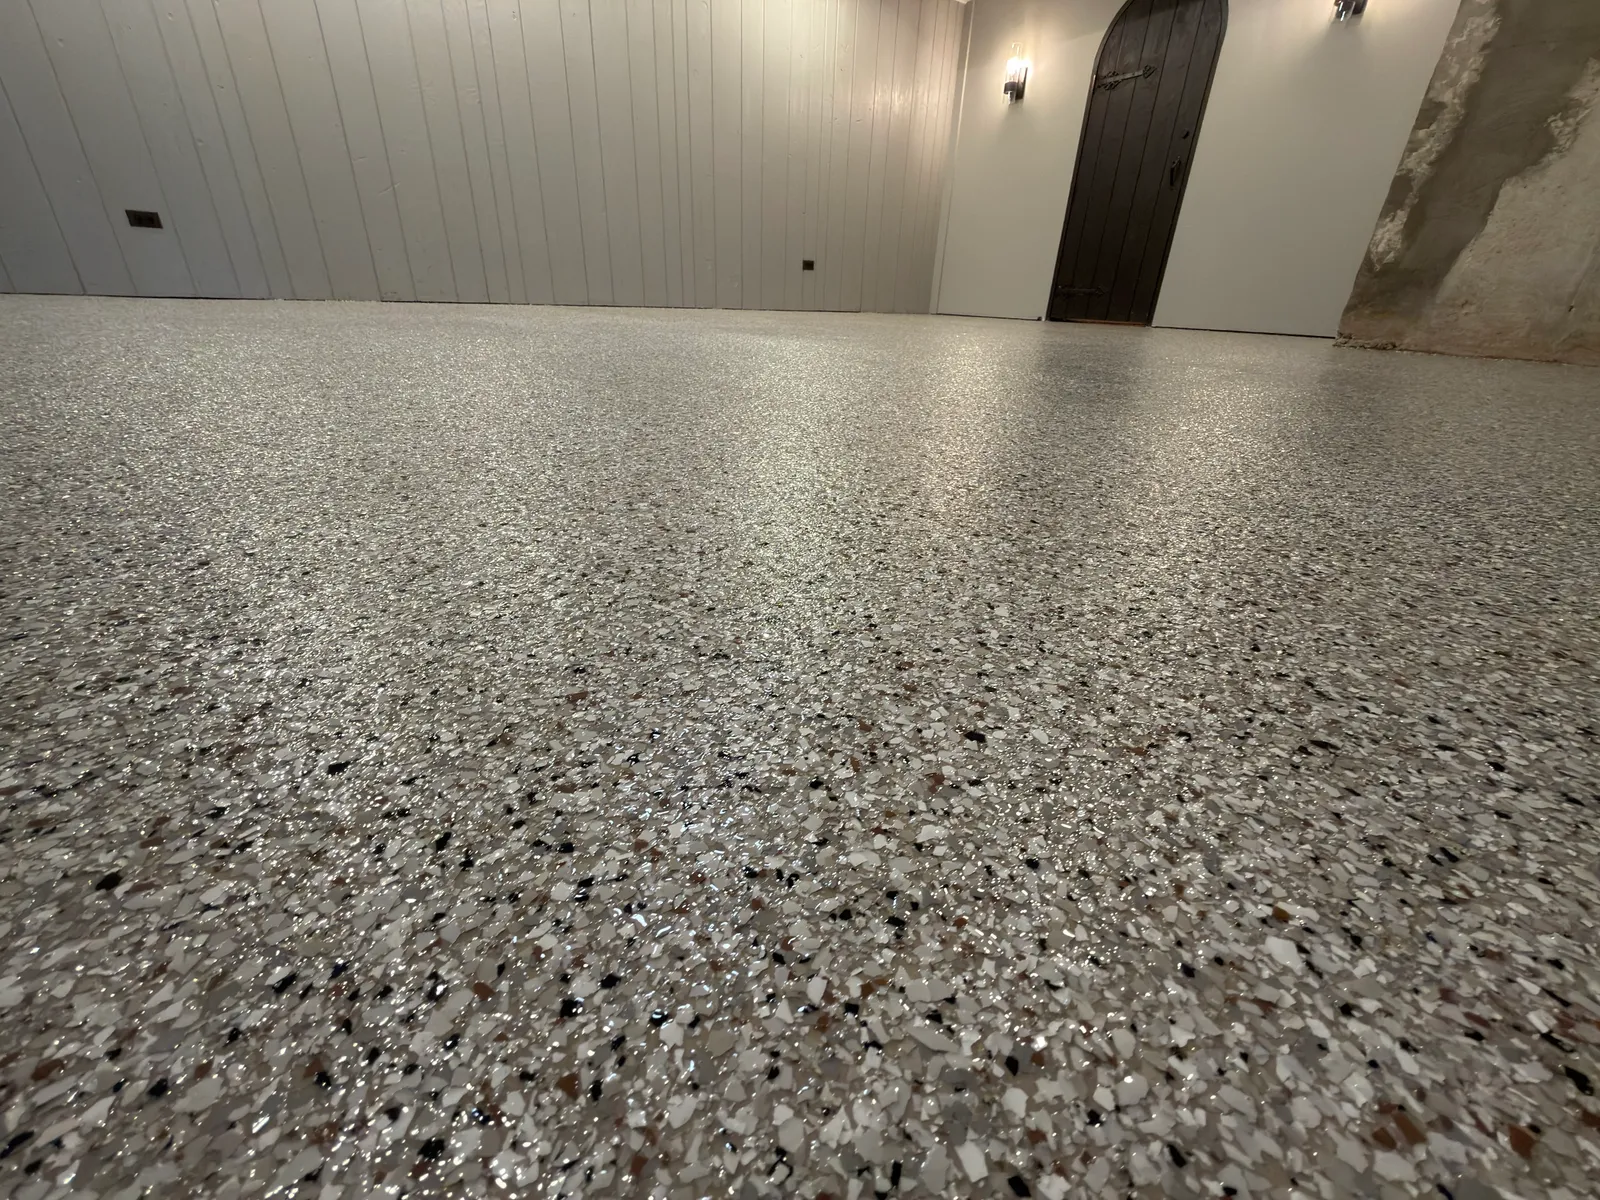
The basement floor we coated here covered 670 square feet of old concrete, and it showed its age. There were a lot of cracks and areas of deep deterioration, so we knew going in that prep would be most of the real work. A coating is only as good as the slab under it. On concrete like this, skipping the repairs just means the damage shows up again through the new finish a little later.
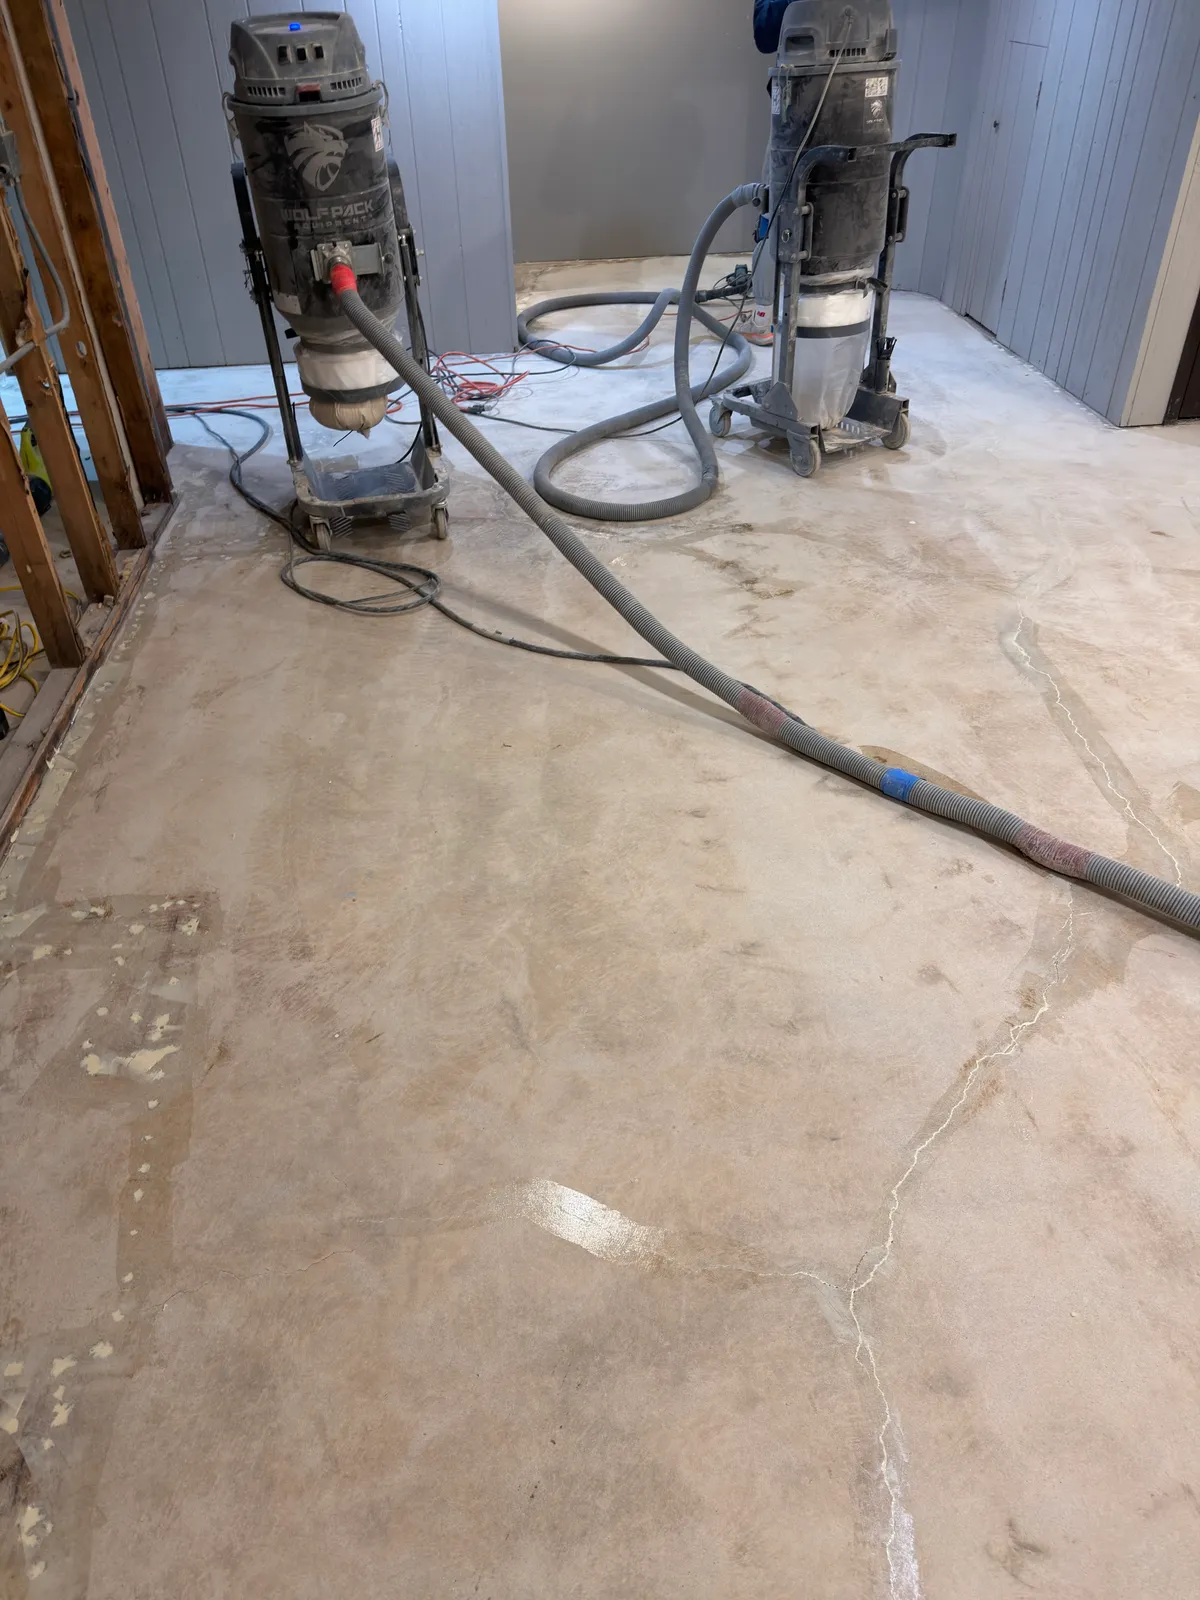
Diamond grinding came first. It takes off the surface sheen and any contaminants and leaves the concrete with a rough profile, which is what the coating needs to grip. We grind instead of acid-etching because grinding actually opens up the surface rather than just washing it. Then we cleaned the loose concrete out of the cracks and filled them. Cracks get filled before the base coat so they don't telegraph through or turn into weak spots. If you've wondered whether you can coat a cracked floor, this is how it's done.
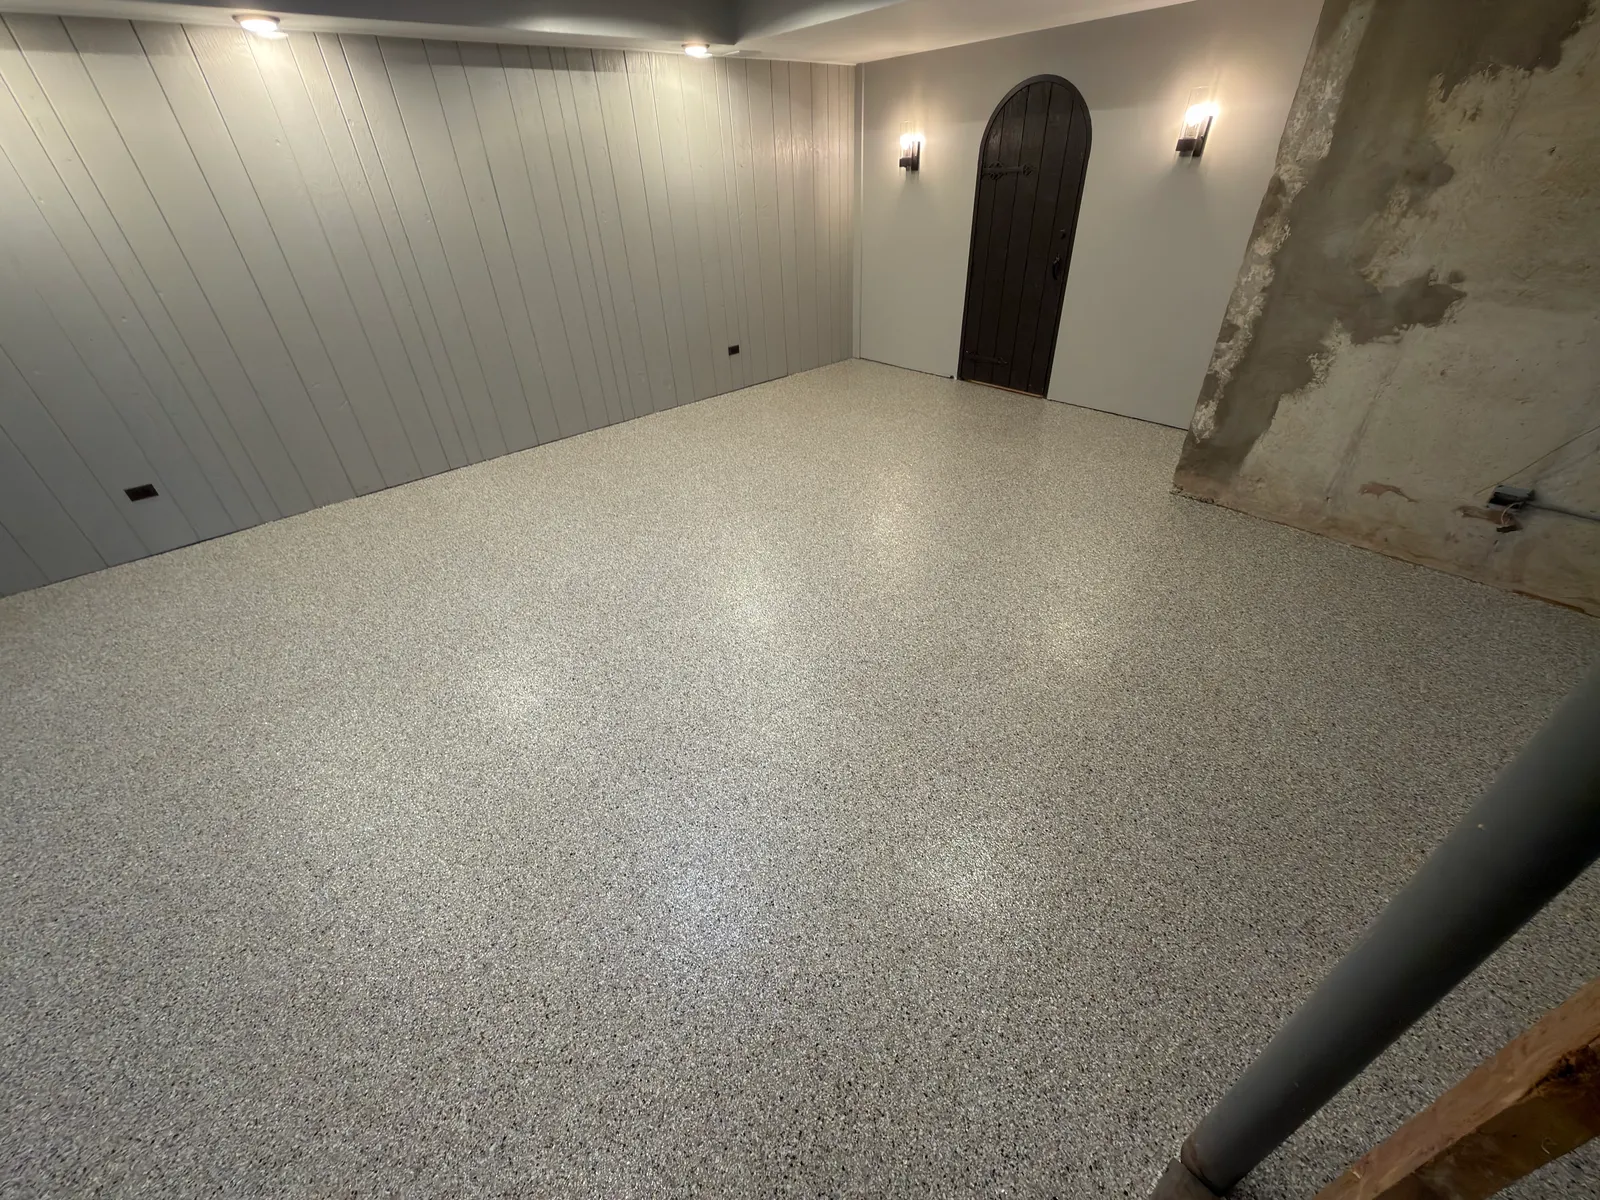
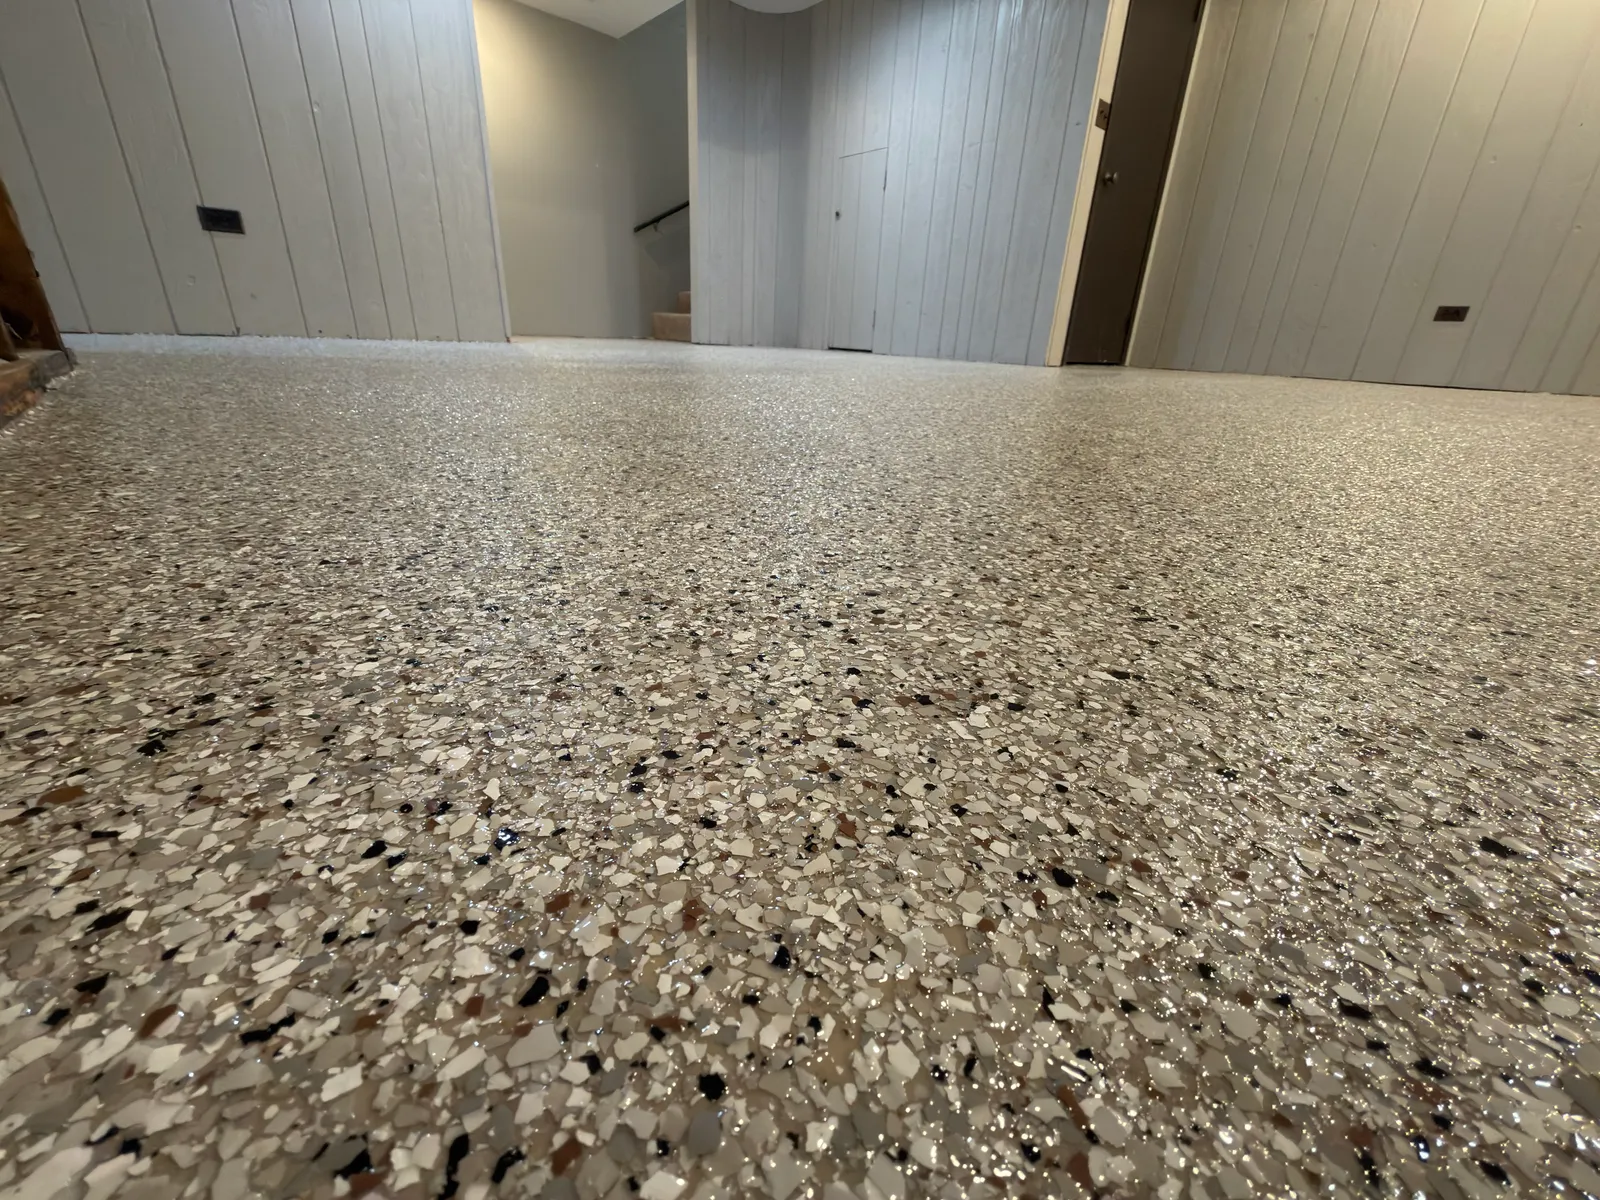
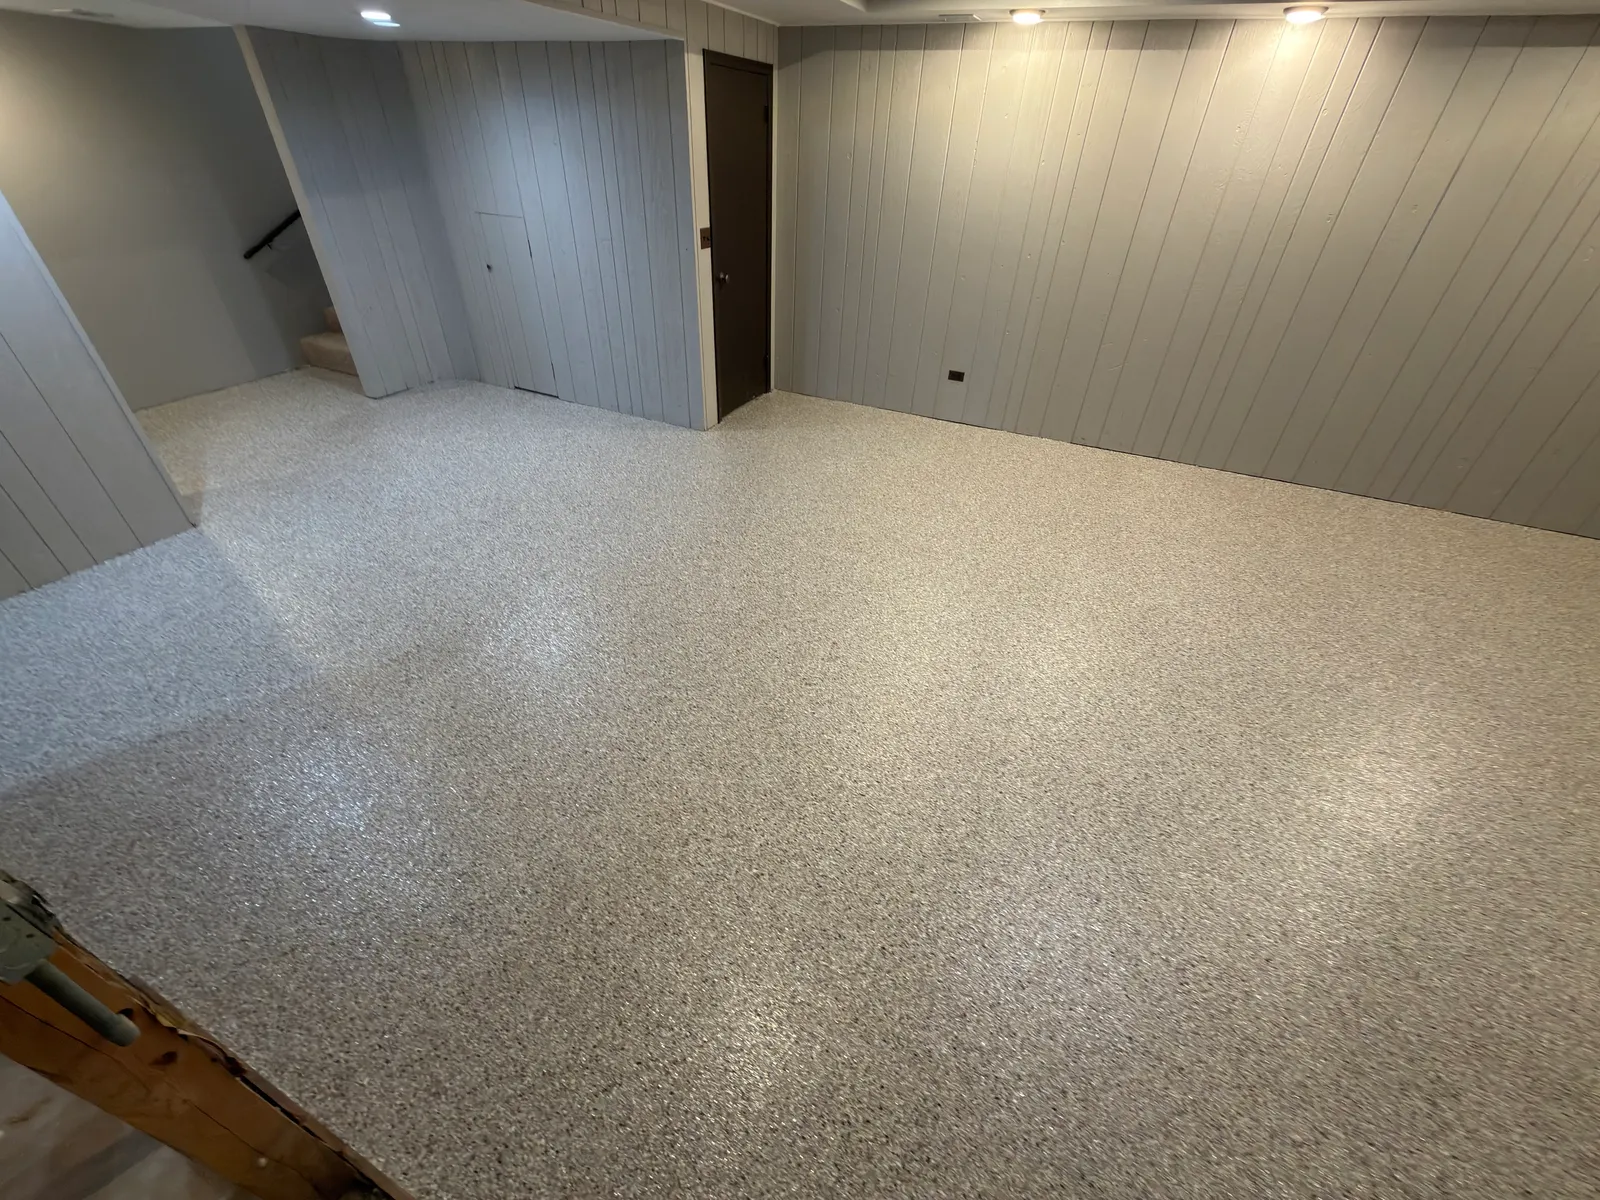
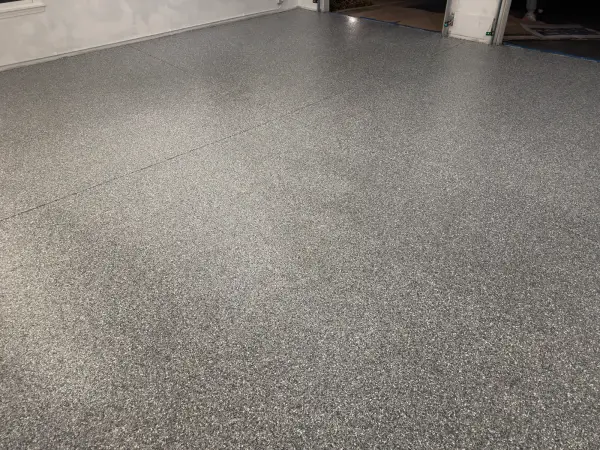
With the slab ready, the polyurea base coat went down and we broadcast the Coyote flake to full rejection. That means we kept adding flake until the wet base couldn't hold any more, so the whole floor is covered evenly. Once it set, we scraped and vacuumed off the loose flake and sealed everything under a clear polyaspartic topcoat. It's the same layered build we use on every polyurea basement floor: base coat, flake, then a tough clear top.
The whole install took one day, and we cleaned up the space before we left. The floor was walkable after about 12 hours and ready for full use after about 48 hours. If your basement slab is older and cracked like this one, that doesn't rule out a coating. It just means the grinding and crack repair come first, and they're what everything after them depends on.